Written byStevenUpdated on Mar 06, 2025
Repair an External Hard Drive with Terminal on Mac
Approved byGerhard Chou
Before we start: Before fixing a corrupted external hard drive using Mac Terminal, you can use Donemax Data Recovery for Mac to recover all files from it. Then you can use Terminal or third-party tools to repair the external hard drive without losing data.
PAGE CONTENT:
External hard drives are essential tools for storing and backing up data, but sometimes they can malfunction, become unreadable, or fail to mount on macOS. When this happens, macOS provides built-in utilities like Disk Utility, but sometimes you need more control and deeper troubleshooting. That's where Terminal comes in.
In this guide, we'll go through step-by-step methods to diagnose and repair an external hard drive using Terminal on Mac. Whether your drive is corrupted, unrecognized, or facing file system errors, these commands can help.
Common Issues with External Hard Drives on Mac
Prior moving into solutions, let us identify some of the common problems you might face with an external hard drive on a Mac:
- Drive Not Mounting: The external hard drive does not appear in Finder or Disk Utility.
- Corrupted File System: The drive is recognized but cannot be accessed due to file system corruption.
- Read/Write Errors: Files may fail to copy, or the drive may suddenly become read-only.
- Mac Does Not Recognize the Drive: The drive doesn't show up in Finder, Disk Utility, or Terminal.
- Slow Performance or Freezing: The external drive responds sluggishly or causes macOS to freeze.
Now that we understand the common issues, let's begin troubleshooting with Terminal.

How to Check and Repair an External Hard Drive with Terminal on Mac?
#1 Check if the Mac Detects the Drive
Before attempting any repairs, we need to check if macOS can detect the external hard drive at all.
Step 1: Open Terminal
You can open Terminal in macOS by going to: Applications > Utilities > Terminal.

As an alternative, you can type "Terminal" into Spotlight (Command + Space) and hit Enter.

Step 2: List All Available Drives
In the Terminal window, type the following command:
diskutil list
This will display a list of all connected storage devices. You should see something like this:

If your external drive appears in the list (e.g., /dev/disk4), take note of its identifier. If it does not appear, it may have a hardware issue or a connection problem. Try reconnecting the drive or using a different USB port/cable.
#2 Repair the External Hard Drive with Terminal
When an external hard drive starts malfunctioning, the first thing macOS users typically try is Disk Utility's First Aid. While the graphical interface of Disk Utility works for basic repairs, Terminal provides a more advanced way to diagnose and fix drive issues. Using diskutil, macOS allows you to run First Aid directly from Terminal, which can be more effective than the GUI version.
Why Use Terminal for Disk Repair?
- More Detailed Error Reporting: Unlike the GUI, Terminal provides detailed logs that help diagnose issues.
- Works Even When Disk Utility Fails: If the Disk Utility app crashes or cannot repair the disk, Terminal often succeeds.
- Can Be Used in Recovery Mode: If macOS does not boot properly, Terminal commands can be run from macOS Recovery Mode.
Step 1: Check for Errors
Before attempting repairs, it's best to check if the disk has any errors. To do this, use the verifyDisk command:
diskutil verifyDisk /dev/diskX
(Replace /dev/diskX with your actual disk identifier, such as /dev/disk4.)

This command will scan the external hard drive for file system errors. You might see messages like:
Error: The volume Macintosh HD was found corrupt and needs to be repaired.
If errors are detected, the next step is to repair the disk.
Step 2: Run First Aid to Fix Errors
To repair the disk, run:
diskutil repairDisk /dev/diskX

What Happens During repairDisk?
- macOS will attempt to fix bad sectors and file system inconsistencies.
- If necessary, it will rebuild directory structures.
- If minor corruption is detected, it will auto-correct the issue.
Interpreting the Output:
- If the repair is successful: You'll see a message like "The volume was successfully repaired".
- If the repair fails: You might get messages such as "File system is too corrupted to be repaired", meaning a deeper repair method (like fsck) or formatting is required.
Step 3: Run First Aid on a Specific Partition
Sometimes, only one partition on the external hard drive is corrupted. You can repair just that partition instead of the entire disk.
First, list the partitions on your external drive:
diskutil list
To repair only the affected partition (disk4s2 in this case), run:
diskutil repairVolume /dev/disk4s2

Step 4: Run First Aid in macOS Recovery Mode
If the external hard drive is causing macOS to freeze or crash, you may need to run First Aid in Recovery Mode.
How to Enter macOS Recovery Mode (for Intel Macs):
- Start your Mac again.
- Immediately press and hold Command (⌘) + R until you see the Apple logo or a spinning globe.
- Select Utilities > Terminal from the top menu.
- Run the same repair commands from above.
How to Enter macOS Recovery Mode (for Apple Silicon Macs):
- Turn Off your Mac.
- Press and hold the Power button until you see "Loading startup options."
- Click Options then go to Continue and then Open Terminal.
- Run the repair commands.
Running First Aid from Recovery Mode allows macOS to repair the drive without interference from the operating system, improving success rates.
What to Do If First Aid Fails?
If diskutil repairDisk does not work, you may see messages like:
Error: The volume could not be repaired after 3 attempts.
In such cases, the next step is to use fsck (file system consistency check), which can repair deeper corruption. If that also fails, formatting the drive may be the last resort.
#3 Repair the File System with fsck
If diskutil repairDisk fails, the next step is to manually repair the file system using the fsck (file system consistency check) command.
Step 1: Unmount the Disk
Before using fsck, you must unmount the drive to prevent macOS from accessing it during the repair process:
diskutil unmountDisk /dev/diskX

Step 2: Run fsck for HFS+ Drives
If your external drive uses the HFS+ file system, use the following command:
fsck_hfs -fy /dev/diskX
Step 3: Run fsck for APFS Drives
If your drive uses APFS, run:
fsck_apfs /dev/diskX
This will scan and attempt to repair the file system. If it reports "File system was modified", run the command again until you get a "File system is OK" message.
Step 4: Remount the Drive
Once the repair is complete, remount your external drive:
diskutil mountDisk /dev/diskX
If the drive still doesn't work, you may need to format it.
#4 Format the Drive (If Repair Fails)
If your drive is severely corrupted, formatting it may be the only option. Formatting will erase all data, so use this only as a last resort.
Step 1: Check the Current File System
To see the current file system type, run:
diskutil info /dev/diskX

Step 2: Erase and Format the Drive
To format the drive as HFS+ (Mac OS Extended Journaled), use:
diskutil eraseDisk HFS+ ExternalDrive /dev/diskX
To format it as APFS, use:
diskutil eraseDisk APFS ExternalDrive /dev/diskX
If you need a FAT32 format (for Windows compatibility), use:
diskutil eraseDisk FAT32 ExternalDrive MBRFormat /dev/diskX
#5 Reset NVRAM and SMC (If Drive Still Isn't Recognized)
If your Mac still does not recognize the external hard drive, resetting the NVRAM and SMC (System Management Controller) may help.
Reset NVRAM:
- Turn Off your Mac.
- Turn it on and immediately press Option + Command + P + R for about 20 seconds.
- Release the keys and let the Mac boot normally.
Reset SMC (For Intel Macs):
- Shut down your Mac.
- Hold Shift + Control + Option and press the power button for 10 seconds.
- Release all keys and turn on the Mac.
For Apple Silicon Macs, restart the Mac - SMC resets automatically.
Recover Lost Data from External Hard Drive Before/After Fixing It with Terminal on Mac
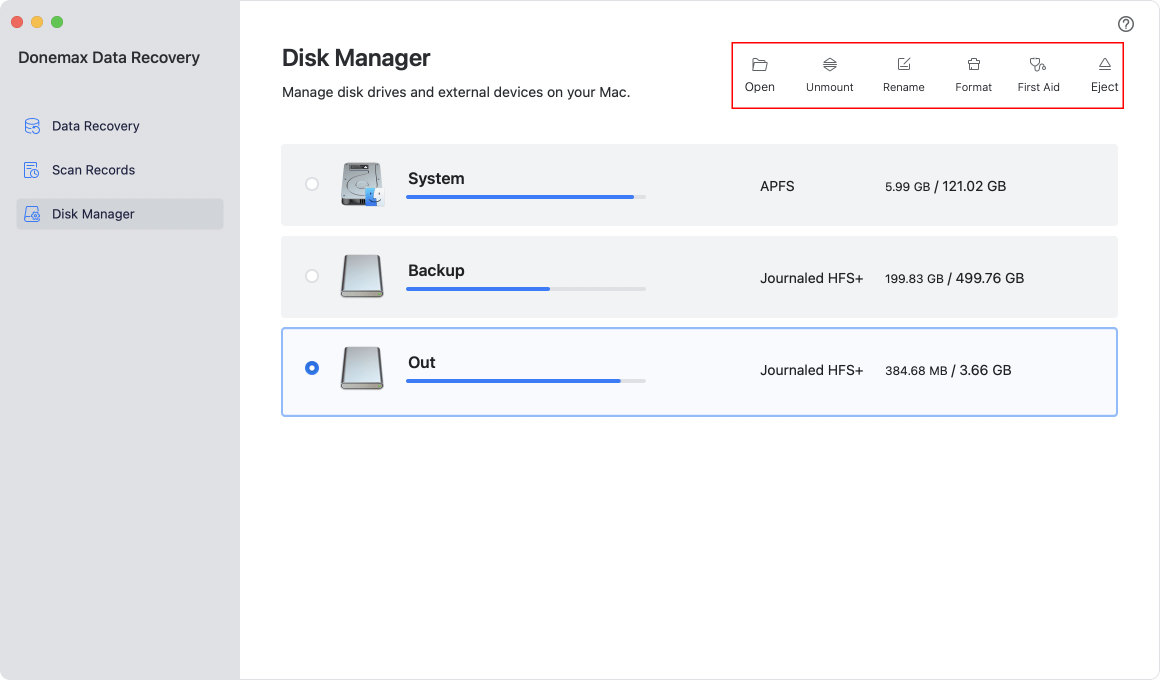
Before or after repairing an external hard drive on Mac by using Terminal commands, you can use data recovery tool - such as Donemax Data Recovery for Mac to recover inaccessible/lost files from it.
Step 1. Download and install Donemax Data Recovery for Mac, then run it from Launchpad.
Step 2. Open Donemax Data Recovery for Mac, select the external hard drive to start data recovery.

Step 3. Click on Scan button to deeply scan the drive and find all existing files, inaccessible files, deleted/erased/lost files.

Step 4. After scanning, you can preview all recoverable files. Then select the wanted files, click on Recover button to save them.

Tip: Donemax Data Recovery for Mac also can help you mount the external hard drive on Mac, repair damaged external hard drive on Mac, reformat corrupted external hard drive on Mac, etc.
When to Seek Expert Help
If you've tried all the above steps and your external hard drive is still not working, it might have physical damage.
Signs of Hardware Failure:
- The drive clicks or makes unusual noises.
- It does not show up even in diskutil list.
- The repair commands consistently fail.
In these cases, professional data recovery services may be needed. Companies like DriveSavers, Ontrack, or Stellar Data Recovery specialize in recovering data from faulty hard drives.
Conclusion
By complying the steps, you can diagnose and repair many common issues with an external hard drive using Terminal on Mac. To prevent future issues, always safely eject your external drive and regularly back up important data. If the drive has physical damage, consider professional recovery services.
By mastering these Terminal commands, you gain more control over troubleshooting and keeping your external storage in top shape.
If you want to recover files from your damaged or erased external hard drive, you can try Mac data recovery software - such as Donemax Data Recovery for Mac.
Donemax Data Recovery for Mac
Donemax Data Recovery for Mac is one of the best Mac data recovery software. It is easy-to-use and can help in recovering deleted, formatted, inaccessible or lost data from Mac HDD/SSD, external disk, USB drive, SD card, camera or other storage devices.
Related Articles
- Nov 11, 2024Fix macOS Sequoia Crashes Frequently or Keeps Restarting
- Sep 21, 2024Disk Utility Cannot Repair A Disk, Fix It Now
- Feb 22, 2025Memory Card Not Working on Mac? Fix It Without Losing Data
- Dec 13, 20248 Solutions to Fix WD Elements Not Showing Up on Mac
- Nov 25, 2024How to Create a Bootable USB Installer for macOS Monterey?
- Jan 14, 2025Reset or Change Encrypted APFS Drive's Password

Contributing Writer
Steven
Steven has been a senior writer & editor of Donemax software since 2020. He's a super nerd and can't imagine the life without a computer. Over 6 years of experience of writing technical solutions and software tesing, he is passionate about providing solutions and tips for Windows and Mac users.

Editor in chief
Gerhard Chou
In order to effectively solve the problems for our customers, every article and troubleshooting solution published on our website has been strictly tested and practiced. Our editors love researching and using computers and testing software, and are willing to help computer users with their problems