PAGE CONTENT:
Managing photos is essential for keeping your Mac organized and running smoothly. Whether you're importing memories from your iPhone, camera, or other sources, or deleting old or unwanted images to free up space, knowing how to efficiently add and delete photos is a valuable skill. This article will walk you through the steps for adding, organizing, and deleting photos on a Mac, ensuring your media library stays neat and easy to navigate.

Adding Photos to Mac
Importing Photos from an iPhone or Camera:
The most common way to add photos to your Mac is by importing them from an iPhone or digital camera. Apple's Photos app is designed to make this process quick and simple.
- Connect Your iPhone or Camera:
- Use a USB cable to connect your iPhone or camera to your Mac.
- If prompted, unlock your device and allow your Mac to access it.
- Open the Photos App:
- The Photos app should automatically open when your device is connected. If it doesn't, you can open it manually by searching for "Photos" in Spotlight or the Applications folder.
![Add or Delete Photos on Mac]()
- The Photos app should automatically open when your device is connected. If it doesn't, you can open it manually by searching for "Photos" in Spotlight or the Applications folder.
- Select Photos to Import:
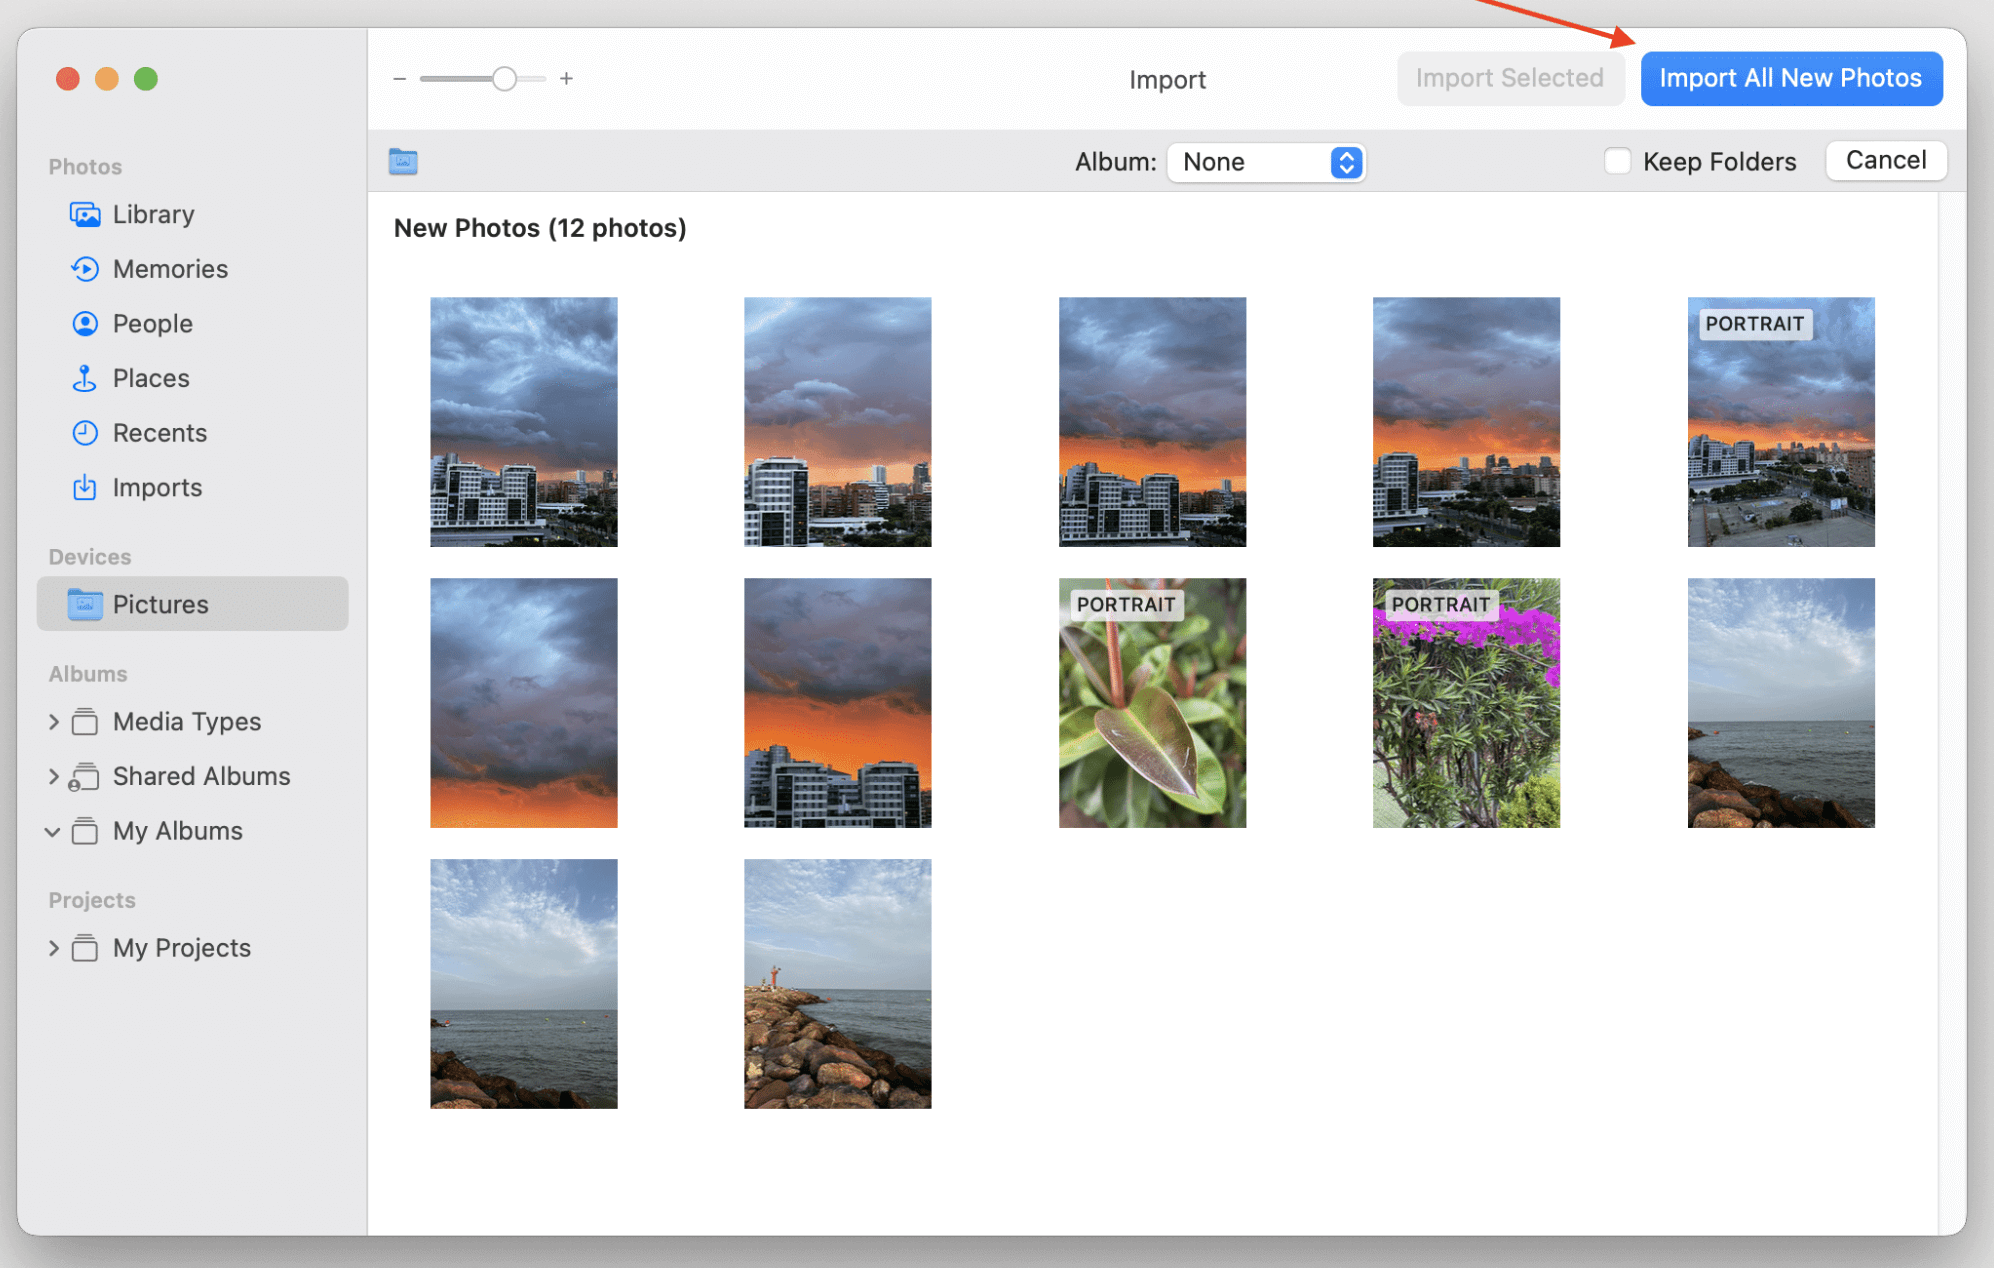
- In the Photos app, you'll see a screen displaying all the photos available on your device.
- Choose specific photos to import by clicking on them or use the "Import All New Items" option to import all photos that aren't already in your library.
![Add or Delete Photos on Mac]()
- Organize Imported Photos:
- Once the import is complete, you can organize your photos into albums or folders directly within the Photos app. You'll find the imported images in the "Imports" section or under "Recents."
Importing Photos from External Storage:
Photos stored on external hard drives or USB drives can be imported to your Mac with ease. Here's how:
- Connect External Storage:
- Manually Move Photos:
- Open Finder and navigate to the external drive.
- Drag and drop the photos you want to add into a folder or directly into the Photos app.
- Import Photos into the Photos App:
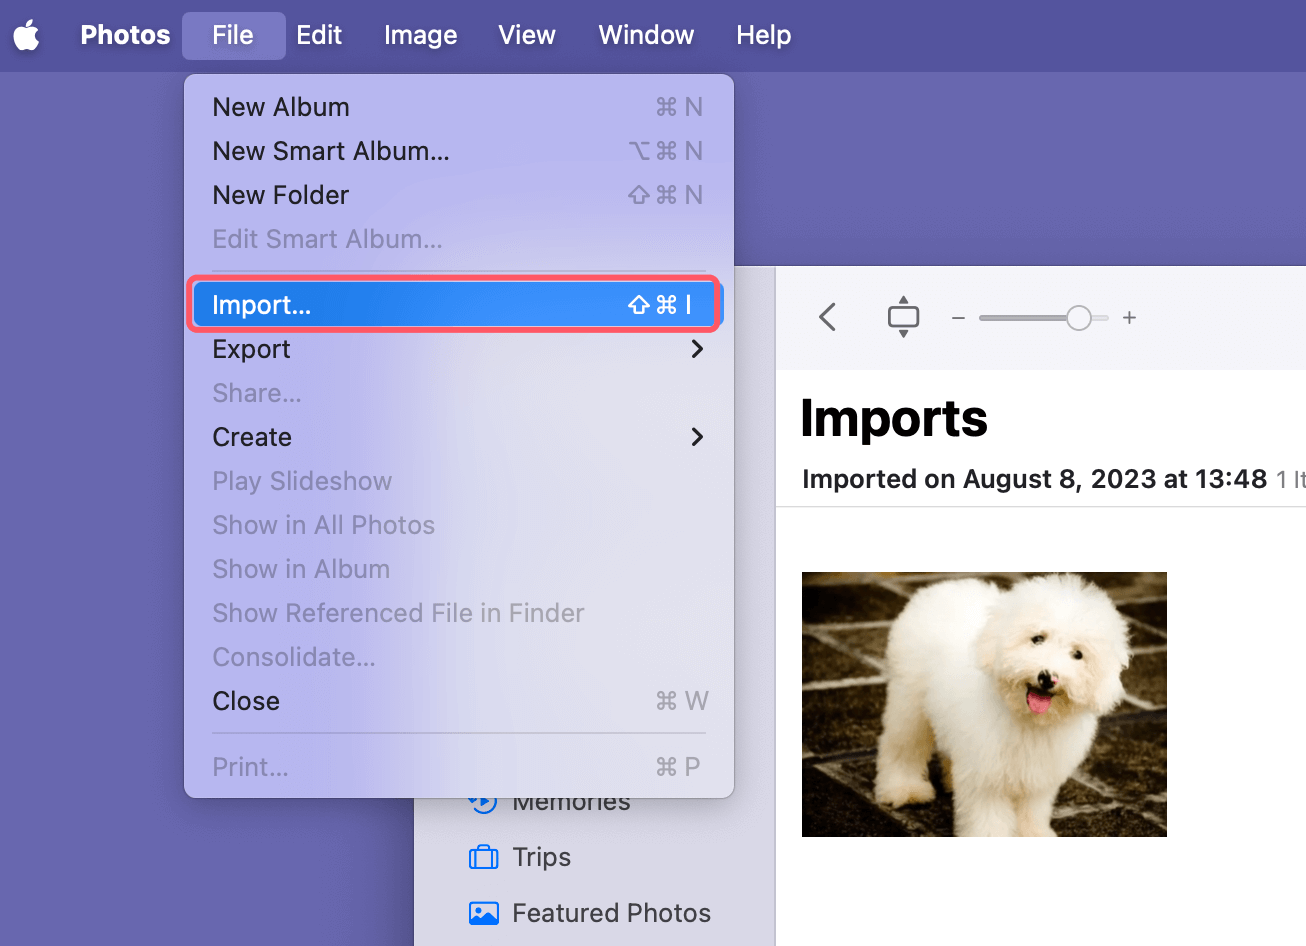
- Alternatively, open the Photos app, go to the "File" menu, and select "Import."
![Add or Delete Photos on Mac]()
- Navigate to the external drive and choose the photos you wish to import.
- Alternatively, open the Photos app, go to the "File" menu, and select "Import."
- Organize Your Photos:
- After importing, organize your photos into albums or use Smart Albums to automatically group photos based on criteria such as date, location, or file type.
Importing Photos from iCloud or Other Cloud Services:
Cloud services like iCloud and Google Photos are excellent for syncing photos across all your devices.
Using iCloud Photos:
- Enable iCloud Photos:
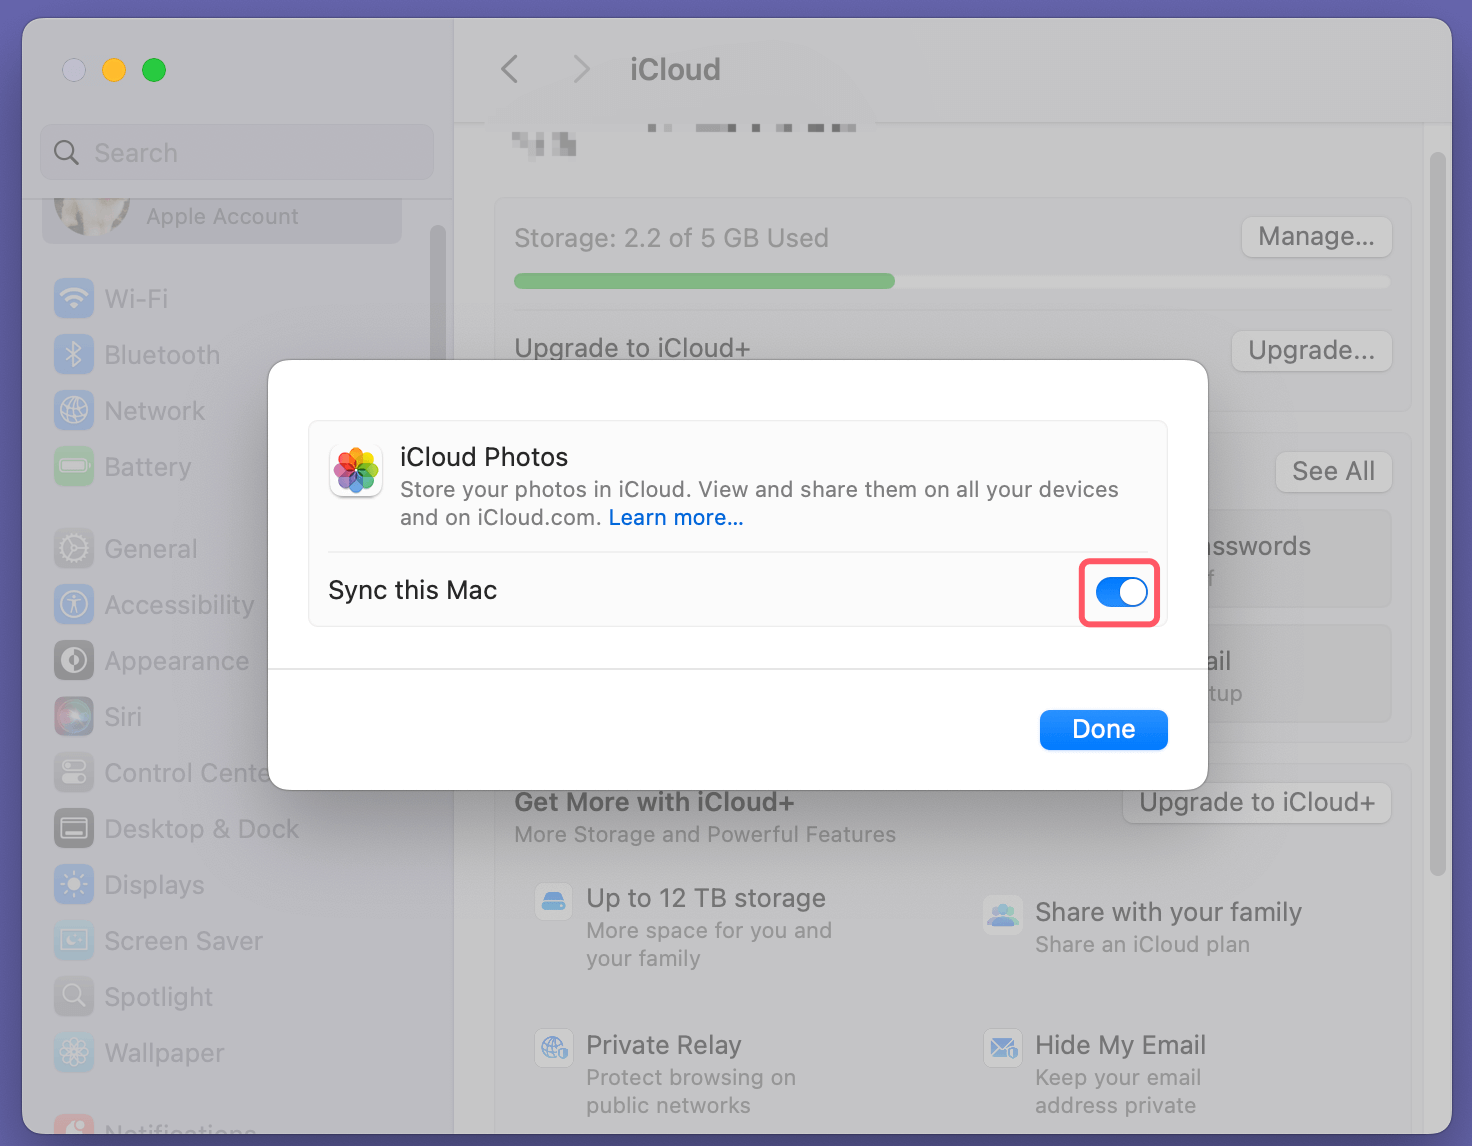
- On your Mac, go to "System Settings" > "Apple ID" > "iCloud" > "Photos."
- Toggle on "iCloud Photos," and your Mac will begin syncing photos from all your Apple devices.
![Add or Delete Photos on Mac]()
- Access Photos from iCloud:
- Once synced, all your photos from iCloud will appear in the Photos app. Any new photos taken on your iPhone will automatically show up on your Mac as well.
Importing from Google Photos:
- Download Google Backup & Sync:
- Install the Google Backup & Sync app to your Mac, which allows you to download photos stored in your Google account.
- Sign In and Sync:
- Sign in to your Google account and choose the photos you want to download to your Mac.
- Access and Organize Photos:
- Once downloaded, you can add these photos to your Photos library or organize them in Finder.
Organizing Photos on Mac
Using the Photos App:
Apple's Photos app is a powerful tool for organizing your images. It offers a variety of features to keep your photos neatly categorized.
- Creating Albums:
- To create a new album, open the Photos app, go to the "File" menu, and select "New Album."
![Add or Delete Photos on Mac]()
- You can name the album and add photos to it manually by dragging them from your library.
- To create a new album, open the Photos app, go to the "File" menu, and select "New Album."
- Smart Albums:
- Smart Albums automatically organize your photos based on rules you set, such as photos taken at a specific location or during a particular time period.
- To create a Smart Album, go to "File" > "New Smart Album" and set your criteria.
![Add or Delete Photos on Mac]()
- Sorting Photos:
- Photos in the Photos app can be sorted by date, location, or even face recognition. Use the search function to find photos based on specific people, objects, or places, making your photo collection easily navigable.
Manually Organizing Photos in Finder:
If you prefer a more hands-on approach to organizing your photos, Finder offers excellent flexibility.
- Creating Folders:
- Navigate to Finder and create a folder where you'll store your photos. You can create subfolders within this main folder for further categorization.
- Naming and Tagging:
- Name your folders or photos with descriptive titles so they're easy to locate.
- You can also use Finder's tagging system to label photos with colors or keywords, making them easier to search.
- Using Spotlight Search:
- Finder's built-in search tool, Spotlight, allows you to quickly find photos by file name, date, or tag. This is particularly useful if you have a large collection.
Deleting Photos on Mac
Deleting Photos via the Photos App:
Over time, your photo library can become cluttered, but deleting unwanted images is straightforward.
- Deleting Individual Photos:
- Open the Photos app and select the photo you wish to delete.
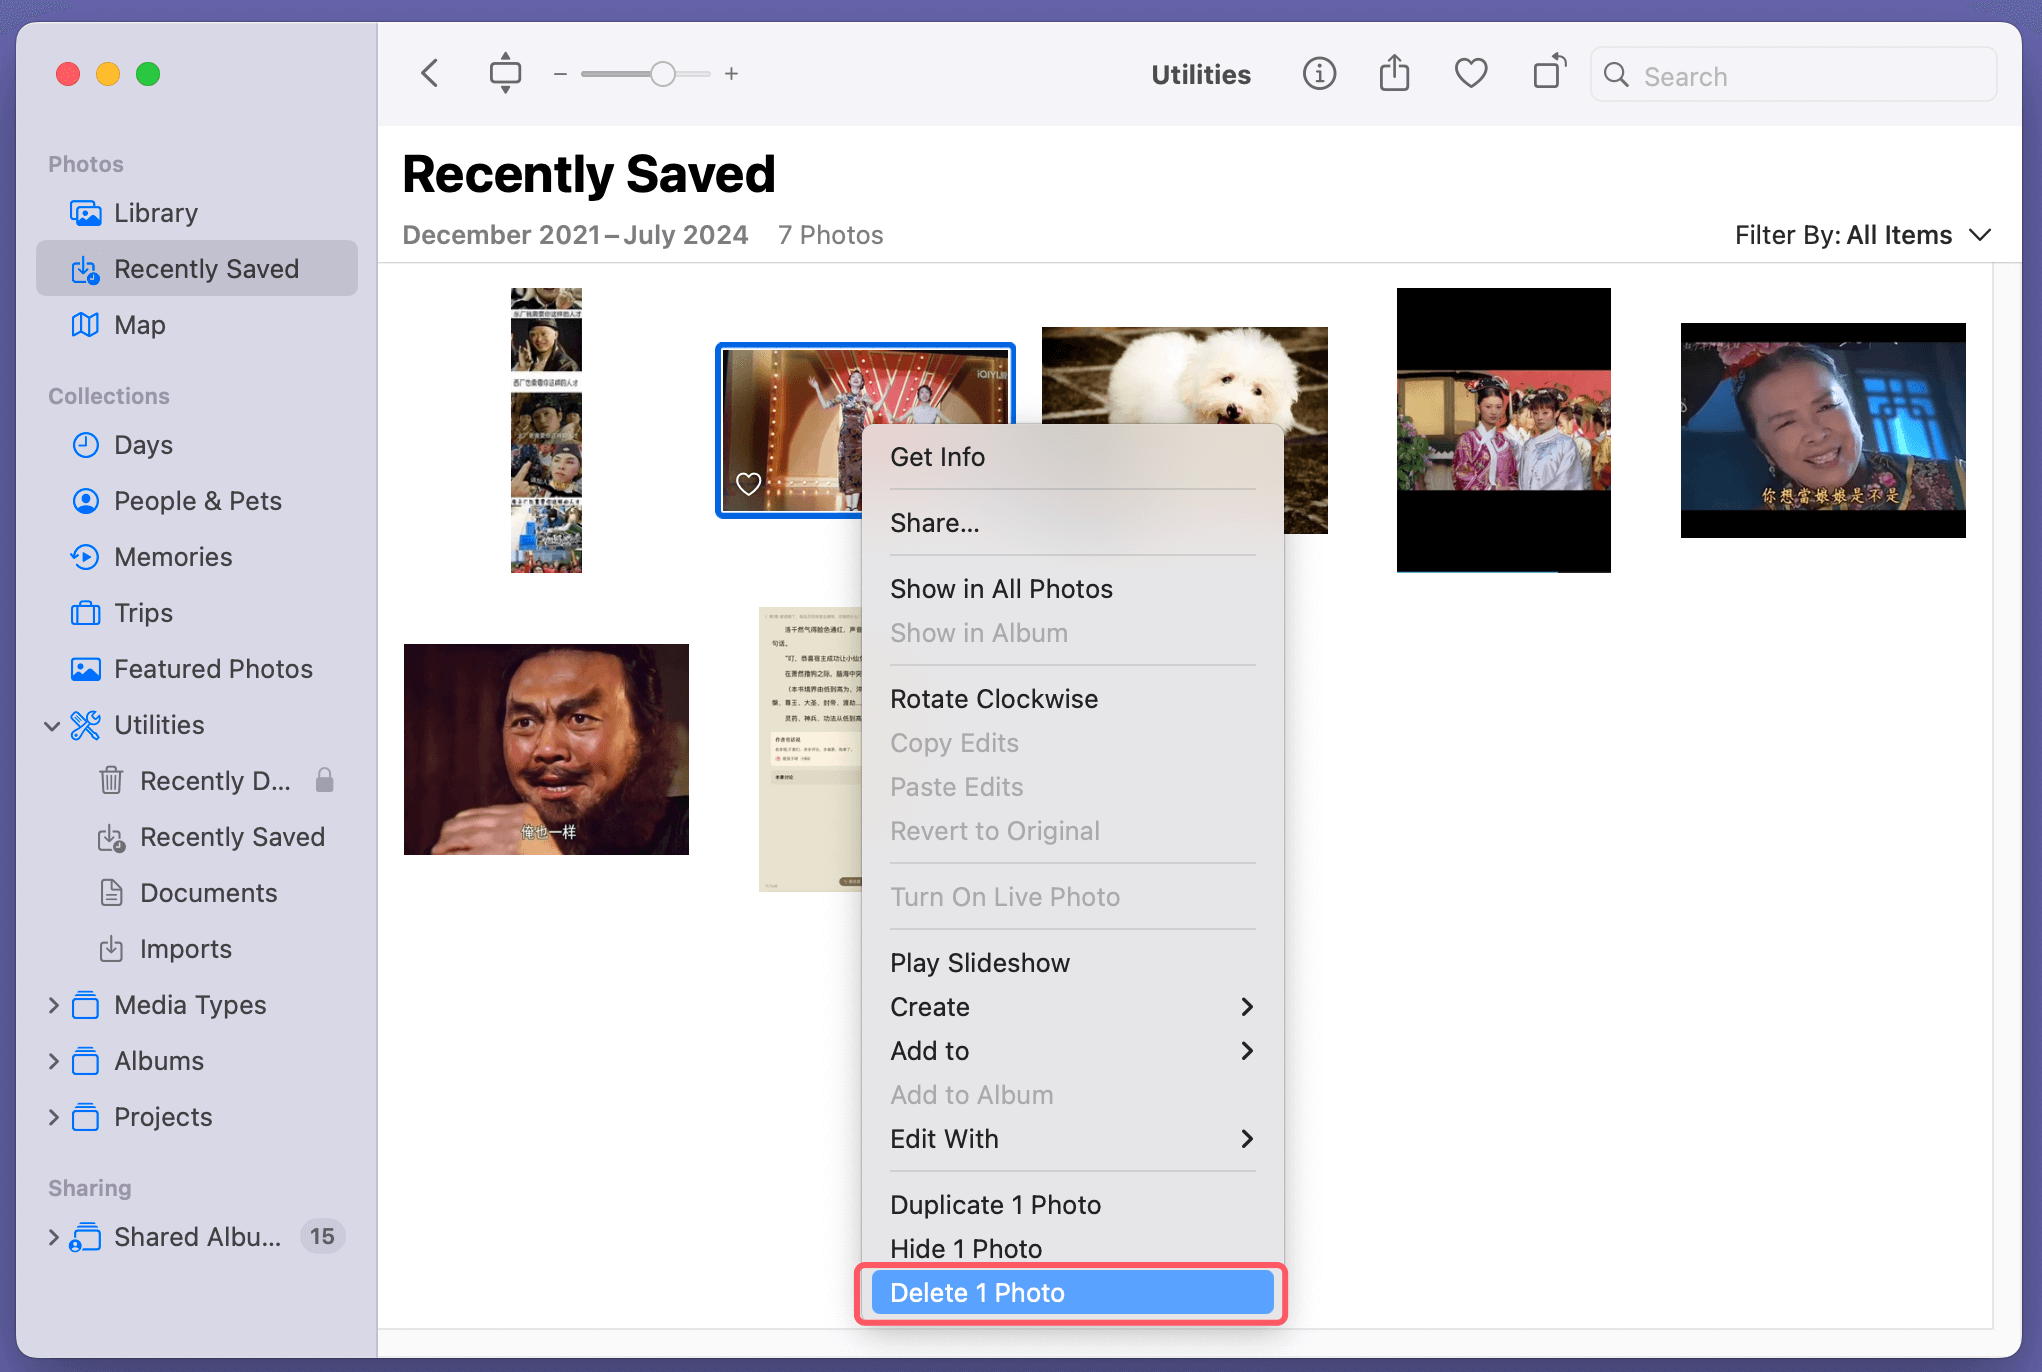
- Right-click and select "Delete Photo" or press the Delete key on your keyboard.
![Add or Delete Photos on Mac]()
- Deleting Multiple Photos:
- To delete multiple photos, hold down the Command key while selecting the photos, then right-click and select "Delete."
- The deleted photos will be moved to the "Recently Deleted" folder, where they will stay for 30 days before being permanently erased.
- Permanently Deleting Photos:
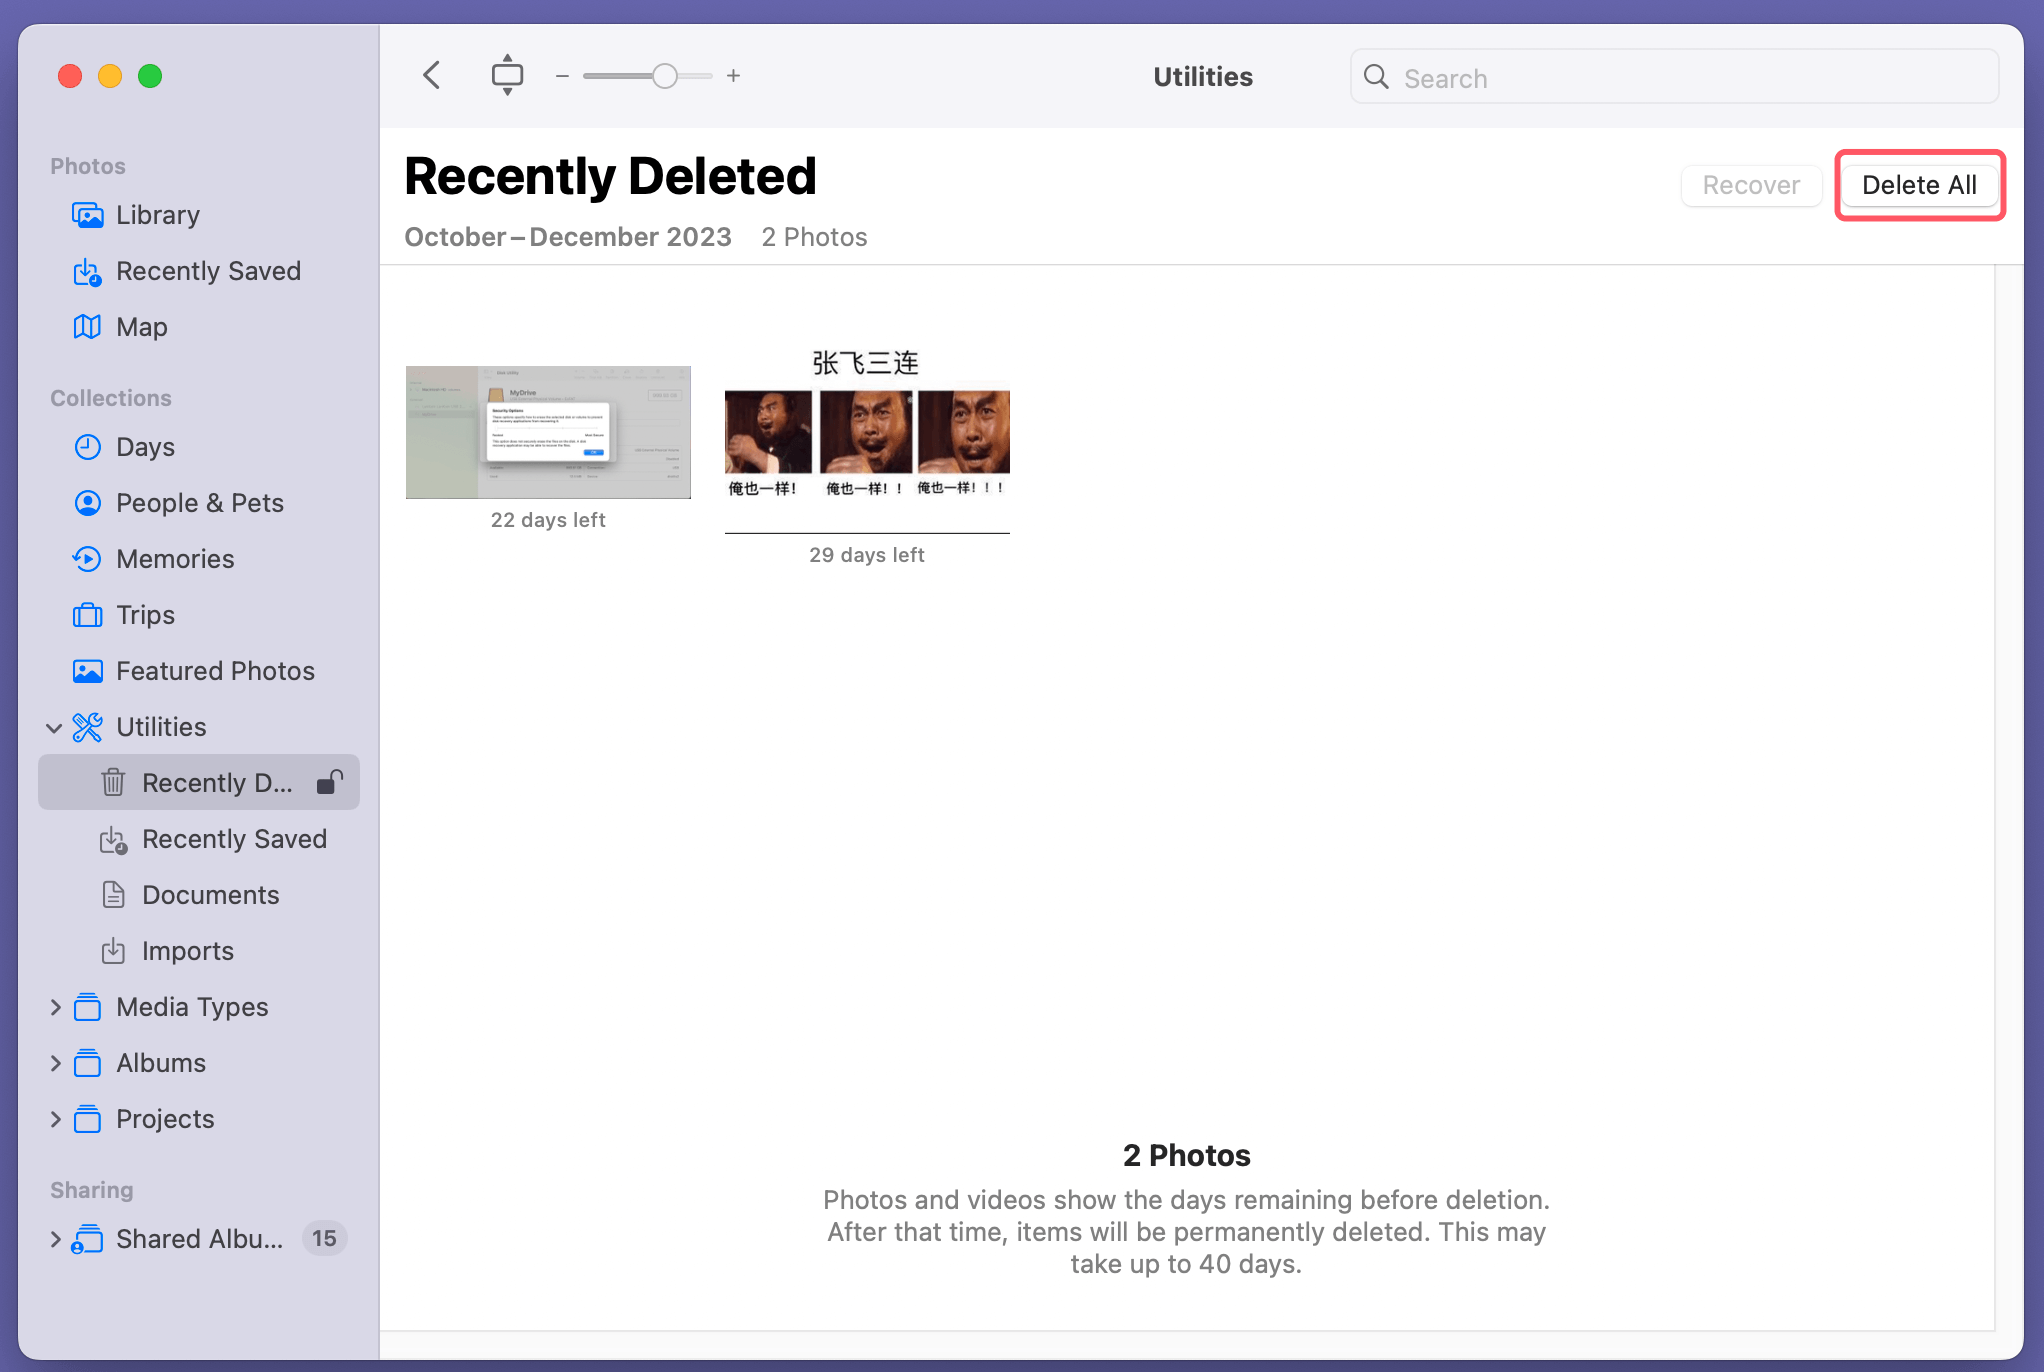
- To immediately free up space, go to the "Recently Deleted" album, select the photos you want to remove, and click "Delete All."
![Add or Delete Photos on Mac]()
- To immediately free up space, go to the "Recently Deleted" album, select the photos you want to remove, and click "Delete All."
Deleting Photos Manually in Finder:
If your photos are stored in custom folders rather than the Photos app, you can manually delete them via Finder.
- Locate the Photos:
- Open Finder and navigate to the folder where your photos are stored.
- Move Photos to Trash:
- Select the photos you want to delete and drag them to the Trash or right-click and choose "Move to Trash."
- Empty the Trash:
- Once you've moved the photos to the Trash, right-click on the Trash icon and select "Empty Trash" to permanently delete the photos and free up space.
Managing Photo Libraries and Reducing Space:
Photos, especially high-resolution ones, can quickly eat up your Mac’s storage space. Here are some tips for managing your photo library effectively.
- Deleting Duplicate Photos:
- Use third-party apps like Gemini 2 to scan for and delete duplicate photos, or manually search for and remove duplicates from your library.
- Identifying Large Photo Files:
- Use Finder's built-in search function to sort photos by file size. Delete or compress particularly large files to save space.
Backup and Recovery
Backing Up Photos to External Storage:
Backing up your photos is crucial to avoid losing them in case of hardware failure or accidental deletion. Here's how to back up your photos to an external drive.
- Using Time Machine:
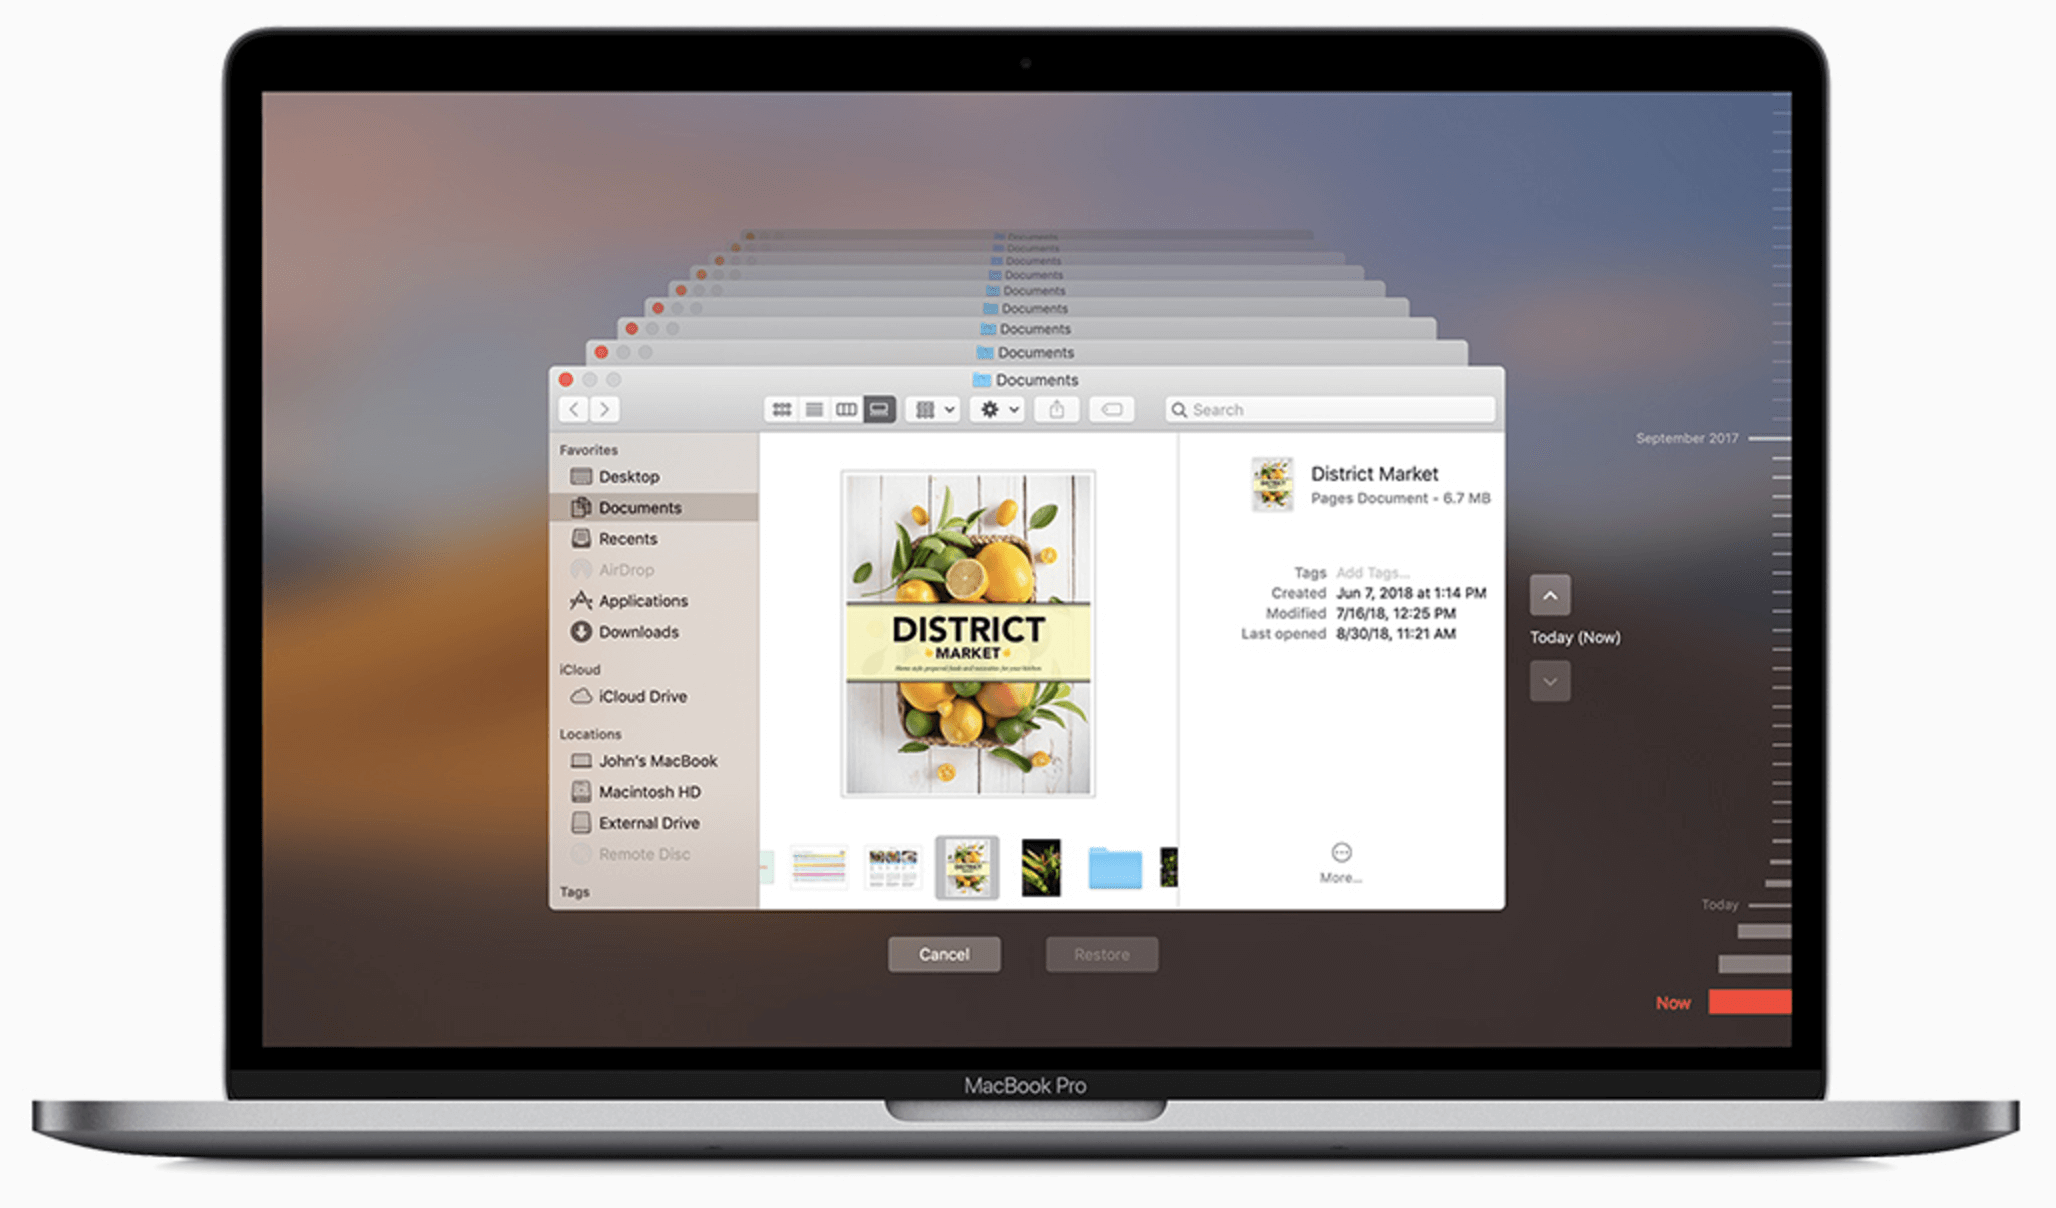
- Time Machine is a built-in backup feature on macOS. It can automatically back up your entire system, including your Photos library, to an external hard drive.
- To set it up, connect an external drive, go to System Settings > General > Time Machine, and select your drive as the backup disk.
🔗 Related link: how to use Time Machine to back up Mac data.
- Manual Backup:
- You can also manually copy your photos to an external drive by dragging them from the Photos app or Finder onto the drive.
- Regularly update this backup to ensure all your recent photos are included.
Recovering Deleted Photos:
Accidentally deleting an important photo can be stressful, but there are ways to recover them on your Mac.
1. Restoring Photos from the "Recently Deleted" Folder:
If you deleted a photo in the Photos app, go to the "Recently Deleted" folder. Select the photo and click "Recover."
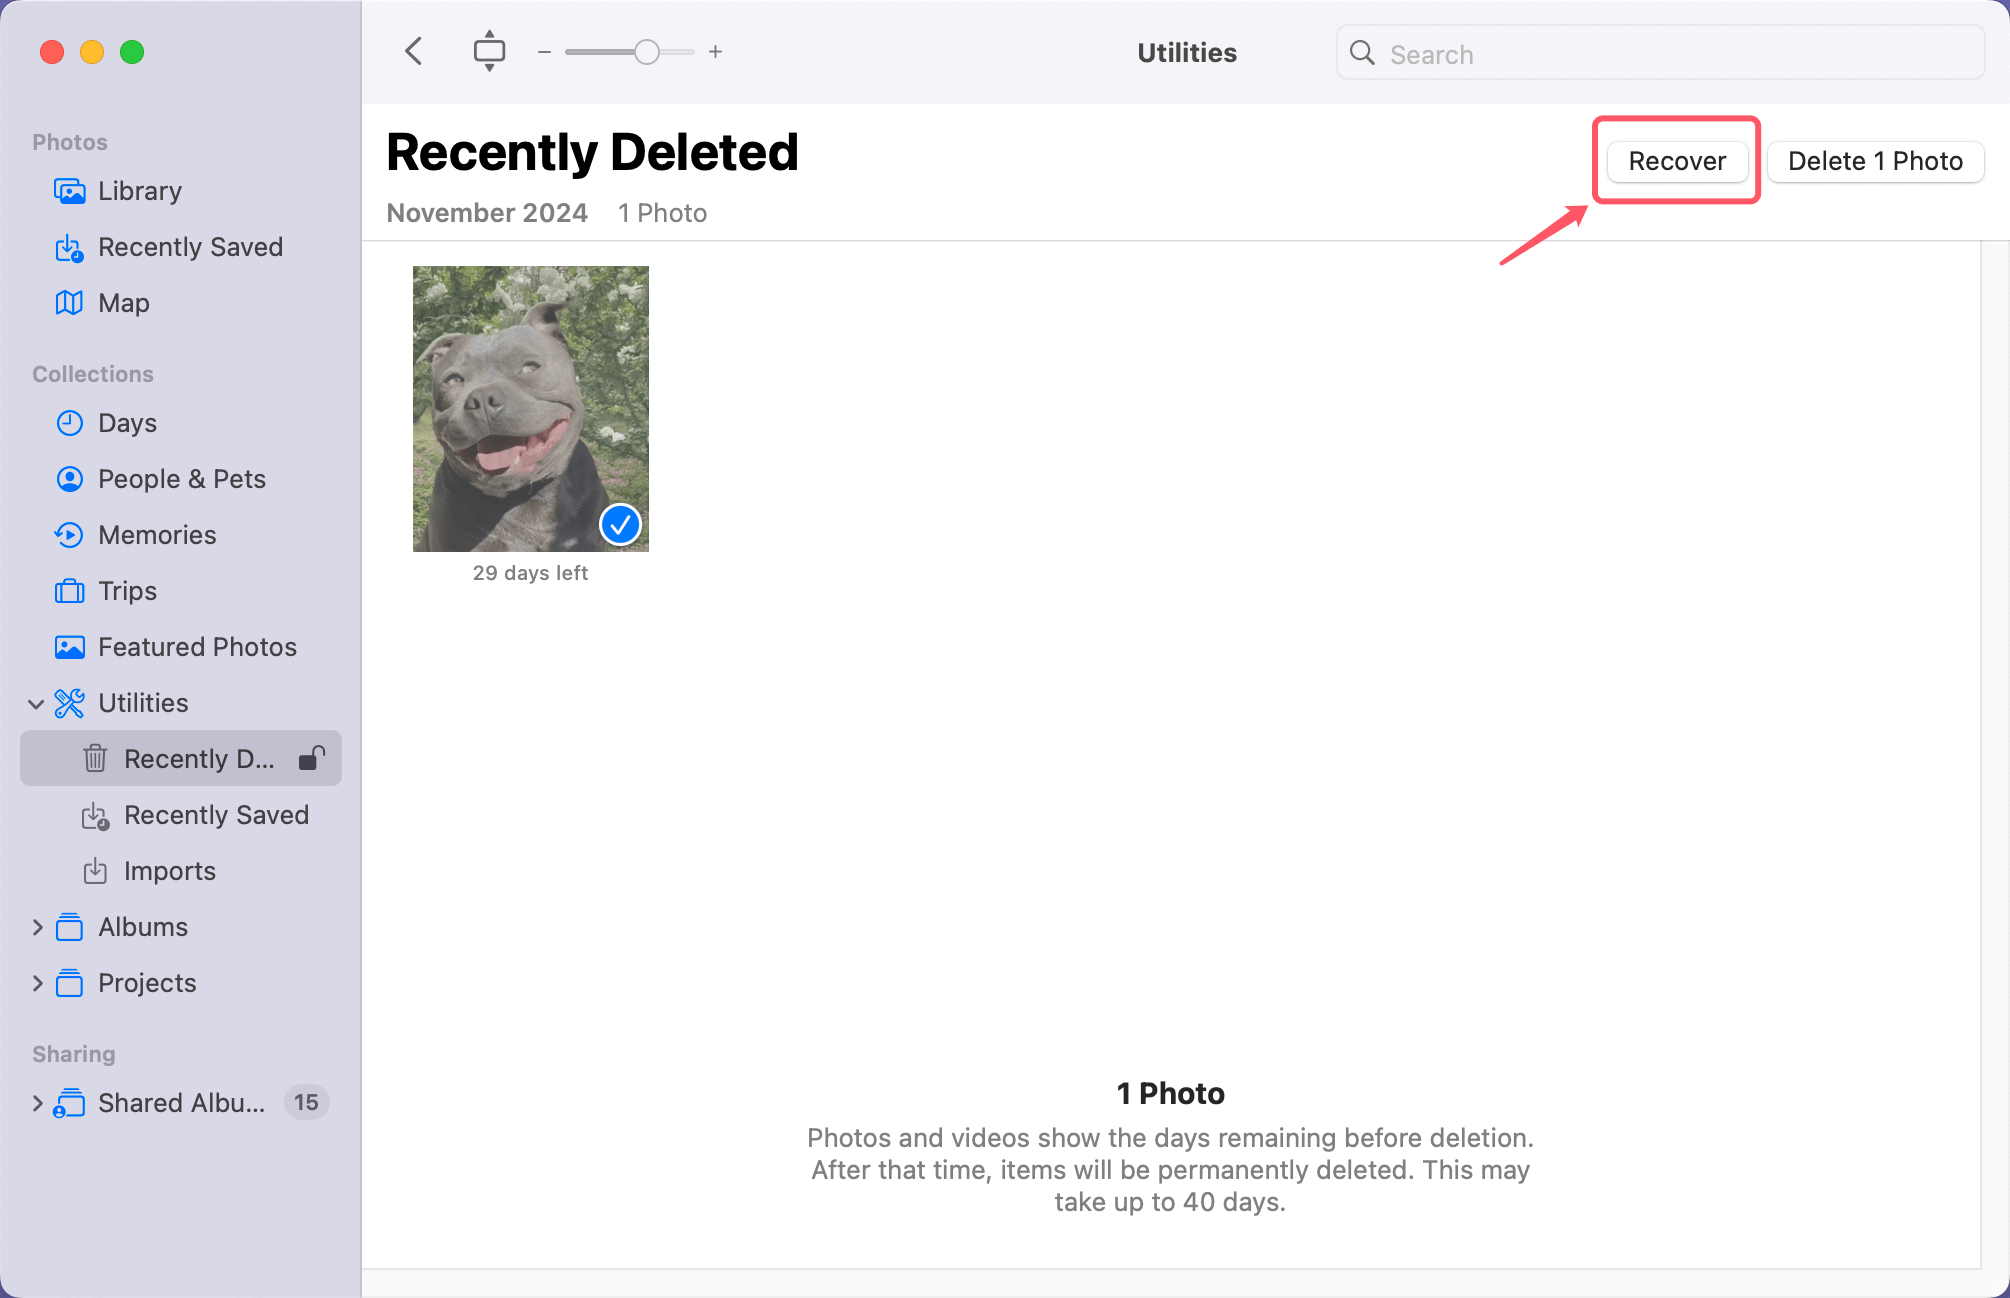
Photos remain in this folder for 30 days, giving you time to restore any that were deleted by mistake.
2. Recovering from iCloud:
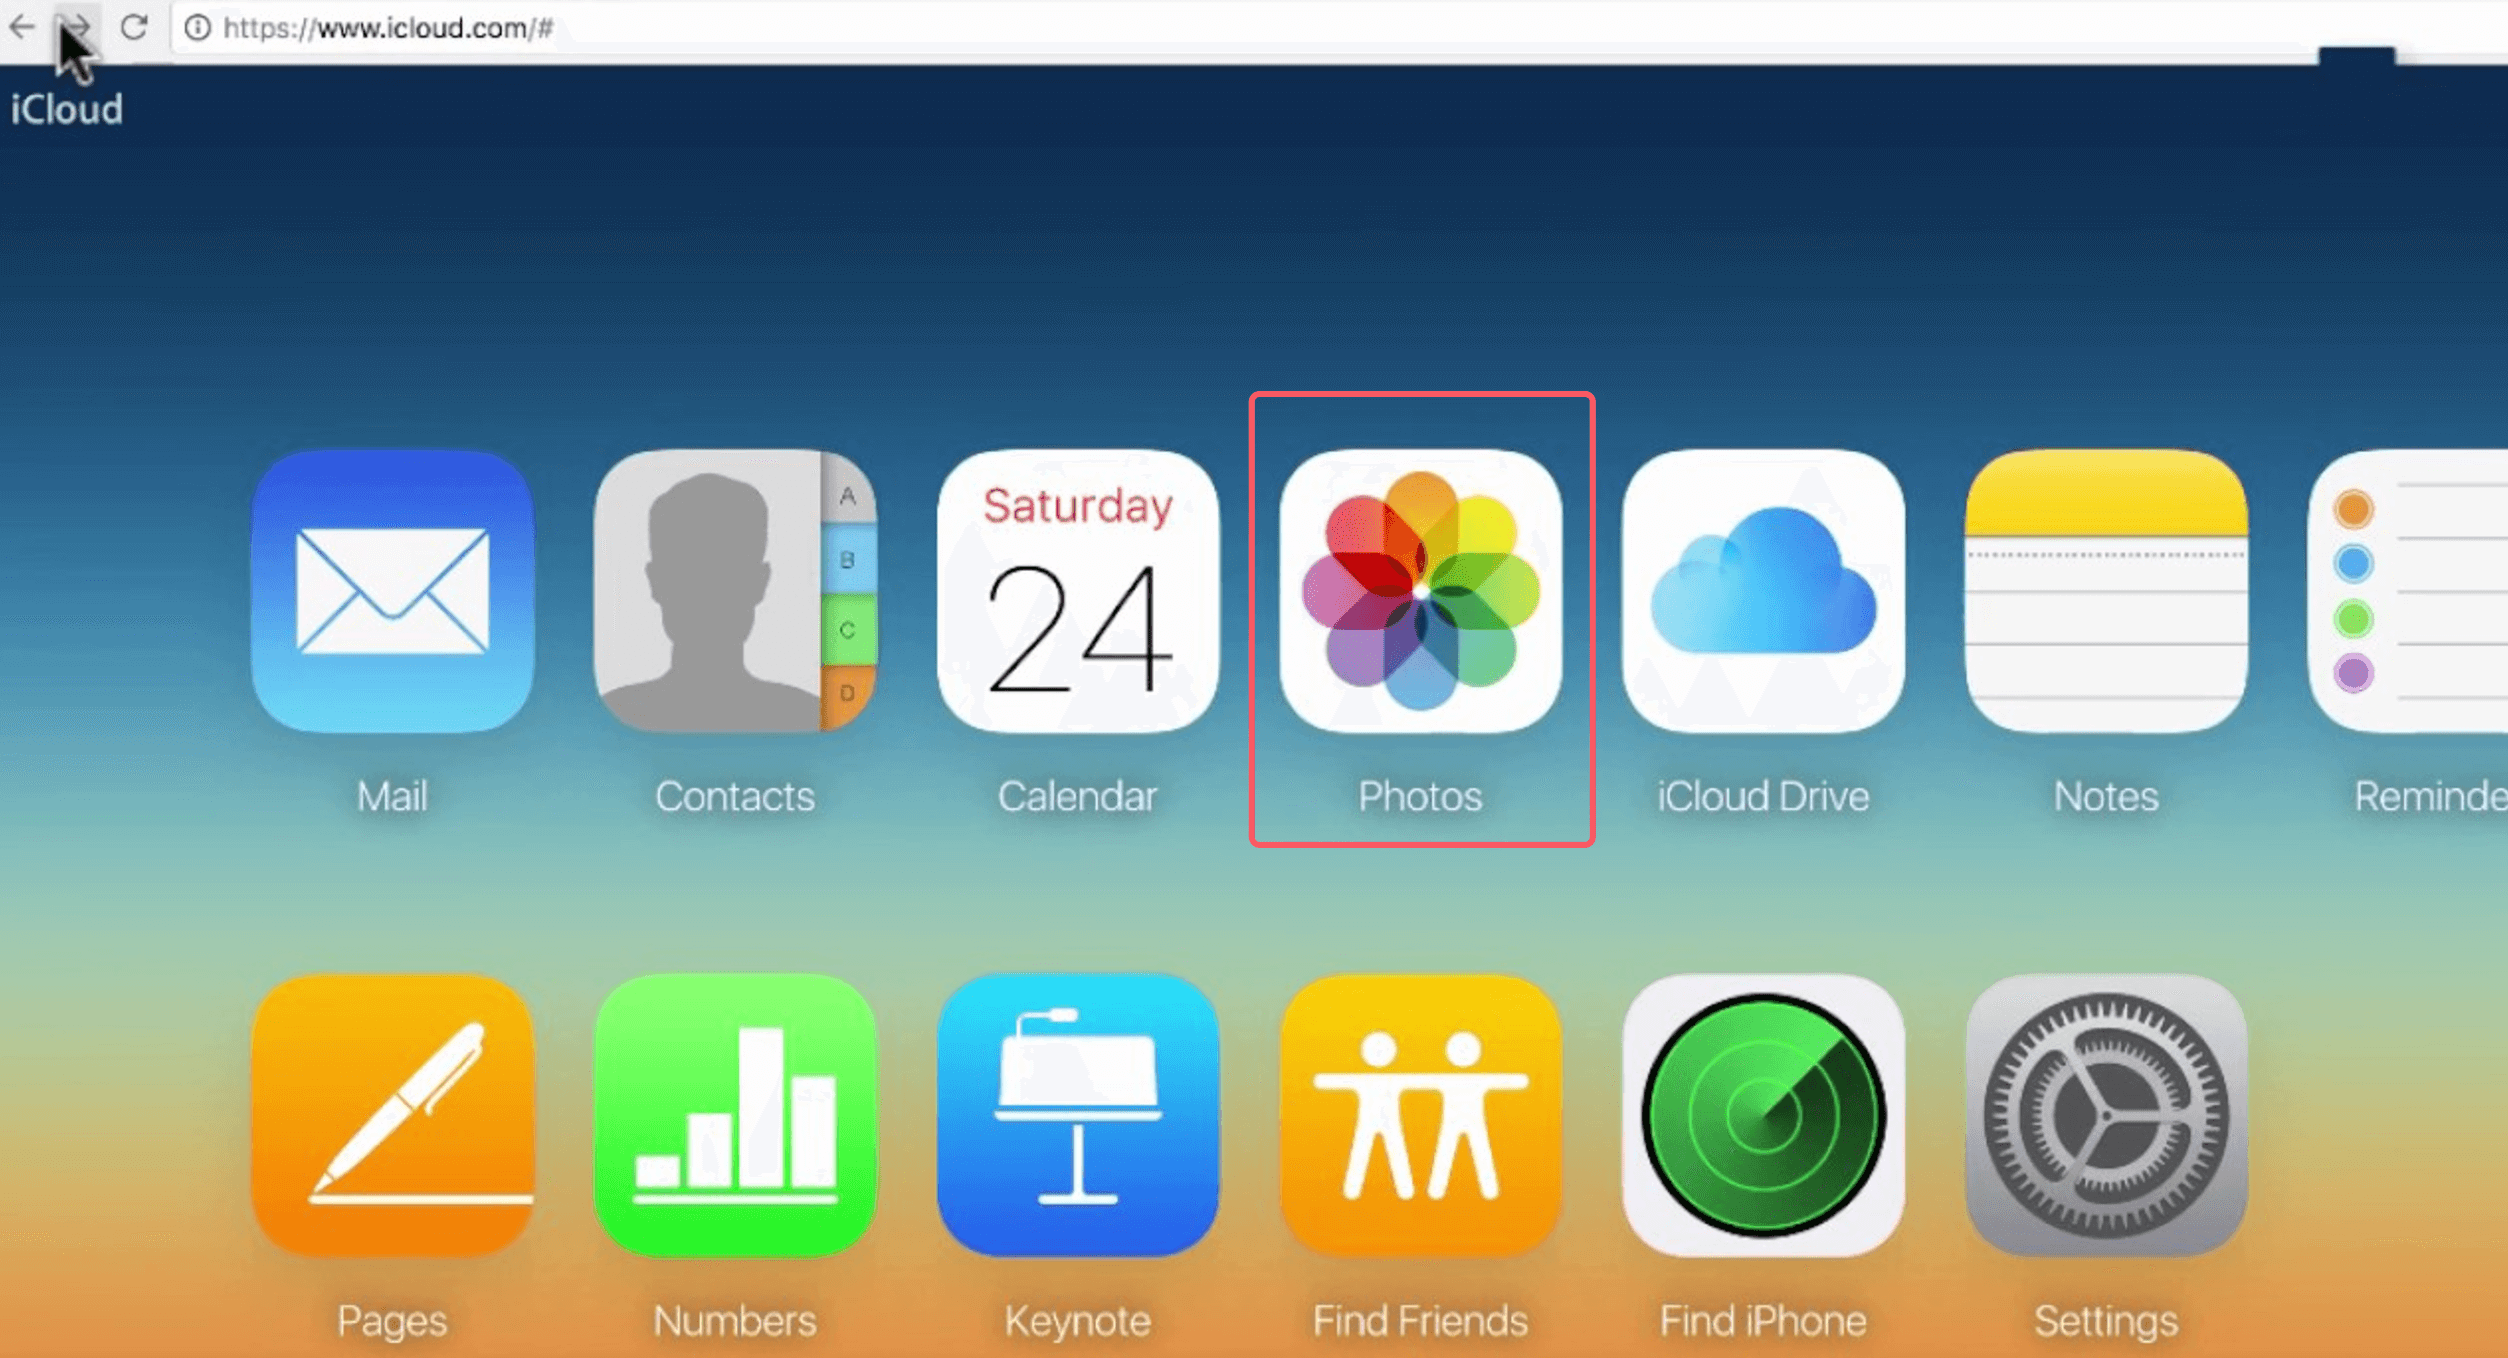
If you have iCloud Photos enabled, deleted photos can also be restored from iCloud. Visit iCloud.com, log in with your Apple ID, and access the "Photos" section. From there, you can restore recently deleted images.
3. Restoring from Backup:
If you've backed up your photos using Time Machine or manually, you can restore the deleted photos from your backup.
4. Use data recovery software:
Data recovery software can help you easily and completely recover deleted photos on Mac:
Step 1. Download and install the reliable Mac data recovery software - Donemax Data Recovery for Mac, run it from Launchpad.
Step 2. Open Donemax Data Recovery for Mac, select the Macintosh HD to start data recovery.

Step 3. Click on Scan button to deeply scan the Mac's internal disk and find all recoverable files including the deleted photos.

Step 4. Once the scan is completed, you can preview all recoverable files. Then select the wanted files, click on Recover button to save them.

Conclusion
Managing your photos on a Mac - whether you're adding, organizing, or deleting them - doesn't have to be a daunting task. By leveraging the tools built into macOS, such as the Photos app, Finder, and Time Machine, you can easily keep your photo collection neat and organized. Regularly backing up your photos and deleting unnecessary files ensures your Mac stays optimized while preserving your cherished memories.


Donemax Data Recovery for Mac
Donemax Data Recovery for Mac is one of the best Mac data recovery software. It is easy-to-use and can help in recovering deleted, formatted, inaccessible or lost data from Mac HDD/SSD, external disk, USB drive, SD card, camera or other storage devices.
Related Articles
- Dec 25, 20242025 Best FAT32 Disk Formatter for Mac
- Oct 16, 2024How to Add or Remove Icons from Dock on Mac?
- Sep 28, 2024What Is Error Code 8058 on Mac and How to Fix It Without Losing Data?
- Nov 20, 2024How to Make a Bootable USB Installer for macOS Big Sur?
- Feb 22, 2025Memory Card Not Working on Mac? Fix It Without Losing Data
- Jul 13, 2024How to Repair An External Hard Drive on Mac?

Christina
Christina is the senior editor of Donemax software who has worked in the company for 4+ years. She mainly writes the guides and solutions about data erasure, data transferring, data recovery and disk cloning to help users get the most out of their Windows and Mac. She likes to travel, enjoy country music and play games in her spare time.

Gerhard Chou
In order to effectively solve the problems for our customers, every article and troubleshooting solution published on our website has been strictly tested and practiced. Our editors love researching and using computers and testing software, and are willing to help computer users with their problems

