Written byMariaUpdated on Feb 24, 2025
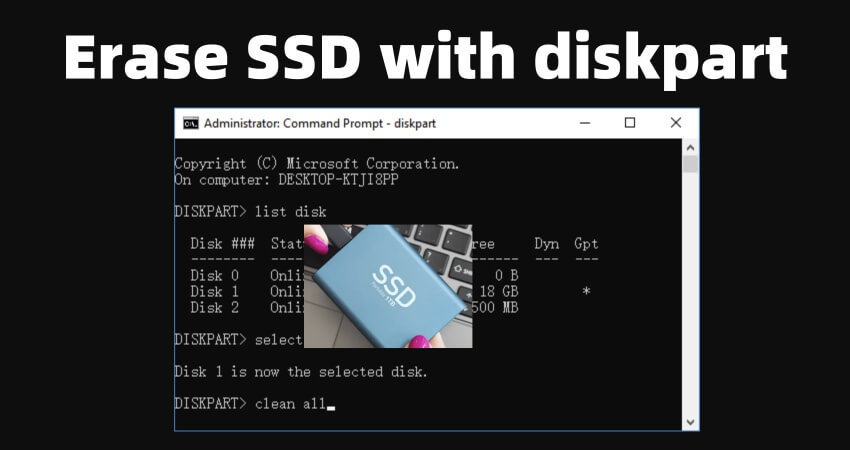
Reset or Erase SSD with Diskpart (Command Prompt Tool)
Approved byGerhard Chou
Before we start: Command Prompt's diskpart tool supports to securely and easily erase a SSD on Windows 11/10/8/7, but the erased data is not lost for good and can be recovered by data recovery software. If you want to permanently erase all data from the SSD, just try SSD disk wipe software - such as Donemax Data Eraser. It can wipe the SSD by only 1 click.
PAGE CONTENT:
Solid State Drives (SSDs) have revolutionized storage technology, offering unmatched speed and durability compared to traditional Hard Disk Drives (HDDs). As powerful as they are, there may come a time when you need to reset or erase your SSD. This could be for troubleshooting, securely deleting data, or repurposing the drive. Windows provides a robust built-in tool called Diskpart to handle such tasks efficiently. In this article, we'll guide you through the process of using Diskpart to reset or erase an SSD and discuss precautions, troubleshooting, and alternatives.
Introduction to Diskpart: Can It Erase SSD?
Diskpart is a command-line tool included with Windows, designed for managing disks, partitions, and volumes. Unlike the graphical Disk Management utility, Diskpart is powerful, precise, and well-suited for advanced operations such as disk resetting, secure erasure, and repartitioning.
While these features make it an essential tool for IT professionals and tech enthusiasts, Diskpart's precision can be a double-edged sword. A single mistake, such as selecting the wrong disk, can result in irreversible data loss.
Precautions Before Proceeding:
Before you proceed with resetting or erasing your SSD, it's essential to take the following precautions:
- Backup Your Data: Resetting or erasing an SSD will permanently delete all data. Ensure you back up critical files to another drive or cloud storage.
- Verify the Disk Selection: Double-check the disk number in Diskpart before executing commands. Selecting the wrong disk can wipe unintended data.
- Understand the Irreversibility: Some commands, such as clean all, perform secure wipes that make data recovery impossible.
- Ensure a Stable Power Supply: A power interruption during the process can corrupt the SSD and cause operational issues.
How to Open Diskpart:
To use Diskpart, you need administrative privileges. Follow these steps to open it:
- Press Windows + R to open the Run dialog box.
![Resetting or erasing an SSD with Diskpart]()
- Type cmd and press Ctrl + Shift + Enter to open Command Prompt as an administrator.
![Resetting or erasing an SSD with Diskpart]()
- In the Command Prompt, type diskpart and press Enter.
![Resetting or erasing an SSD with Diskpart]()
- A new window will open, displaying the Diskpart command-line interface.


Steps to Reset or Erase an SSD Using Diskpart
Step 1: List and Select the Correct Disk
The first step is to identify the SSD you want to reset or erase.
- Type list disk and press Enter. This will display all connected storage devices, along with their sizes and statuses.
- Look for your SSD in the list. Identify it based on its size and ensure you note the corresponding disk number.
- Select the disk by typing:
select disk <disk_number>
![Resetting or erasing an SSD with Diskpart]()

Replace <disk_number> with the appropriate number from the list.
You'll see a confirmation message stating: Disk <disk_number> is now the selected disk.
Step 2: Clean the Disk
Once the correct disk is selected, you can use the clean command to erase its partition table and metadata.
Type:
Clean

This command performs a quick wipe of the disk by removing its partition information. The data is technically still recoverable at this stage but inaccessible without specialized tools.
Step 3: Secure Erase with clean all (Optional)
For a more thorough erasure, use the clean all command.
Type:
clean all
This command writes zeros across the entire disk, making data recovery virtually impossible. However, it takes significantly longer, depending on the SSD size.
Important:
- Use this command only if you want to securely erase sensitive data.
- Be patient, as the process can take hours for large SSDs.
Step 4: Reinitialize the SSD (Optional)
If you plan to reuse the SSD after cleaning, you’ll need to reinitialize it by creating a new partition. Follow these steps:
- Create a Primary Partition:
create partition primary
![Resetting or erasing an SSD with Diskpart]()
- Format the Partition: For NTFS file system:
format fs=ntfs quick
![Resetting or erasing an SSD with Diskpart]()
For exFAT or FAT32 (useful for external drives):
format fs=exfat quick
- Assign a Drive Letter:
Assign
![Resetting or erasing an SSD with Diskpart]()


Your SSD is now reset and ready for use.
Erasing SSD with Diskpart Common Errors and Troubleshooting
Error: Disk is write-protected.
If you encounter this error, it means the SSD has write-protection enabled. To resolve this:
- Ensure the SSD's physical write-protect switch (if any) is disabled.
- Run the following command in Diskpart:
attributes disk clear readonly
![Resetting or erasing an SSD with Diskpart]()
- Retry the clean or clean all command.

Error: Disk Not Showing in list disk
If your SSD doesn't appear in the list disk output:
- Ensure the SSD is properly connected.
- Check for issues in the BIOS/UEFI, ensuring the SSD is recognized.
- Verify drivers for the SSD controller are up-to-date.
Why Use Diskpart Over GUI Tools?
Diskpart offers several advantages:
- Precision: With precise commands, you have more control over operations.
- Speed: It's faster for professionals comfortable with command-line tools.
- Functionality: Diskpart can perform tasks not available in Disk Management, such as clean all for secure erasure.
However, GUI tools like Disk Management or third-party applications may be more user-friendly for beginners.
Alternatives to Diskpart for SSD Reset or Erasure
While Diskpart is effective, there are scenarios where other tools might be more appropriate:
Manufacturer-Specific Tools:
Many SSD manufacturers offer their own management software with advanced features:
- Samsung Magician: Includes a secure erase function and performance optimization.
- Crucial Storage Executive: Offers firmware updates and drive maintenance.
Third-Party Tools:
Third-party software offers intuitive graphical interfaces and advanced features, making them suitable for users who prefer not to use command-line tools like Diskpart. Two of the most popular third-party tools for SSD management are Donemax Data Eraser and Donemax Data Recovery.
🔗 Related link: 5 ways to erase SSD and other storage devices on Windows 11/10.
Recover Lost Data from a SSD Which Is Erased by Diskpart
The data which is erased by diskpart is not lost for good and can be recovered by data recovery software - such as Donemax Data Recovery.
Step 1. Quickly download and install Donemax Data Recovery on your computer.
Step 2. Open Donemax Data Recovery, then select the erased SSD to start data recovery.

Step 3. Click on Scan button to deeply scan the SSD and find all deleted/erased files.
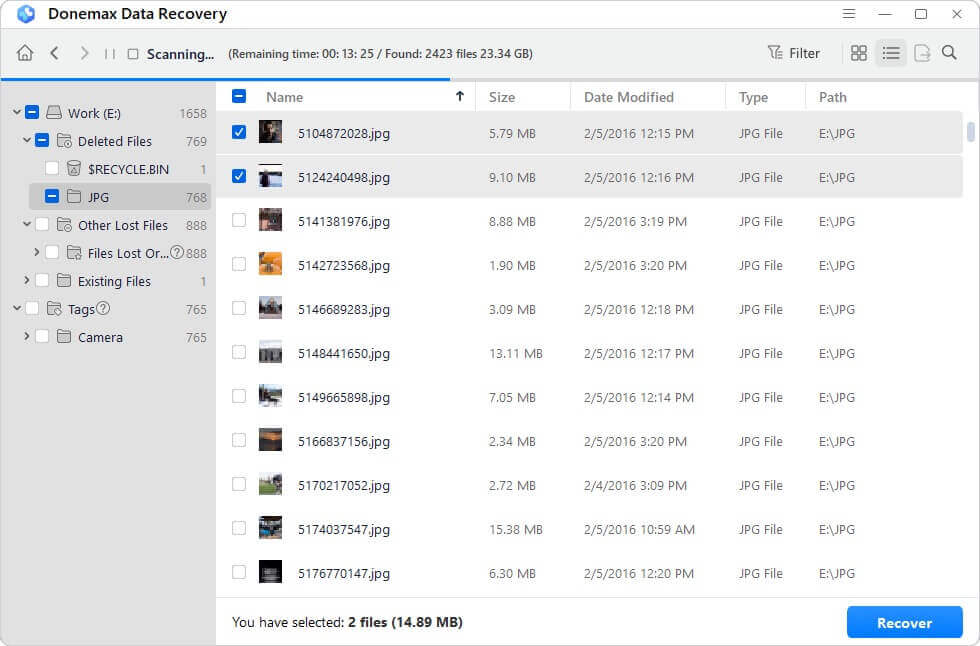
Step 4. Once the scan is completed, you can preview all recoverable files. Then select the wanted files, click on Recover button to save them.

Wipe SSD with Disk Wipe Software [Data is lost for good]
If you will sell, donate or dispose of an old SSD, you can use disk wipe software - such as Donemax Data Eraser to wipe the SSD. It will securely and permanently erase all data from the SSD beyond the scope of data recovery.
Step 1. Please note that once the data is erased by Donemax Data Eraser, the data is lost for good, can't be recovered by any method. You should back up the important data to another drive before wiping your SSD.
Step 2. Download and install Donemax Data Eraser on your computer.
Step 3. Open Donemax Data Eraser, choose Erase Hard Drive mode. Then select the SSD, click on Erase Now button to securely and permanently erase all data (including existing data, deleted/formatted/lost data) from the SSD.

💡 Note: Once the process gets finished, all data stored on the SSD is lost for good, can't be recovered by any data recovery method.
Security Considerations for SSD Erasure
Erasing data from SSDs is not as straightforward as with HDDs. Due to the way SSDs manage storage with wear-leveling algorithms, residual data may remain even after erasure.
To ensure secure data deletion:
- Use the clean all command for basic security.
- Opt for manufacturer tools with a built-in Secure Erase feature for advanced security.
- Consider encryption before storing sensitive data to make recovery impractical without the encryption key.
Conclusion
Resetting or erasing an SSD with Diskpart is a powerful way to manage your storage effectively. By following the steps outlined in this guide, you can confidently clean, secure, and reinitialize your SSD. However, always exercise caution and double-check every command to avoid unintended consequences.
Whether you're repurposing your SSD or securely erasing sensitive data, Diskpart is a versatile tool that puts full control at your fingertips. For users seeking more user-friendly alternatives or advanced features, manufacturer-specific tools and third-party software offer compelling options.
With the right precautions and tools, managing your SSD can be a smooth and stress-free experience.
Donemax Data Eraser
One of the best data erasure programs for permanently erase data from PC, Mac, HDD, SSD, USB drive, digital camera and other devices. Once the data is erased, it is lost for good, cannot be recovered by any method.
Related Articles
- Nov 21, 2024SSD Not Mounting on MacBook Pro: Causes, Troubleshooting, and Solutions
- Sep 23, 2024How to Format NVMe SSD on Windows or macOS?
- Jan 14, 2025Best 6 Solutions to Fix SSD Is Unreadable
- Nov 07, 2024How to Recover Lost Data from an SSD on Mac?
- Nov 05, 2024How to Upgrade HDD to SSD on Toshiba Laptop?
- Jan 17, 2025How to Format an SSD to ExFAT or FAT32 on Mac: A Detailed Guide

Contributing Writer
Maria
Maria is one of the senior writers & editors of Donemax who lives and works in Sydney, Australia. She loves PC, Mac and Internet Technology. She has 6 years of writing articles about data recovery on PC/Mac, disk cloning solution, data eraser and computer OS optimization, etc. She is also interested in testing various software and digital products.

Editor in chief
Gerhard Chou
In order to effectively solve the problems for our customers, every article and troubleshooting solution published on our website has been strictly tested and practiced. Our editors love researching and using computers and testing software, and are willing to help computer users with their problems