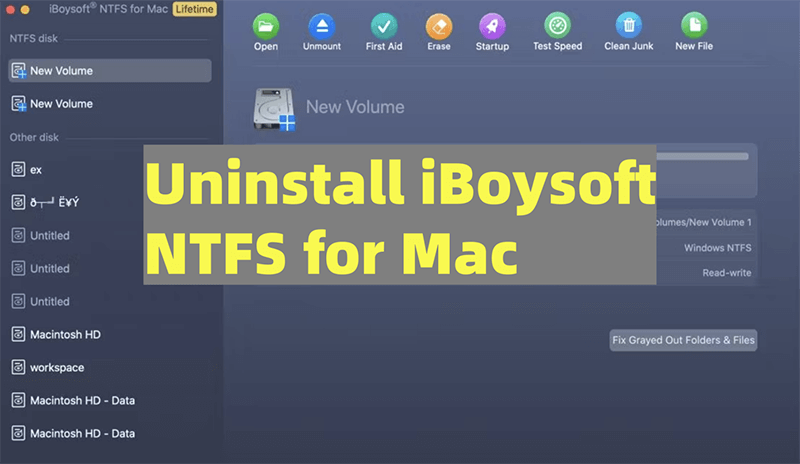
Hi, after I installed iBoysoft NTFS for Mac on my Mac, all files stored on my external hard drive disappeared - the drive showed no files. I want to completely remove iBoysoft NTFS for Mac from my Mac, how to find the driver and extension? Just want to completely uninstall it, no leftovers.
PAGE CONTENT:
Sometimes, you need to remove iBoysoft NTFS for Mac from your Mac to fix compatibility problems, make the system run faster, or switch to a different NTFS driver. This step-by-step guide will help you fully remove iBoysoft NTFS for Mac, ensuring no leftover files are left on your computer.
We'll discuss using the built-in remover, deleting files by hand, and using third-party uninstaller tools. We'll advise you on how to back up important files, look for extra files, and fix common uninstallation problems.
By following this complete guide, you can get rid of iBoysoft NTFS for Mac completely and safely, ensuring your system works perfectly. Let's start the removal process so your Mac stays clean and running at its best.

Why Remove iBoysoft for Mac?
Before we get into how to delete iBoysoft for Mac, let's look at some common reasons why you might want to do so:
- Compatibility Issues: You might run into software clashes or problems with how other programs work together.
- Performance Concerns: Getting rid of apps you don't use can help your Mac run faster.
- Upgrading Software: This could involve changing to a different NTFS driver (such as Donemax NTFS for Mac) or updating to a better version of iBoysoft for Mac.
- Troubleshooting: Sometimes, uninstalling and reinstalling the program can fix problems.
Preparation Before Uninstallation
There are a few important steps you need to take before you start uninstalling to make sure everything goes smoothly:
- Backup Important Data: Ensure you have a copy of all your important files, especially those on NTFS drives, so you don't lose them when you remove them.
- Close All Applications: To keep the uninstallation from going wrong, ensure all open programs are closed, especially those using NTFS drives.
- Disconnect NTFS Drives: Remove any NTFS drives connected to your Mac safely.
Methods to Uninstall iBoysoft NTFS for Mac
Method 1. Delete iBoysoft NTFS for Mac from Applications
If you want to get rid of iBoysoft for Mac quickly and easily, use the built-in uninstaller:
- Open Finder: Get to the area called "Applications."
- Locate iBoysoft NTFS for Mac: Look for the iBoysoft for Mac app icon.
- Uninstall iBoysoft NTFS for Mac: Right-click iBoysoft NTFS for Mac, then choose Move to Trash, you also can drag the icon to Trash to uninstall it.
![Delete iBoysoft NTFS for Mac from Applications]()
- Empty trash bin: After deleting iBoysoft NTFS for Mac, just empty it from Trash.
Checking for Residual Files:
Even after you use the built-in uninstaller or delete the app by hand, there may still be leftover files on your Mac. You need to look for and eliminate these leftover files to ensure the cleanup is complete.
Delete NTFS driver and Extension:
Go to /Library/Extensions and /Library/Filesystems/ to delete iBoysoft NTFS for Mac's extension and driver.
Method 2. Uninstall via iBoysoft NTFS for Mac
Step 1: In the menu bar next to the Apple name, click iBoysoft for Mac.
Step 2: Choose "Uninstall" to remove iBoysoft for Mac totally from your Mac.

Delete NTFS Driver and Extension:
Two driver parts remain after you delete the iBoysoft for Mac app from the Applications folder. The following instructions must be used to get rid of these two driver parts completely:
sudo rm -rf /Library/Filesystems/iboysoft_NTFS.fs
sudo rm -rf /Library/Extensions/ms_ntfs.kext
Clear Preference Files:
Users can save their settings and choices for apps in preference files. To get rid of the iBoysoft for Mac preference files, do the following:
- Open the Folder with Preferences: Find the Preferences folder in the ~/Library path.
- Delete Preferences: Locate and remove files connected to iBoysoft for Mac, like com.iboysoft.ntfs.plist.
Clear Cache Files:
Cache files are temporary files that programs make. To get rid of the cache files for iBoysoft for Mac, do the following:
- Go to Caches Folder: Find the Caches folder in the ~/Library path.
- Delete Cache Files: Find folders and files that have to do with iBoysoft for Mac and get rid of them.
Clear Support Files:
Support files might have extra data and resources that the program needs. To get rid of the help files for iBoysoft for Mac:
- Go to Application Support Folder: Go to the Application Support folder in the ~/Library path.
- Delete Support Files: Find folders and files related to iBoysoft for Mac and delete them.
Method 3. Use Third-Party Uninstallers
You can use third-party uninstaller programs if you don't feel safe deleting files by hand or if you want to make sure you do a complete cleanup. These are some common choices:
- Donemax AppRemover for Mac: A free program that helps you eliminate programs and the files that go with them.
- CleanMyMac X: A complete program with tools for uninstalling and cleaning the system.
To use a third-party uninstaller:
- Download and Install the Uninstaller: Get the third-party utility you want and install it. Download and install Donemax AppRemover for Mac.
- Launch the Uninstaller: Start up the removal program.
- Select iBoysoft for Mac: Browse the list of installed apps and pick iBoysoft for Mac from the list.
- Uninstall the Application: To get rid of iBoysoft for Mac and the files that go with it, follow the steps shown on the screen.
![Use Third-Party Uninstallers]()
Another uninstaller - Donemax Data Eraser for Mac can help you quickly uninstall iBoysoft NTFS for Mac and can help in wiping free disk space of the Mac to permanently erase all deleted/erased/lost data from the Mac.
Verifying Complete Removal
Following the steps of uninstalling iBoysoft for Mac and getting rid of any extra files, it is important to make sure that the program is gone for good:

- Check System Settings: Make sure that there are no more items for iBoysoft for Mac in System Settings.
- Search for Residual Files: If you still need to find files or folders related to iBoysoft for Mac, use the Finder's search function.
- Restart your Mac: Restart your Mac to ensure all your changes take effect and check for problems.
Troubleshooting Common Issues
If you run into any problems while removing something, here are some usual ones and how to fix them:
- Permission Denied: Ensure you have administrative rights and try using sudo in the Terminal if you get a "permission denied" message.
- Stubborn Files: If some files don't go away, try starting up in Safe Mode and deleting them there.
- Incomplete Uninstallation: If you think the removal isn't complete, use a different uninstaller to look for any still files.
Best iBoysoft NTFS for Mac Alternative - Donemax NTFS for Mac
If iBoysoft NTFS for Mac can't grant full read-write access to NTFS drives on your Mac, just try another NTFS for Mac tool - Donemax NTFS for Mac. It is easy to download, install and use this NTFS for Mac tool on any Mac (Apple silicon included).
Step 1. Download and install Donemax NTFS for Mac on your Mac and connect an NTFS drive to the Mac.
Step 2. Open Donemax NTFS for Mac, select the NTFS drive and click on Enable Writable button. Then you can read-write any NTFS drive on your Mac.

Donemax NTFS for Mac also can help you mount a drive on Mac, fix damaged drive on Mac, reformat external storage device on Mac and format any disk to NTFS on Mac.
Conclusion:
If you follow this guide, you should be able to get rid of iBoysoft NTFS for Mac fully, leaving no files behind. These steps will help you keep your Mac clean and running well whether you use the built-in uninstaller, delete files by hand, or use third-party tools.
To keep your system running at its best, check carefully for any extra files and make sure they are gone for good. If you have any problems, this guide has tips and methods for fixing them. Once you've successfully removed iBoysoft for Mac, your Mac will be free of any useless files and programs that might cause problems.


Donemax NTFS for Mac
An easy-to-use NTFS for Mac tool to help you enable writable for NTFS drives on Mac so that you can read-write NTFS drives on Mac without any limitation. It also can help you mount, format, repair, rename, open drive on your Mac.
Related Articles
- Dec 23, 2024Best 5 Toshiba NTFS Driver for Mac
- Nov 12, 2024Best 3 NTFS Driver for macOS Mojave
- Feb 27, 2024External Hard Drive Is Read-Only on M3-Chip Mac, Fix It
- Dec 02, 2024How to Format an SD Card to NTFS on Mac?
- Jul 06, 2023External Hard Drive Not Mounting on Mac, How to Fix It?
- Sep 28, 2024How to Format Flash Drive to NTFS on Mac?

Lucien
Lucien is a writer and a chief programmer of Donemax software who has worked in the company for 5+ years. He has written much of the content on the site and devotes to providing troubleshooting and solution for Windows and Mac users including disk cloning, data recovery, migration, eraser, error fixes.

Gerhard Chou
In order to effectively solve the problems for our customers, every article and troubleshooting solution published on our website has been strictly tested and practiced. Our editors love researching and using computers and testing software, and are willing to help computer users with their problems

