PAGE CONTENT:
ExFAT is a famous file system that works well with Windows and macOS. That makes it perfect for external storage devices. But macOS users sometimes have problems with their Mac not mounting an ExFAT drive. That can be not very pleasant, especially if the drive has important data on it. It can be easier to fix the problem if you know the usual causes, like file system corruption, disk errors, old macOS versions, bad formatting, and hardware problems.
This detailed guide examines many possible options, such as reformatting the drive and using third-party software, as well as built-in macOS tools like Disk Utility and Terminal. If you follow these steps, you should be able to fix the problem and access your ExFAT drive again, which will keep your data safe and easy to access.

Understanding ExFAT and Mac Compatibility
The file system ExFAT (Extended File Allocation Table) is often used on external storage devices because it works with both Windows and macOS. While APFS/HFS+ and other native Mac file systems work well with computers, ExFAT doesn't work well with Macs. Know this:
- Limited Permissions: ExFAT doesn't have journaling, which keeps track of changes to the file system. If the drive is removed incorrectly, mounting problems could occur, leading to errors.
- Allocation Unit Size: Macs can only read ExFAT drives formatted with a certain cluster size. If you format a drive on a Windows computer with a size that your Mac doesn't support, your Mac won't be able to read it.

Why Mac Won’t Mount Your ExFAT Drive?
There are a lot of website posts that talk about the problem of the ExFAT drive not mounting on Mac. If you do more study, you'll find that the ExFAT drive mounting problem has more than one cause. These are some of the most common:
- Mac does not support this ExFAT allocation unit size.
- Damage to the drive from improper ejection stopped file transfer and other things.
- The USB connection or port is broken.
- Bugs in the software.
- Broken case for the hard drive.
How to Fix the ExFAT Drive That Won't Mount?
So that we know what could be wrong, let's move on to the steps for fixing the problem. We'll look at methods ranging from the simplest to the most complex.
- Basic Checks: Physical Connection: Make sure that your ExFAT drive is firmly put into a working USB port. You could try a different Mac port or a different connection.
- Safe Ejection: Finder or Disk Utility should always be used to eject the drive before removing it. When removal is done wrong, it can mess up the file system.
- Finder Settings: Under Finder > Settings > General/Sidebar, check "External disks." This will ensure that your Mac shows drives that are mounted.
- Restart: A simple restart can often fix short-term problems that stop the drive from mounting.
If the ExFAT drive still won’t mount on your Mac, try these solutions:
💡Solution 1. Manually Mount ExFAT Drive in Disk Utility
Step 1. Open Disk Utility and pick the ExFAT drive.
Step 2. In the menu, click the "Mount" button.

Let us say it mounts your drive properly. Excellent work. If that doesn't work or gives you an error, here are some other things you can try.
💡Solution 2. Check Finder Preferences or Finder Settings
If your disk drive won't show up in your system options. These steps can help you fix it:
Step 1. Start Finder.
Step 2. Go to "Finder" > "Settings".

Step 3. In Finder Settings window, click General and Sidebar, make sure External disks is selected.

💡Solution 3. Mount ExFAT Disk Using Terminal
Step 1. Launch Terminal by going to "Applications" > "Utilities" on your Mac.
Step 2. To see a list of all the drives linked to your Mac, copy and paste the command diskutil list into Terminal.

Step 3. Find the string that describes your ExFAT drive.
Step 4. To mount your exFAT drive, run the command diskutil mountDisk /dev/identifier.

💡Solution 4. Update macOS
If your macOS version is too old, it might not work with your ExFAT drives. Make sure that the latest version of the OS is installed:
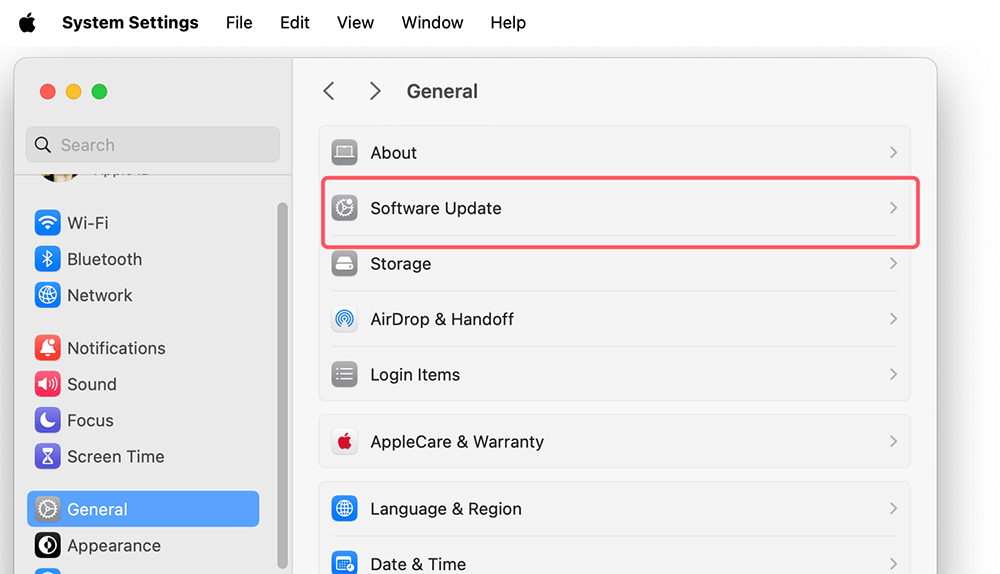
- You can get to Apple Menu > System Settings > General > Software Update.
- Press the Update Software button.
- If there is any update available, select Update Now to update it.
- After you're done updating, try connecting your ExFAT drive again.

Note: If you need to reinstall macOS on your Mac, just boot the Mac into macOS Recovery mode, choose Options, click on Continue button. Then choose Reinstall macOS [version name], follow the onscreen instructions to reinstall macOS.
💡Solution 5. Reformat the Drive
You should reset it if the drive still won't mount. Remember that this will delete everything on the drive, so make a copy if you can. Here is how to format the drive again:
- Start up Disk Utility.
- From the list on the left, choose your ExFAT drive.
- Pick up the Erase tab.
- Pick ExFAT as the type and name your drive.
- Press "Erase."

Your Mac should be able to see the drive after reformatting it.
If it still does not work, click on First Aid button to repair the damaged ExFAT drive.

💡Solution 6. Check for Hardware Issues
The problem could be with the hardware if none of the above options work. Take a look at these steps:
- Try a Different Drive: Check if another ExFAT drive will mount by connecting it to your Mac. For sure, the problem is with the first drive if it does.
- Change the USB port or cable: A broken USB port or connection can sometimes make mounting hard.
- Test on Another Device: Put the drive in a different computer and check to find it.
💡Solution 7. Force Mount An ExFAT Drive on Mac with Third-party Tool
Third-party tool such as Donemax NTFS for Mac can help you mount ExFAT drive on Mac.
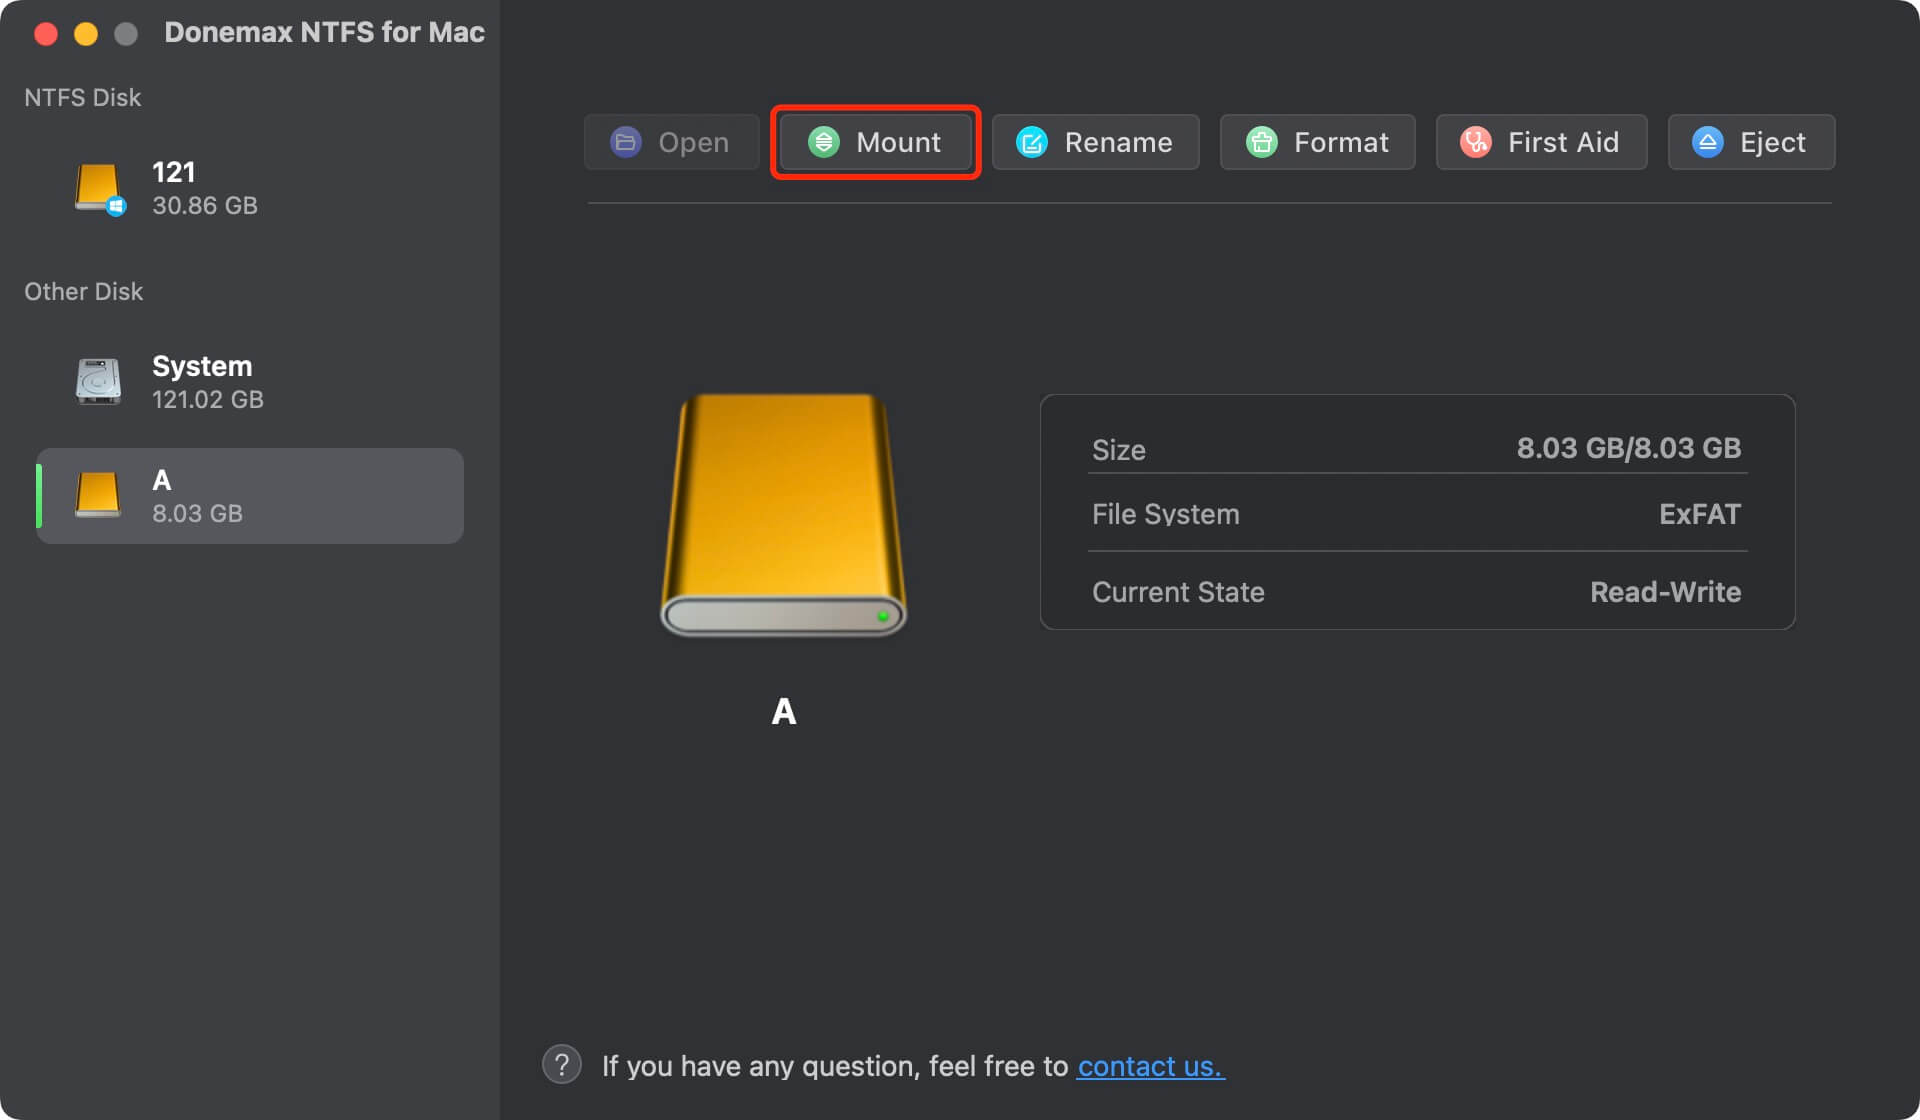
Step 1. Download and install Donemax NTFS for Mac on your Mac. It can help you mount APFS, HFS, NTFS, ExFAT, FAT32 drive on Mac.
Step 2. Connect the ExFAT drive to the Mac and open Donemax NTFS for Mac. Then select the ExFAT drive, click on Mount button.

💡Solution 8. Contact Professional Data Recovery Services
If you've tried everything else and your drive has important data, you might want to call an expert data recovery service. These services know how to get data back from broken or corrupted drives and have the right tools to do it. They can be pricey, though, so think about how important your information is and how much it will cost.
Recover Lost Data from Unmounted or Erased ExFAT Drive on Mac
Donemax Data Recovery for Mac is a powerful Mac data recovery app. It can help you recover lost data from unmounted or erased ExFAT drive.
Step 1. Download and install Donemax Data Recovery for Mac, and connect the ExFAT drive to your Mac.
Step 2. Open Donemax Data Recovery for Mac, select the ExFAT drive from the disk list.

Step 3. Click on Scan button to deeply scan the ExFAT drive and find all recoverable files.

Step 4. Once the scan is completed, just select the wanted files, click on Recover button to save them.

Conclusion:
It can be annoying when an ExFAT drive won't start on your Mac, but if you know what to do, you can usually fix the problem without losing your data. Start with simple steps to fix the problem and then move on to more complex ones, such as using Disk Utility or Terminal.
If nothing else works, data recovery software or professional data recovery services can help you regain your data. You can better manage and keep your external drives and ensure they stay a reliable part of your data storage strategy if you know what could go wrong and how to fix it.
FAQs About Fixing Unmounted ExFAT Drive on Mac
1. How to fix ExFAT drive not mounting on Mac?
First of all, open Disk Utility, select the ExFAT drive and click on Mount button. If the Mount button is not available, click on First Aid button to repair the damaged ExFAT drive.
2. Data loss after reformatting the ExFAT drive, how to recover lost data?
Mac data recovery software can help you unformat ExFAT drive on Mac:
- Download and install Donemax Data Recovery for Mac, open it.
- Select the formatted ExFAT drive.
- Click on Scan button.
- Preview and recover lost files after scanning.
3. Can Mac read-write ExFAT drive?
Yes, ExFAT file system is compatible with both Windows and macOS. Mac can read-write ExFAT drives without any limitation.
Related Articles
- Nov 04, 2024How to Create Bootable USB Installer for macOS Sequoia?
- Aug 07, 2024How to Format SD Card on Mac?
- Jul 25, 2024How to Download and Make macOS Sonoma ISO File?
- Dec 25, 2024How to Safely Eject or Force Eject External Hard Drive on Mac?
- Nov 01, 2024Fix Mac Won't Restart or Restart Not Working: Complete Guide
- Mar 26, 2025Turn On or Turn Off Mac Firewall: A Complete Guide

Coco Lin
Coco has been a writer and a chief programmer at Donemax software since 2018. Over 10 years of experience of writing troubleshooting articles in the software industry, she is passionate about programming and loves to providing solutions to Windows and Mac users. Also she enjoys music and palying tennis in her free time.

Gerhard Chou
In order to effectively solve the problems for our customers, every article and troubleshooting solution published on our website has been strictly tested and practiced. Our editors love researching and using computers and testing software, and are willing to help computer users with their problems