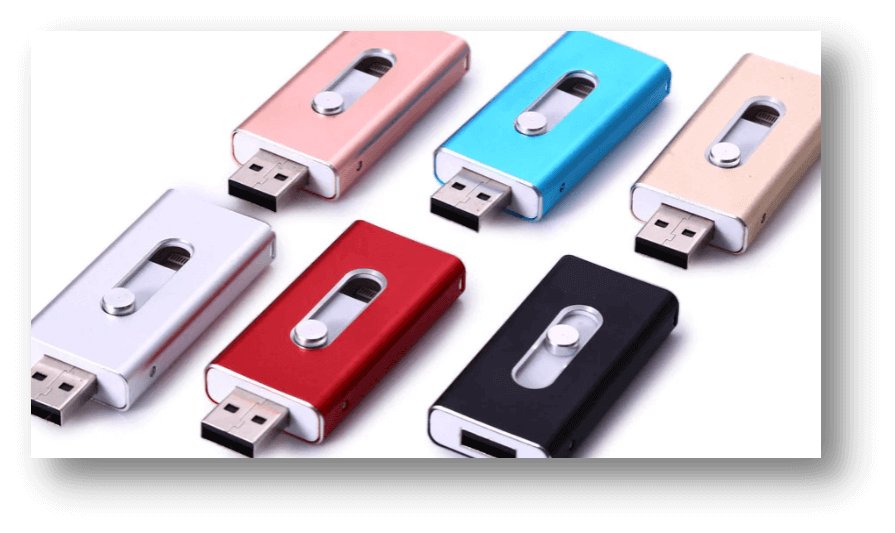
Don't fret if your Mac fails to detect the USB flash drive. We've compiled a list of viable solutions to assist you in fixing the USB drive issue where it is not recognized or it is identified but not displayed on Mac computer.
One of the most ubiquitous data storage options is the USB storage. Determining why your Mac computer refuses to detect or read the USB flash drive may be difficult, but you can try different approaches until you find one that works.
PAGE CONTENT:

Why USB Flash Drive Not Detected on Mac?
If the user plugs an USB drive into their Mac, but the drive doesn't appear, the user receives an error message, and the data in the drive goes unnoticed. That is not an indication that the USB is completely useless. A simple system setting or permission adjustment has likely caused the USB drive not to appear.
The following are some of the many potential causes of USB device recognition failures:
👉Disruption in the Link:
If your Mac doesn't recognize your USB drive, the problem can lie in the connection. Your Mac may not recognize USB if the cable or port is damaged or the power supply is unreliable. If, after connecting your flash drive to your Mac, you discover that it is not recognized, try the following steps:
- Double-check the USB cable and other plug-ins.
- Swap out the USB ports or reset them.
- Verify that there is sufficient electricity available.
👉Pull the plug on all PC-connected USB peripherals:
Incompatible USB devices may fail if too many are connected to the same machine. After disconnecting all other USB devices, you can try reconnecting the USB flash drive. We suspect your device has become corrupted if the error persists after our efforts to fix it.
👉Incompatible File System:
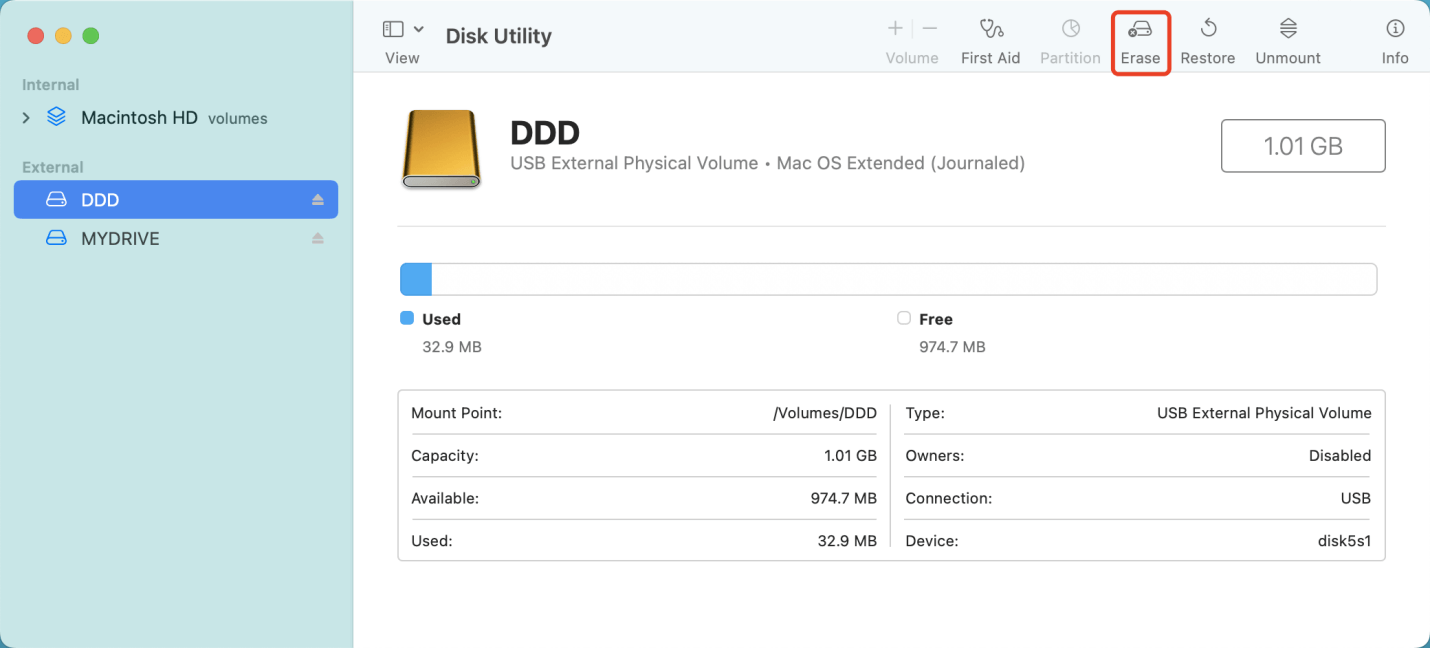
- Learn how to format the USB device with a compatible file system.
- Choose Disk Utility from the menu.
- Choose the USB flash drive.
- Go ahead and click Erase up top.
- Get yourself a good file system.
- Change the name or choose an appropriate storage format.
- Choose the Delete option and hold your breath while it works.

Fix USB Flash Drive Not Detected on Mac
💡Fix 1. Verify the correct connection of the drive
The USB flash drive won't show up on your Mac if the cable that connects it isn't plugged in. It may be a USB or an HDMI cable; while it sounds basic, it's important to remember.
If the plug is secure and not jiggling, the cable may be a problem. Use a different cable to link the same gadget.
💡Fix 2. Test the USB port
Take out the flash drive and see if another USB device will work in the same slot. If it doesn't work, test the USB drive on another machine. If you were using a USB hub to access your flash drive, connect it to your computer.
If the flash drive doesn't appear on any computer, it's probably broken. It could be broken or in need of a format change. If you can access the drive from the new device, the issue may be with your USB port rather than the drive itself. Finally, if your drive is recognized only by Windows or Mac, you may have a functional drive formatted incorrectly.
💡Fix 3. Modify your settings
Using an external hard disk and having problems will not be a big deal if this is not your first rodeo. Even so, it wouldn't hurt to double-check your settings.
Your system may not be configured to show external hard disks on your desktop. The Finder button can be accessed via the menu bar on your screen.
Open a Finder > Click Finder, select Settings > General. Then make sure External disks is selected, then your external drive or connected USB flash drive will be listed on Mac desktop.

Then click Sidebar, under “Show these items in the sidebar:” tick the box of “External Disks” and your external hard drive and USB flash drive will be shown up in Finder.

💡Fix 4. Update your drivers
There's also a chance that your Mac won't recognize your USB because it's using an older driver version. To update your drivers, you must update the entire macOS, so head to System Settings > Software Update.
💡Fix 5. Repair damaged USB flash drive using Disk Utility
If you have tried everything and the USB flash drive is still not recognized or can’t be accessed to, it may get damaged (such as file system gets corrupted or bad sectors). Follow the guide below to fix the damaged USB flash drive.
Step 1. Open Disk Utility, find the damaged USB flash drive.
Step 2. Select the USB flash drive and click on First Aid button.
Step 3. When it completes, click on Done button.

Recover Lost Data from Undetected USB Flash Drive on Mac
Mac data recovery software can help you recover lost data from unrecognized USB flash drive. Whether you’ve erased the USB flash drive or not, just download a Mac data recovery application and then export/recover data from the USB flash drive.
Step 1. Open Donemax Data Recovery for Mac, then connect the USB flash drive to your Mac. Select the USB flash drive to start data recovery.

Step 2. Click on Scan button. Then this Mac data recovery software will deeply scan the USB flash drive. It will find all files stored in the USB flash drive, including existing files, deleted files, erased files, etc.

Step 3. Once the scan is completed, you can preview all recoverable files. Then select the wanted files and save them.

Can’t Write Data to the USB Flash Drive? Fix It
Normally, the file system of an USB flash drive is exFAT or FAT32, but in some cases, it also may be formatted to NTFS drive. The NTFS USB flash drive is read-only on Mac. If you want to write data to the NTFS USB flash drive or modify documents on it, just download and install a NTFS for Mac tool.
#1 Open Donemax NTFS for Mac, select the NTFS USB flash drive and click Enable Writable. Then the NTFS USB flash drive will become Read-Write and you can write data to it or modify files on it.

#2 If the USB flash drive is unmounted, click on Mount button.

FAQs About Fixing Unrecognized USB Flash Drive on Mac
- Download and install Donemax Data Recovery for Mac, run it from Launchpad.
- Select the USB flash drive.
- Click on Scan button.
- Recover files to local hard drive.
Open Finder > Settings > General and Sidebar > Select "External disks." Then check if you can see the USB flash drive in Finder and on desktop.
Disk Utility is a comprehensive disk management tool. The First Aid can help you repair damaged hard drive. Select the USB flash drive and click on First Aid button.
If there is enough disk space on the USB flash drive, but you still can’t write data to it, check the file system, it may a NTFS drive. To write data to a NTFS USB flash drive without formatting it, just download a NTFS for Mac tool. It will enable writable for all NTFS drives on Mac.
Whether you’ve formatted the USB flash drive using Disk Utility or third-party disk formatting tool, you can use Donemax Data Recovery for Mac to scan the formatted USB flash drive and get all lost files back.
Conclusion:
Since USB flash drives are useful and used regularly, unexpected problems can arise. After finishing this guide, you will never again have to deal with the "flash drive is not visible or recognized on Mac" issue. Some solutions include properly ejecting a USB flash drive, regularly backing up critical data, and using anti-virus software.
Related Articles
- Dec 05, 2024How to Use Samsung Portable SSD T5 EVO on Mac
- Nov 25, 2024Fix External Hard Drive Read-Only on macOS Monterey
- Jul 08, 2024Seagate External SSD Not Mounting on Mac, Fix It With These Methods
- Mar 27, 2024How to Mount and Read EXT4 Partition on Mac?
- Sep 14, 2023How to Check SSD Health and Fix Damaged SSD?
- Oct 17, 2024How to Format a RAW Drive to NTFS on Mac?

Coco Lin
Coco has been a writer and a chief programmer at Donemax software since 2018. Over 10 years of experience of writing troubleshooting articles in the software industry, she is passionate about programming and loves to providing solutions to Windows and Mac users. Also she enjoys music and palying tennis in her free time.

Gerhard Chou
In order to effectively solve the problems for our customers, every article and troubleshooting solution published on our website has been strictly tested and practiced. Our editors love researching and using computers and testing software, and are willing to help computer users with their problems