Before we start: Donemax Data Recovery is a reliable SSD data recovery & repair tool. It can completely recover data from a corrupted or dead SSD and then fix bad sectors, logical errors on the SSD without causing further damage.
PAGE CONTENT:
Solid-State Drives (SSDs) have revolutionized the storage landscape with their superior speed, durability, and energy efficiency compared to traditional hard drives. However, despite their advantages, SSDs are not immune to failures or corruption, which can lead to loss of valuable data or system malfunction. This article provides a comprehensive guide to identifying, diagnosing, and fixing issues with corrupted or dead SSDs, while also offering tips on prevention to extend the lifespan of your SSD.
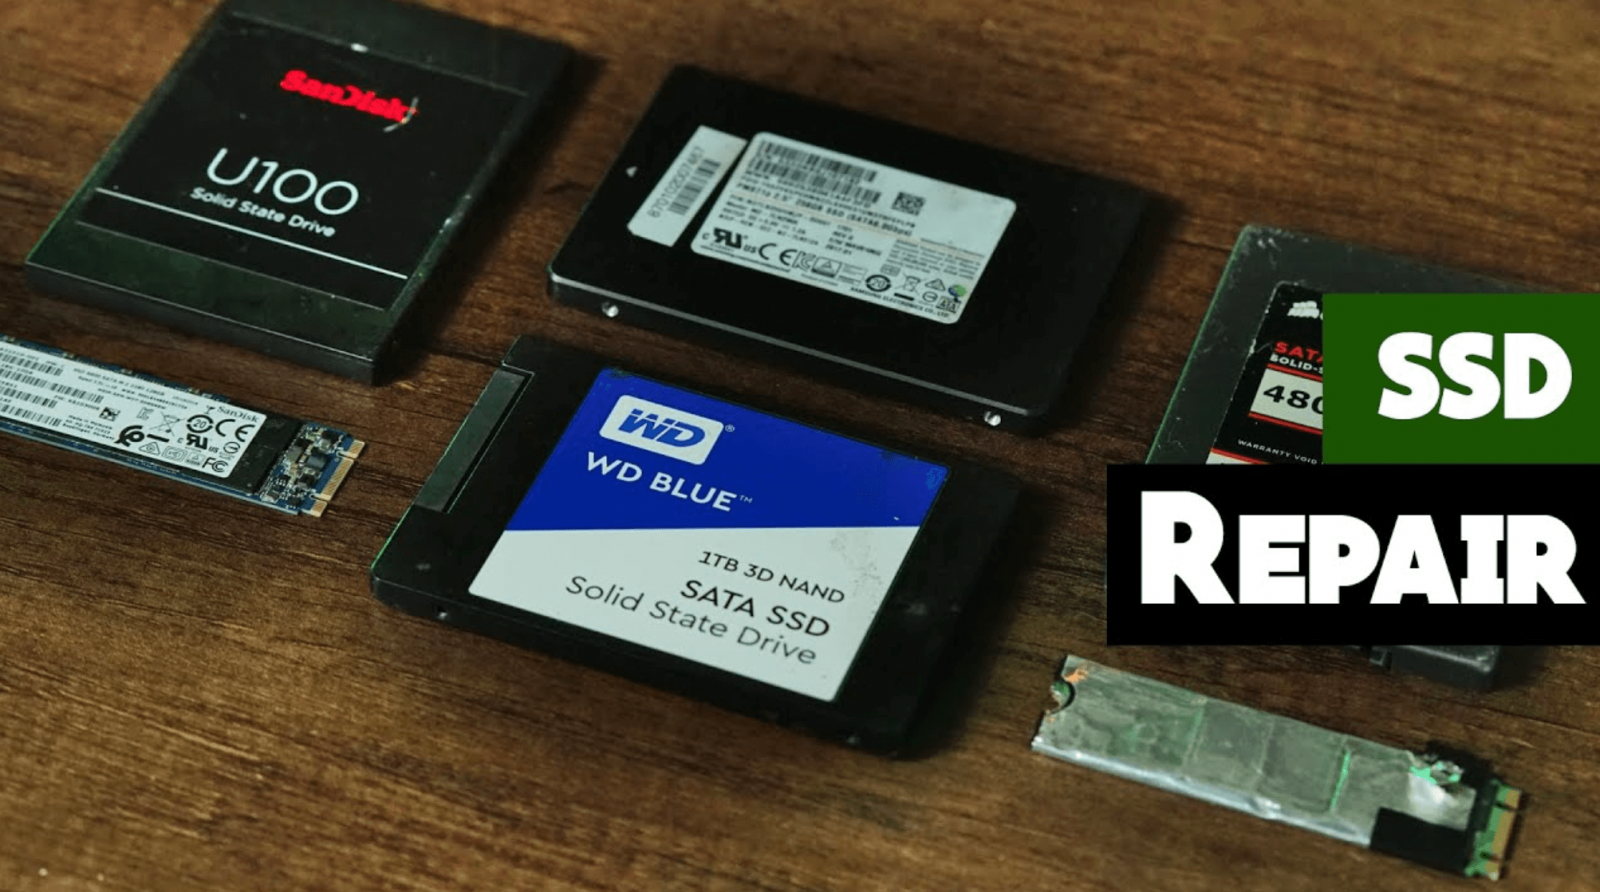
Understand Symptoms of a Corrupted or Dead SSD
Before diagnosing and attempting to fix the issue, it's crucial to recognize the symptoms that indicate a failing or corrupted SSD. Common signs include:
- Slow Performance: Noticeable lag during data read/write operations, application launches, or system boots.
- Inaccessibility: Files or folders become inaccessible or disappear entirely.
- System Errors: Frequent crashes, blue screens (Windows), or kernel panics (macOS/Linux).
- Unrecognized Drive: The SSD is not detected by the operating system or BIOS/UEFI.
- Strange Noises: While SSDs have no moving parts, power-related issues can sometimes produce unusual sounds.
These symptoms often arise due to physical wear, software corruption, or improper handling.

Common Causes of SSD Failures
SSD corruption or failure can occur due to a variety of reasons. Understanding these causes can help in both fixing and preventing the issue in the future:
- Hardware Wear and Tear: SSDs use NAND flash memory, which has a limited number of write cycles. Over time, this can lead to wear-leveling issues and data corruption.
- Improper Shutdowns: Abrupt power loss during data transfer can lead to corrupted files or partitions.
- Firmware Issues: Outdated or buggy firmware can affect SSD performance or lead to detection failures.
- File System Corruption: Improper formatting, malware, or system crashes can result in file system errors.
- Overheating: Excessive heat can damage the internal components of the SSD, leading to degraded performance or failure.
Diagnose SSD Issues
To effectively address an issue, the first step is diagnosis. Follow these steps to identify whether your SSD is corrupted or dead:
Step 1. Inspect Physical Connections
Ensure that the SSD is securely connected to the motherboard or external interface. Loose cables or faulty connectors can prevent detection.
Step 2. Test the SSD on Another System or Port
Try connecting the SSD to a different system or SATA/M.2 slot to rule out motherboard or port-related issues.
Step 3. Use Disk Management Tools
On Windows:
- Open Disk Management by pressing Win + X > Disk Management.
- Check if the SSD is listed. If visible but unallocated, the issue may lie with the file system.
On macOS:
- Access Disk Utility via Spotlight and check if the SSD appears under storage devices.
On Linux:
- Use the lsblk or fdisk -l commands to verify SSD detection.
Step 4. Check BIOS/UEFI
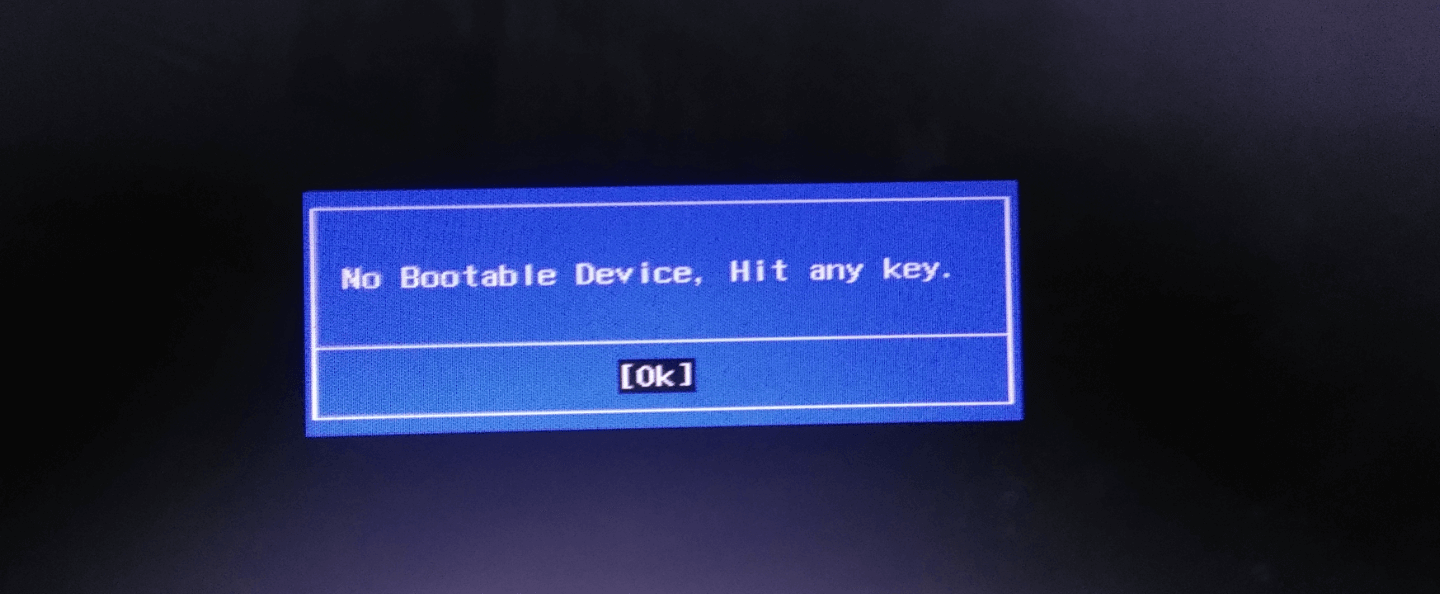
Restart your system and access BIOS/UEFI settings (usually by pressing Del, F2, or F12 during startup). If the SSD isn't listed, it might indicate a more severe issue.
Step 5. Run Diagnostic Software
Tools like CrystalDiskInfo (Windows), SMART Utility (macOS), or Linux's smartctl command can provide insights into the health of your SSD. Check the SMART (Self-Monitoring, Analysis, and Reporting Technology) data for warnings or errors.
5 Solutions to Fix a Corrupted SSD
If the SSD is corrupted but still detectable, the following methods can help recover or restore it:
Fix1: Run File System Checks
Windows: Use Command Prompt to run CHKDSK:
chkdsk X: /f /r

Replace X: with your SSD drive letter. This scans and fixes errors on the disk.
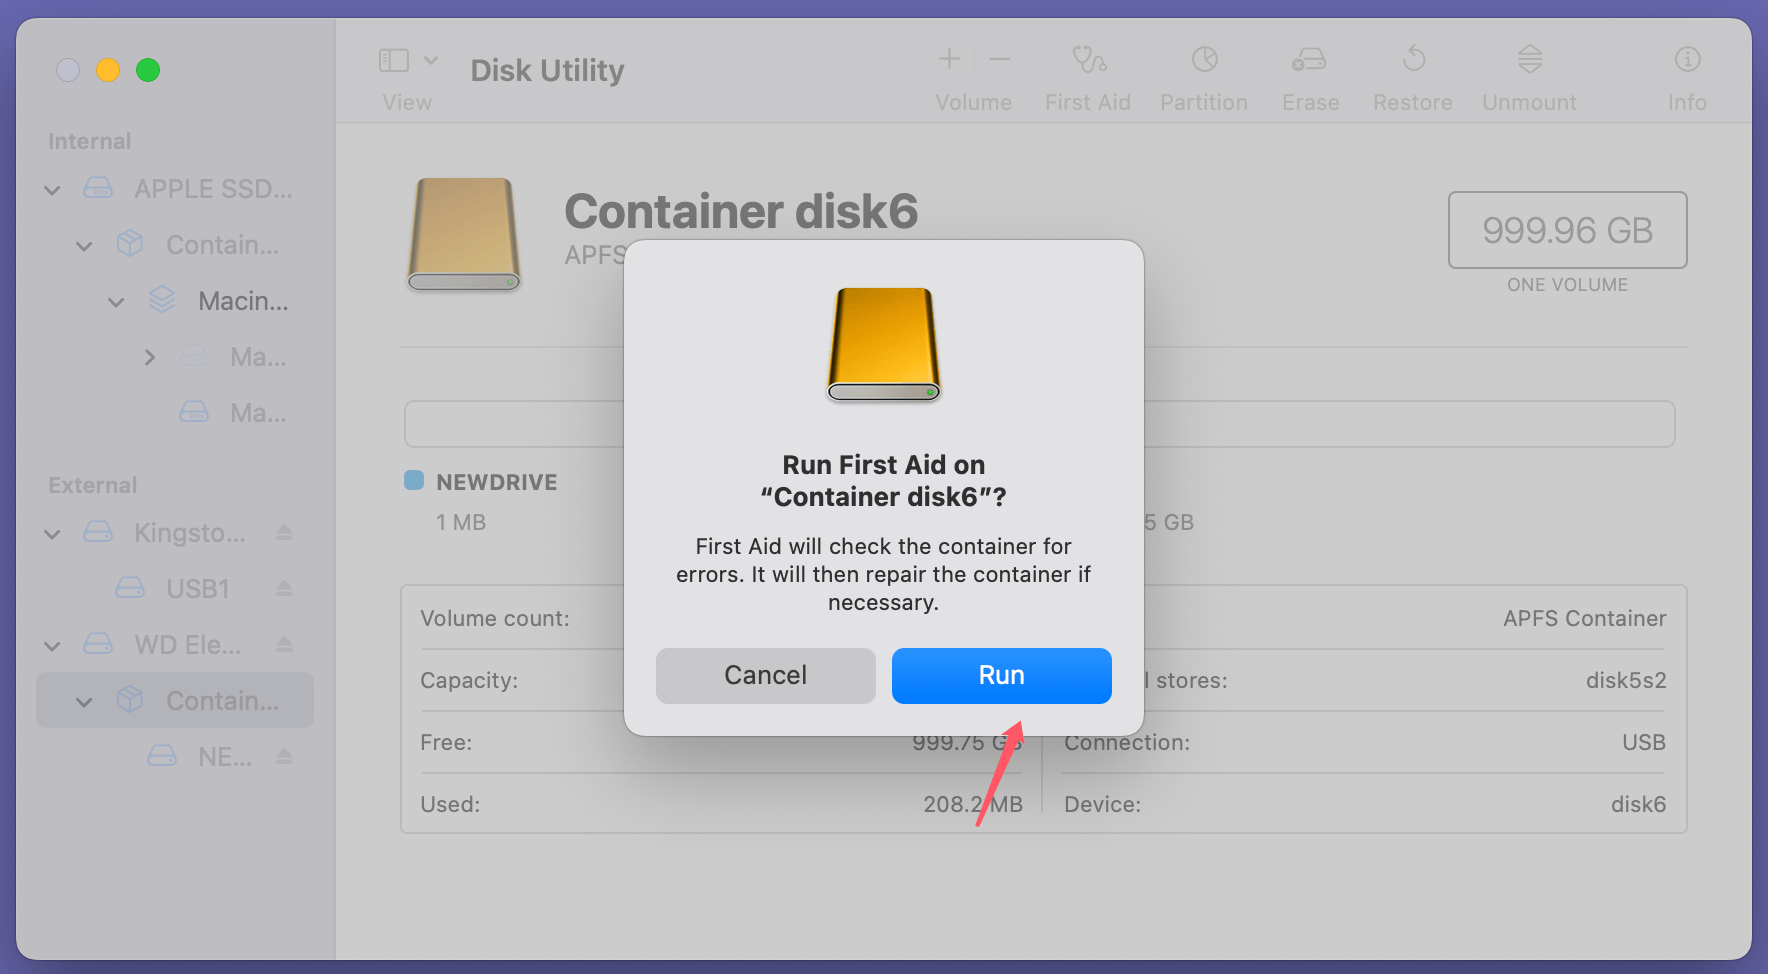
macOS: Open Disk Utility > Select SSD > Click First Aid to repair the drive.
Linux: Use the fsck command:
sudo fsck /dev/sdX

Fix2: Update SSD Firmware
Manufacturers frequently release firmware updates to fix bugs or enhance compatibility. Visit the manufacturer's website, download the latest firmware, and update using their utility.
Fix3: Format and Repartition
If the SSD is accessible but data is corrupted:
- Backup your data if possible.
- Open Disk Management (Windows) or Disk Utility (macOS).
- Delete existing partitions, create a new one, and format the drive using the appropriate file system (e.g., NTFS, exFAT).
Fix4: Use Data Recovery Software
For corrupted files or partitions, use recovery tools such as:
- Donemax Data Recovery
- Do Your Data Recovery
- EaseUS Data Recovery Wizard
- Stellar Data Recovery
- Recuva
These tools can scan the SSD and retrieve lost data.
Step 1. Download and install the reliable SSD data recovery tool - such as Donemax Data Recovery on your computer.
Step 2. Open Donemax Data Recovery, select the corrupted or dead SSD to start data recovery.

Step 3. Click on Scan button to deeply scan the SSD and find all recoverable files including existing files, deleted/formatted/lost files, inaccessible files, etc.

Step 4. Once the scan is completed, you can preview all recoverable files. Select the wanted files, click on Recover button to save the files to another drive.

Once the data has been recovered, you can use Donemax Data Recovery to repair the damaged SSD or reformat the corrupted SSD.
Fix5: Perform a Secure Erase
A secure erase resets the SSD to factory settings. Most manufacturers offer tools (e.g., Samsung Magician, Intel SSD Toolbox, Donemax Data Eraser) to perform this safely. Note: This will erase all data.
How to Securely Erase SSD?
Securely and completely erase SSD on Windows or macOS, ensure no data is recoverable.
Fix a Completely Dead SSD
A dead SSD, one that isn't detectable in any system, may require more advanced troubleshooting:
- Check for Warranty Options: If the SSD is under warranty, contact the manufacturer for a replacement or repair.
- Power Cycle the SSD: Sometimes, SSDs fail due to power issues. Disconnect the SSD, turn off the system, reconnect, and restart. This simple reset can resolve detection problems.
- Try a Freezing Trick (Controversial): Some users claim that freezing an SSD for 1-2 hours can temporarily restore functionality. However, this method is risky and not widely recommended.
- Seek Professional Data Recovery: If all else fails, consider professional services that specialize in recovering data from dead drives. While expensive, they can retrieve critical information.
Prevent SSD Corruption and Failure
Prevention is better than cure. Implement these best practices to reduce the likelihood of SSD issues:
1. Regular Backups
No matter how reliable your SSD is, unexpected failures can happen. Regular backups are your first line of defense against data loss.
Best Practices for Backups:
- Use the 3-2-1 Backup Rule: Keep three copies of your data (primary data and two backups), store them on two different mediums (e.g., external drives and cloud), and ensure one copy is offsite.
- Automate backups using tools like Donemax Disk Clone (Windows & macOS), Time Machine (macOS), or Deja Dup (Linux).
- For cloud backups, use reliable services like Google Drive, Dropbox, or Microsoft OneDrive.
Frequency: Daily or weekly backups are ideal, depending on how often your data changes.
2. Keep Firmware Updated
Firmware updates from manufacturers often include fixes for bugs, compatibility improvements, and optimizations that directly affect SSD performance.
How to Check for Updates:
- Visit your SSD manufacturer's website (e.g., Samsung, Crucial, Western Digital).
- Download their proprietary software, such as Samsung Magician, Crucial Storage Executive, or Intel SSD Toolbox.
- Regularly check for firmware updates and apply them as recommended.
Caution: Always back up your data before performing a firmware update, as there's a small risk of data loss during the process.
3. Avoid Excessive Write Cycles
SSDs have a limited number of write/erase cycles, known as the Program/Erase (P/E) cycles. While modern drives are more durable, minimizing unnecessary write operations helps prolong their lifespan.
Best Practices:
- Avoid using your SSD as a scratch disk for large, frequent file edits (e.g., video editing projects).
- Store rarely accessed, large files (e.g., movies, archived data) on an HDD or external drive.
- Disable unnecessary write-heavy features such as Windows Indexing Service and Hibernation.
Tools to Monitor Write Usage: Use SSD utilities like CrystalDiskInfo or Samsung Magician to monitor Total Bytes Written (TBW) and ensure it remains within acceptable limits.
4. Maintain a Stable Power Supply
Power outages or sudden shutdowns can lead to incomplete data writes, resulting in file corruption or damage to the SSD's firmware.
Protective Measures:
- Use a Uninterruptible Power Supply (UPS) to provide backup power during outages.
- Invest in a surge protector to shield your SSD from voltage spikes.
For Laptops: Ensure your battery is in good health to prevent abrupt power loss during use.
5. Monitor SSD Health
Keeping an eye on your SSD's health allows you to catch early signs of failure before they result in data loss.
Health Monitoring Tools:
- Use software like:
- CrystalDiskInfo (Windows)
- GSmartControl (Linux)
- SMART Utility (macOS)
- Check metrics like Power-On Hours, Reallocated Sectors, and Remaining Life Percentage.
SMART Data Parameters to Watch:
- Reallocated Sector Count: High values indicate failing memory blocks.
- Wear Leveling Count: Reflects the overall lifespan of your SSD.
Alerts: Many SSD utilities allow you to set up alerts for critical SMART values or temperature thresholds.
6. Enable TRIM
The TRIM command optimizes SSD performance by marking unused blocks of data for deletion, allowing the drive to write new data more efficiently.
How to Check if TRIM is Enabled:
Windows:
- Open Command Prompt as Administrator.
- Type:
graphql
fsutil behavior query DisableDeleteNotify - If the result is DisableDeleteNotify = 0, TRIM is enabled.
macOS:
- TRIM is automatically enabled for Apple-branded SSDs. For third-party SSDs, enable it using the command:
sudo trimforce enable
Linux:
- Use the fstrim command or ensure discard is enabled in the fstab file.
7. Avoid Overheating
SSDs operate within a specific temperature range, typically 0°C to 70°C. Excessive heat can degrade the NAND cells and other components.
Preventive Measures:
- Ensure proper airflow in your system by cleaning dust from fans and vents.
- Consider using additional cooling options, such as an SSD heatsink for M.2 drives.
- Monitor drive temperature using tools like HWMonitor or SSD-specific utilities.
Signs of Overheating:
- System instability or throttled performance.
- High operating temperatures (above 60°C).
8. Disable Defragmentation
Defragmentation is unnecessary for SSDs because they access data differently than HDDs. Frequent defragmentation can shorten the lifespan of your SSD by unnecessarily increasing write cycles.
Windows:
- By default, Windows automatically disables defragmentation for SSDs. Verify by opening the Optimize Drives tool (Win + S, then search for "Defragment and Optimize Drives").
- Ensure the SSD is listed as Needs Optimization = No.
9. Use Quality SSDs
Not all SSDs are created equal. Investing in a reliable, high-quality SSD reduces the likelihood of failure.
Features to Look For:
- Higher TBW (Total Bytes Written) ratings.
- Robust warranty (5 years or more is a good indicator of quality).
- Features like ECC (Error-Correcting Code) for better data integrity.
Trusted Brands: Samsung, Crucial, Western Digital, Intel, Kingston, and Seagate are reputable manufacturers.
10. Avoid Overloading the Drive
Running an SSD at near-full capacity can degrade its performance and health.
Best Practices: Keep at least 10-15% of the total capacity free to allow the SSD to efficiently manage data and maintain performance.
Conclusion
A corrupted or dead SSD can be a significant setback, especially if critical data is at risk. However, by following the steps outlined above, you can diagnose the issue and attempt recovery or repair. Regular maintenance, cautious usage, and preventive measures can significantly extend the life of your SSD and protect your valuable data. Always remember the importance of frequent backups to mitigate the impact of unexpected failures.
With the right approach and tools, you can overcome most SSD-related issues and enjoy the benefits of this reliable storage technology for years to come.


Donemax Data Recovery
Powerful, safe & easy-to-use data recovery software to easily and completely recover deleted, formatted, inaccessible and lost data from PC, Mac, HDD, SSD, USB drive, camera, SD card, RAID and other storage devices.
Related Articles
- Mar 26, 2025MacBook SSD Data Recovery: A Comprehensive Guide
- Nov 21, 2024SSD Not Mounting on MacBook Pro: Causes, Troubleshooting, and Solutions
- Mar 19, 2025[3 Method] Securely Erase Seagate Ultra Compact SSD: A Comprehensive Guide
- Nov 05, 2024How to Upgrade HDD to SSD on Toshiba Laptop?
- Nov 07, 2024Three Methods to Clone Old SSD to New SSD on Mac
- Nov 21, 2024Fix Bad Sectors on SSD Without Losing Data

Christina
Christina is the senior editor of Donemax software who has worked in the company for 4+ years. She mainly writes the guides and solutions about data erasure, data transferring, data recovery and disk cloning to help users get the most out of their Windows and Mac. She likes to travel, enjoy country music and play games in her spare time.

Gerhard Chou
In order to effectively solve the problems for our customers, every article and troubleshooting solution published on our website has been strictly tested and practiced. Our editors love researching and using computers and testing software, and are willing to help computer users with their problems
