Before we start: Donemax NTFS for Mac is fully compatible with macOS Sonoma and Apple silicon chips. It can help you mount NTFS drives, grant full read-write access to NTFS drives and reformat NTFS drives on macOS Sonoma.
PAGE CONTENT:
In today's digital world, data transfer between different operating systems is commonplace. Whether it's to share files between a Windows PC and a Mac or use a drive across both platforms, it is often essential to manage data stored in different file systems. One of the most common file systems for Windows is NTFS (New Technology File System). However, macOS, by default, only supports NTFS drives in read-only mode, making it difficult to write to them directly from your Mac.
For macOS users running the latest version, macOS Sonoma, this issue can be particularly frustrating, especially for those who work with external storage devices, such as USB drives or hard disks formatted with NTFS. Fortunately, there are a few methods available to enable full read and write access to NTFS drives on macOS Sonoma.

In this article, we'll walk you through several methods to use an NTFS drive on macOS Sonoma and help you decide which is the best option based on your specific needs.
Understand NTFS and macOS (including macOS Sonoma) Compatibility
Before diving into solutions, it's important to understand the limitations macOS has when it comes to NTFS.
NTFS (New Technology File System) is the default file system used by Windows computers to manage data on hard drives, USB sticks, and other external storage devices. It is known for its high performance, security features, and support for large files, making it the go-to option for most Windows users.
macOS, on the other hand, uses a different file system called APFS (Apple File System), which is optimized for solid-state drives (SSDs) and provides features like encryption, space efficiency, and improved performance for Apple devices.
However, while macOS natively supports reading from NTFS drives, it does not support writing to them. By default, you can view and copy files from an NTFS drive, but you cannot modify or delete files on it, or add new files from your Mac. This read-only behavior can be limiting when you need to work across both macOS and Windows environments.
Let's look at some solutions to enable write access to NTFS drives on macOS Sonoma.
Options for Enabling NTFS Write Access on macOS Sonoma
There are several ways to enable NTFS write support on macOS Sonoma. These methods range from using third-party software to tweaking macOS's built-in capabilities. Below, we'll go over each option in detail.
Option 1: Using Third-Party NTFS for Mac Tool (Recommended)
The most straightforward and safest way to gain full access to an NTFS drive on macOS is by using third-party software designed to bridge the gap between NTFS and macOS. There are several applications available, but one of the most popular ones is Donemax NTFS for Mac.
Donemax NTFS for Mac is one of the most widely used tools for enabling write access to NTFS drives on macOS. This software is designed to provide full read and write capabilities on NTFS volumes, making it easy to manage files across both Windows and macOS without the limitations of macOS's default read-only mode.
How to Install and Use Donemax NTFS for Mac:
Step 1. Download and install Donemax NTFS for Mac on your Mac computer.
Step 2. Follow the on-screen instructions to install the software on your Mac. It typically requires you to restart your Mac after installation to complete the setup.
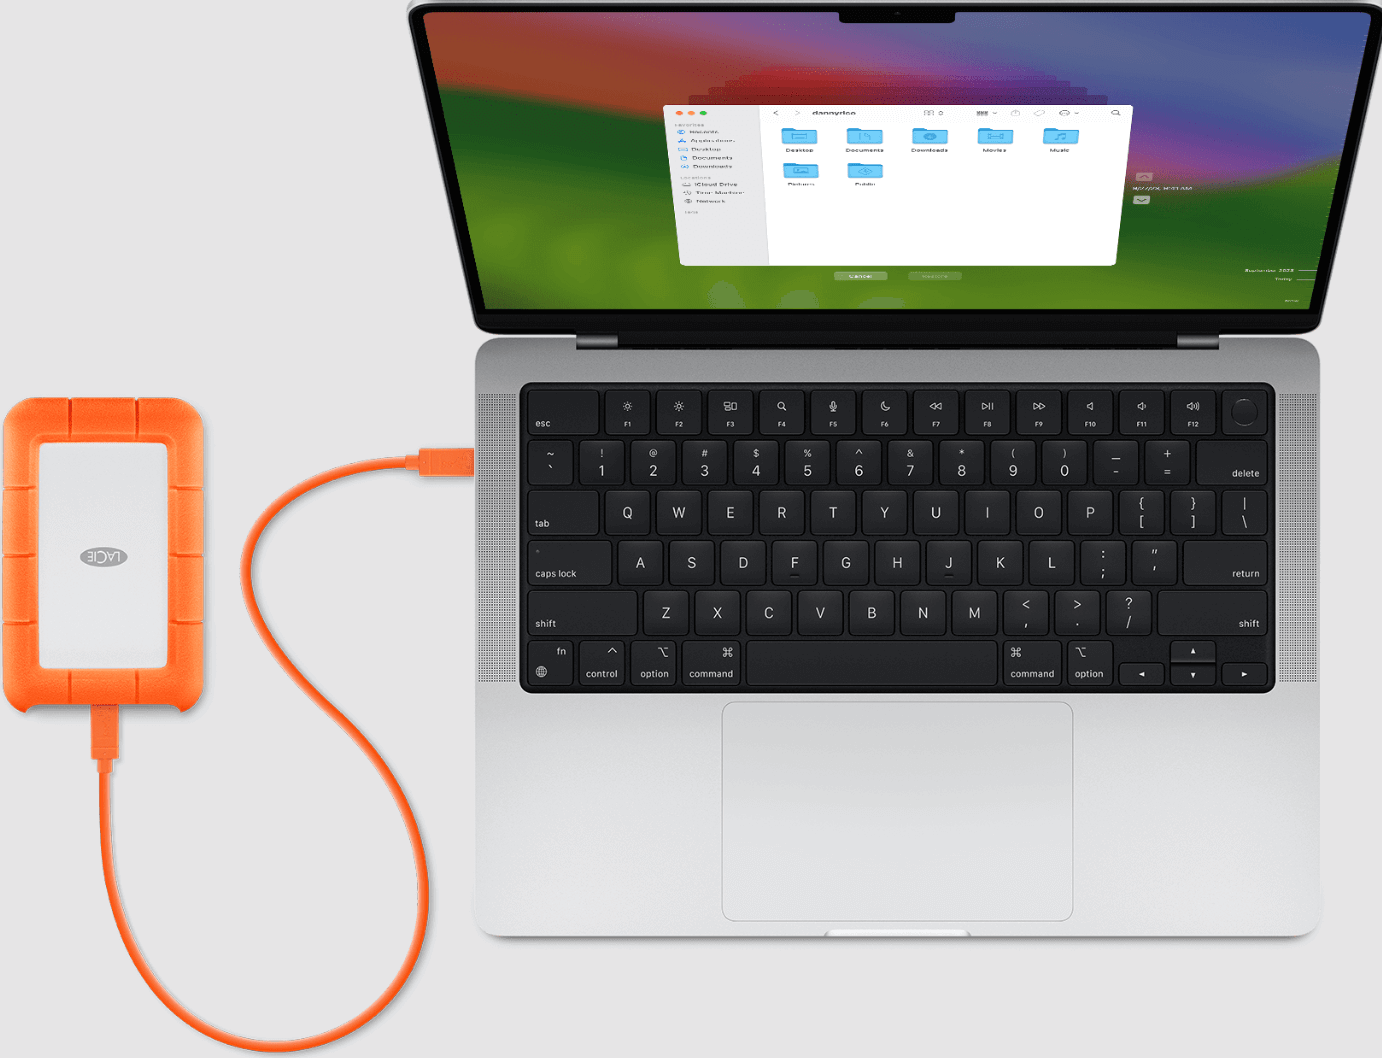
Once Donemax NTFS for Mac is installed, connect your NTFS-formatted drive to your Mac. The software automatically recognizes the drive.
Step 3. Select the NTFS drive, click on Enable Writable button to allow your Mac to read-write NTFS drives without any limitation.

Step 4. If the NTFS drive is not mounted, just click on Mount button.

Donemax NTFS for Mac is a paid application, but it offers a trial version that lets you test it out before deciding whether to purchase it. If you need reliable, ongoing support for working with NTFS drives on your Mac, it's a solid option.
Another NTFS for Mac Tool: Tuxera NTFS for Mac
Another popular option is Tuxera NTFS for Mac. Similar to Donemax NTFS for Mac, Tuxera provides full NTFS read-write support on macOS devices. It's known for its reliability and speed, making it another great choice for users who frequently work with NTFS drives.

How to Install and Use Tuxera NTFS for Mac:
- Download Tuxera NTFS: Go to the Tuxera website and download the macOS version of the software.
- Install the Software: Run the installation package and follow the on-screen instructions. Like Donemax, you will need to restart your Mac for the installation to be completed.
- Connect Your NTFS Drive: Plug in your NTFS-formatted drive, and Tuxera NTFS will recognize it automatically.
- Full Access to Files: You will now have complete read and write access to the drive, including the ability to copy, modify, and delete files.
- Manage NTFS Drives: Use the Tuxera application to manage settings such as automatic drive mounting, permissions, and more.
Tuxera NTFS for Mac is also a paid software, but it offers a free trial so you can test its functionality before committing to a purchase. It is known for its seamless performance and is another trusted solution for accessing NTFS drives on macOS.
Option 2: Using macOS's Built-In NTFS Write Feature (Low Success Rate)
Apple does offer a way to enable NTFS write support natively in macOS through the Terminal, but it is considered an experimental feature and is not officially supported by Apple. This method comes with risks, including the potential for data corruption, so it should only be used by experienced users who are comfortable with command-line interfaces.
How to Enable NTFS Write Access Using Terminal:
- Ensure Your NTFS Drive is Connected: First, connect your NTFS-formatted drive to your Mac.
- Open Terminal: Go to Terminal from Utilities via Applications.
- Run the Command: Type the following command in Terminal to enable NTFS write access:
sudo nano /etc/fstab
You may be prompted to enter your Mac's administrator password.
- Modify the fstab File: In the file that opens, add the following line at the end, replacing "YOUR_DRIVE" with the name of your NTFS drive:
LABEL=YOUR_DRIVE none ntfs rw,auto,nobrowse
- Save and Exit: After editing the file, press Control + O to save the changes and Control + X to exit.
- Restart Your Mac: Reboot your Mac to apply the changes.
After the restart, your NTFS drive should have write access. You can verify this by trying to create or modify a file on the drive. However, this method is risky, and Apple does not officially support it, so proceed with caution and ensure you have backups of important data before trying this.
Option 3: Formatting the Drive for macOS Compatibility
If you don't need to use the NTFS drive on a Windows computer, you may want to consider reformatting the drive to a file system that is fully compatible with macOS. The most common file systems for cross-platform compatibility are ExFAT and APFS (for Apple devices only).
Reformatting to ExFAT:
ExFAT (Extended File Allocation Table) is a file system that is compatible with both macOS and Windows. It allows you to transfer files larger than 4GB, unlike FAT32, and is perfect for flash drives and external hard drives used across different platforms.
How to Reformat to ExFAT:
- Back Up Your Data: When a drive is reformatted, all of its data is deleted. Before continuing, make sure to backup any crucial files.
- Open Disk Utility: Go to Disk Utility from utilities via Applications.
- Select the NTFS Drive: Choose your NTFS-formatted drive from the left panel in Disk Utility.
![NTFS drives on macOS Sonoma]()
- Erase the Drive: Choose ExFAT as the format and click the "Erase" button. If you would to, you can rename the drive.
![NTFS drives on macOS Sonoma]()
- Complete the Process: In order to format the drive, click "Erase." Your drive will be completely compatible with Windows and macOS after the process is finished.
Reformatting to APFS (for Mac Use Only):
If the NTFS drive will only be used with macOS, you can reformat it to APFS for faster performance and advanced macOS features. However, keep in mind that APFS is not compatible with Windows.
How to Reformat to APFS:
- Back Up Your Data.
- Open Disk Utility and select the NTFS drive.
- Erase the Drive and choose APFS as the format.
![NTFS drives on macOS Sonoma]()
- Confirm and Complete the Process.
💡 Note: If you have erased the drive without backing up data and want to get the lost data back, you can use Mac data recovery software to scan the drive, then recover the lost data.
Manage Files Between macOS and NTFS Drives
Once you've set up your NTFS drive with read and write capabilities on macOS, managing your files becomes much easier. Here are a few tips for smooth operation:
- Safe Ejecting: Always eject your NTFS drive safely using Finder before disconnecting it. This prevents file corruption.
- Data Backups: Regularly back up your data to avoid loss, especially if you're using third-party software to access the NTFS drive.
- Troubleshooting: If the drive is not recognized or fails to mount, try restarting your Mac or using Disk Utility to check for errors.
Conclusion
Working with NTFS drives on macOS Sonoma may seem complicated at first, but with the right tools and methods, it's relatively easy to enable full read and write access. You can choose from third-party software like Donemax NTFS for Mac or Tuxera NTFS, or use macOS's built-in Terminal method if you're comfortable with it. Alternatively, if you don't need NTFS compatibility, reformatting the drive to a more macOS-friendly format like ExFAT or APFS is also a viable option.
No matter which method you choose, the key is ensuring that your files are safely transferred and that the drive is properly managed. With these tips, you can enjoy seamless access to your NTFS drives on macOS Sonoma, making cross-platform file management easier than ever.


Donemax NTFS for Mac
An easy-to-use NTFS for Mac tool to help you enable writable for NTFS drives on Mac so that you can read-write NTFS drives on Mac without any limitation. It also can help you mount, format, repair, rename, open drive on your Mac.
Related Articles
- Jan 19, 2024Fix Crucial External SSD Read-Only On Mac
- Sep 28, 2024How to Format Flash Drive to NTFS on Mac?
- Dec 12, 2024Using NTFS Drives on macOS High Sierra: Methods for Read-Write Access
- Jan 30, 2024How to Fix Toshiba External Hard Drive Read-Only on Mac?
- Nov 19, 2024How to Use NTFS Drive on macOS Catalina?
- Dec 05, 20242025 Best WD NTFS Driver for Mac: A Comprehensive Guide

Christina
Christina is the senior editor of Donemax software who has worked in the company for 4+ years. She mainly writes the guides and solutions about data erasure, data transferring, data recovery and disk cloning to help users get the most out of their Windows and Mac. She likes to travel, enjoy country music and play games in her spare time.

Gerhard Chou
In order to effectively solve the problems for our customers, every article and troubleshooting solution published on our website has been strictly tested and practiced. Our editors love researching and using computers and testing software, and are willing to help computer users with their problems


