Written byStevenUpdated on Mar 21, 2025
Run Wireless Diagnostics on Mac: A Complete Guide
Approved byGerhard Chou
PAGE CONTENT:
Wireless connectivity is essential for most Mac users, whether for work, entertainment, or communication. A stable and fast Wi-Fi connection ensures smooth browsing, video streaming, file downloads, and online gaming. However, Mac users often experience Wi-Fi issues such as slow speeds, frequent disconnections, or trouble connecting to a network.
When facing such problems, manually troubleshooting network issues can be frustrating, especially if you don't know where to start. Fortunately, macOS comes with a built-in Wireless Diagnostics tool that can help identify and resolve Wi-Fi issues efficiently.
This article provides a step-by-step guide on how to use Wireless Diagnostics on Mac, understand its reports, and apply troubleshooting techniques to enhance your wireless connection.
When to Use Wireless Diagnostics on Mac?
Mac's Wireless Diagnostics tool is beneficial when:
- Your Wi-Fi is slow: Web pages take too long to load, downloads are sluggish, and streaming quality is poor.
- Your connection keeps dropping: Your Mac frequently disconnects from the Wi-Fi network.
- You're experiencing high latency: Online gaming and video calls are laggy and interrupted.
- You can’t connect to a Wi-Fi network: Your Mac struggles to join a Wi-Fi network despite entering the correct password.
- You suspect interference: Nearby devices or networks might be affecting your Wi-Fi performance.
If you're facing any of these issues, running Wireless Diagnostics can help diagnose the problem and offer solutions.
How to Run Wireless Diagnostics on Mac?
macOS makes it simple to run Wireless Diagnostics. Follow these steps to access the tool and start troubleshooting your Wi-Fi issues.
Step 1: Open Wireless Diagnostics on Mac
There are two primary ways to open the Wireless Diagnostics tool on macOS:
Method 1: Using the Wi-Fi Icon in the Menu Bar
- Hold down the Option (⌥) key on your keyboard.
- Click on the Wi-Fi icon in the top-right corner of the macOS menu bar.
- In the drop-down menu, select "Open Wireless Diagnostics..."
![Wireless Diagnostics tool]()

Method 2: Using Spotlight Search
- Press Command (⌘) + Space to open Spotlight Search.
- Type "Wireless Diagnostics" and press Enter to launch the tool.
![Wireless Diagnostics tool]()

💡 Note: If your Wi-Fi icon is missing from the menu bar, go to System Settings > Control Center > Wi-Fi and enable "Show in Menu Bar."

Step 2: Start the Wireless Diagnostics Process
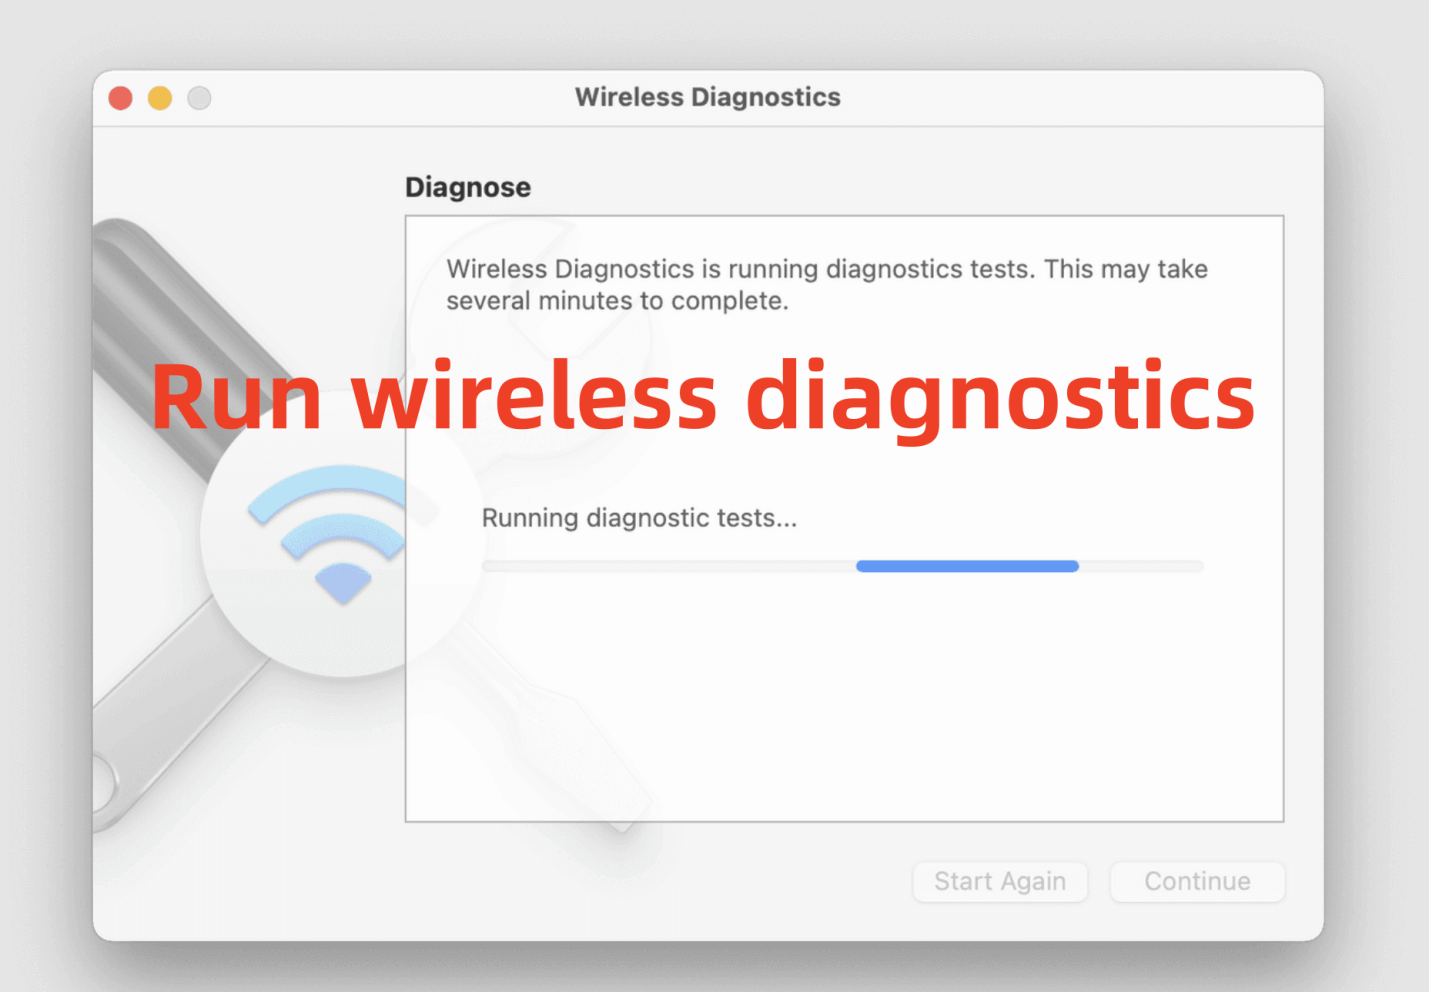
- Once the Wireless Diagnostics window appears, click "Continue" to begin the scan.
![Wireless Diagnostics tool]()
- The tool will start analyzing your network connection, checking for:
- Signal strength
- Network congestion
- Interference from nearby networks
- Connection drops and inconsistencies
- The process may take a few minutes. You'll see a progress bar as macOS scans your Wi-Fi environment.

Step 3: Review the Diagnostic Results
Once the scan is complete, macOS provides two types of results:
- Immediate Recommendations: If the tool detects a simple fix (e.g., weak signal, crowded channel, or outdated firmware), it will display recommendations such as:
- Moving closer to the router
- Changing the Wi-Fi channel
- Updating macOS or router firmware
- Restarting the router or Mac
- Detailed Wireless Diagnostics Report:
- macOS will generate a detailed report with logs, performance graphs, and network details.
- You can choose to save this report for deeper analysis or for sharing with Apple Support.
Step 4: Access and Analyze the Wireless Diagnostics Report
If you want an in-depth look at your Wi-Fi performance, you can access the full Wireless Diagnostics report:
- After the scan, click "Continue to Summary."
![Wireless Diagnostics tool]()
- macOS will generate a compressed report file (.tar.gz) and save it in /var/tmp by default.
![Wireless Diagnostics tool]()
- To access it:
- Open Finder, press Command (⌘) + Shift + G, and enter /var/tmp.
![Wireless Diagnostics tool]()
- Look for a file named WirelessDiagnostics-<date>.tar.gz.
- Extract it to view logs and diagnostic data.
- Open Finder, press Command (⌘) + Shift + G, and enter /var/tmp.


This report contains:
- Wi-Fi Scan results – A list of detected networks and their performance metrics.
- Performance graphs – Real-time monitoring of your Wi-Fi connection.
- System logs – Reports on past Wi-Fi disconnections and errors.
For advanced troubleshooting, you can share this report with an IT professional or Apple Support for further analysis.
Step 5: Apply Suggested Fixes and Monitor Performance
After running Wireless Diagnostics, apply the recommended solutions and monitor your network performance. Some common fixes include:
- Switching to a less congested Wi-Fi channel
- Repositioning your router to avoid interference
- Resetting network settings on your Mac
- Updating macOS and router firmware
You can also revisit Wireless Diagnostics periodically to ensure your Wi-Fi connection remains stable.
Alternative Troubleshooting Tools for Advanced Users
If Wireless Diagnostics doesn't resolve your issue, consider using external tools:
- NetSpot – A Wi-Fi analyzer that provides heatmaps of network coverage.
- WiFi Explorer – Offers deeper insights into network performance.
- Speedtest.net – Measures internet speed and latency.
Understanding the Wireless Diagnostics Report
Once you run the Wireless Diagnostics tool, your Mac generates a detailed report containing valuable insights into your Wi-Fi connection. Understanding these metrics can help diagnose the root cause of network issues and optimize your connection for better performance.
1. Wi-Fi Scan: Identifying Network Congestion and Interference
The Wi-Fi Scan feature provides a list of all available Wi-Fi networks in your area, along with key details such as:
- Network Name (SSID) – The name of the Wi-Fi network.
- BSSID (MAC Address) – The unique identifier for each Wi-Fi router or access point.
- Signal Strength (RSSI) – Measured in decibels per milliwatt (dBm), indicating how strong your Wi-Fi signal is.
- Noise Level (dBm) – Measures interference from other electronic devices, such as microwaves and Bluetooth devices.
- Security Type – Displays whether the network is using WPA3, WPA2, WEP, or Open (unsecured) encryption.
- Channel and Bandwidth – Shows which channel your network is operating on and whether it's using 2.4GHz or 5GHz frequencies.
How to Use the Wi-Fi Scan to Improve Your Connection?
- Find the best signal strength – If the RSSI is lower than -70 dBm, your connection may be weak. Moving closer to the router or removing physical obstructions can help.
- Identify network congestion – If many networks are using the same channel, interference can slow down your connection. Switching to a less crowded channel can improve performance.
- Check for interference sources – High noise levels indicate interference from other electronic devices. Changing your router’s position or switching to the 5GHz band can reduce interference.
2. Performance Tab: Monitoring Real-Time Wi-Fi Metrics
The Performance Tab provides real-time graphs of your Wi-Fi connection, helping you analyze fluctuations in speed and stability. Here's what each graph means:
- Rate (Mbps) – Displays the real-time transmission speed of your Wi-Fi connection. If this graph shows sharp drops, it indicates instability in your network.
- Quality – Measures the ratio of signal strength to noise (SNR). A lower quality score means interference is affecting your connection.
- Signal Strength (RSSI) and Noise Levels – Shows the strength of your Wi-Fi signal relative to background noise. A good connection should have an RSSI of -30 dBm to -70 dBm and a noise level below -90 dBm.
How to Use the Performance Tab for Troubleshooting?
- Fluctuating rate graph? You may have an inconsistent Wi-Fi signal, likely due to interference or weak signal strength.
- Low quality score? Try repositioning your router, reducing interference, or switching to a different Wi-Fi channel.
- Low RSSI value? Consider using a Wi-Fi extender to boost the signal strength.
3. Summary & Recommendations: Suggested Fixes from macOS
After analyzing your Wi-Fi performance, macOS provides a Summary Report with actionable recommendations. These may include:
- Move closer to the router – If your signal strength is weak, proximity to the router can improve performance.
- Change to a different Wi-Fi channel – If your network is crowded, macOS may recommend switching channels in your router settings.
- Update macOS and router firmware – Outdated software can cause compatibility issues and connectivity problems.
- Reduce interference – macOS may suggest moving electronic devices like cordless phones, microwaves, and Bluetooth speakers away from your router.
- Restart your router – This simple fix can resolve temporary network glitches.
4. Log Files & Reports: Advanced Diagnostics for Experts
For advanced users, Wireless Diagnostics generates a compressed report file (.tar.gz format) that contains detailed logs of your network activity. This file includes:
- System logs – Information on Wi-Fi errors, disconnections, and performance statistics.
- Router configuration data – Details about how your router is set up and any detected misconfigurations.
- Event logs – A history of your network connection attempts, useful for identifying recurring issues.
How to Access and Use the Wireless Diagnostics Report
- After running the diagnostics, click "Continue to Summary" and save the report.
- Navigate to /var/tmp or your selected destination to find the .tar.gz file.
![Wireless Diagnostics tool]()
- Extract the contents using Terminal or a file compression tool.
- Review logs for any unusual activity or persistent errors.

Apple Support or network engineers can use these logs for deeper troubleshooting. If you contact Apple Support for Wi-Fi issues, they may request this report to diagnose the problem more efficiently.
Understanding the Wireless Diagnostics Report allows you to take proactive steps in fixing Wi-Fi issues on your Mac. Whether you’re analyzing signal strength, identifying interference, or switching to a better channel, these insights can significantly improve your Wi-Fi performance.
By regularly checking your network with Wireless Diagnostics, you can prevent issues before they arise and ensure a fast, stable, and reliable Wi-Fi connection.
Advanced Wi-Fi Troubleshooting Tips
If Wireless Diagnostics suggests no specific fixes, you can take additional steps to improve your Mac's Wi-Fi performance.
1. Switch to a Less Crowded Wi-Fi Channel
- Overlapping Wi-Fi channels cause interference, leading to slow speeds.
- Use the Wi-Fi Scan in Wireless Diagnostics to find the least crowded channel.
- If your router supports 5GHz, switch to it for better performance.
2. Restart Your Router and Mac
- A simple router reboot can resolve temporary connectivity issues.
- To restart your router:
- Unplug it from the power source.
- Wait for 30 seconds, then plug it back in.
- Restart your Mac and reconnect to the Wi-Fi.
3. Reset Network Settings
- Resetting network settings can clear corrupted configurations:
- Go to System Settings > Network > Wi-Fi.
![Wireless Diagnostics tool]()
- Click Forget This Network, then reconnect by entering the Wi-Fi password.
![Wireless Diagnostics tool]()
- Go to System Settings > Network > Wi-Fi.


4. Update macOS and Router Firmware
- Outdated software can cause connectivity issues.
- Check for macOS updates: System Settings > General > Software Update.
![Wireless Diagnostics tool]()
- Log into your router's admin panel to check for firmware updates.

5. Position Your Router Properly
- Avoid placing your router near walls, metal objects, or electronic devices.
- Position it centrally in your home for better coverage.
- Use a Wi-Fi extender if needed.
6. Use External Wi-Fi Analyzer Tools
If Wireless Diagnostics isn't enough, try third-party tools:
- NetSpot – Visual Wi-Fi heatmaps to identify weak signal areas.
- WiFi Explorer – Advanced troubleshooting for network engineers.
Conclusion
Mac's Wireless Diagnostics tool is a powerful built-in feature that helps diagnose and fix Wi-Fi issues. Whether you're dealing with slow speeds, disconnections, or interference, following the steps outlined in this guide can significantly improve your Mac's wireless performance.
By regularly monitoring your Wi-Fi performance, updating software, and optimizing router placement, you can ensure a stable and fast wireless connection. If issues persist, consulting Apple Support or using third-party diagnostic tools can provide deeper insights.
With these troubleshooting tips, you can enjoy a smooth and uninterrupted Wi-Fi experience on your Mac.
Related Articles
- Jul 29, 2024How to Fix Mac Cannot Mount An ExFAT Drive?
- Jul 12, 2024Can I Use CCleaner to Wipe Data Permanently on Mac?
- Sep 28, 2024What Is Error Code 8058 on Mac and How to Fix It Without Losing Data?
- Nov 19, 2024How to Perform Clean Install of macOS Sonoma?
- Mar 19, 2025How to Fix Mac Error Code -8062: A Comprehensive Guide
- Sep 21, 2024How to Format External Hard Drive or SSD on Mac?

Contributing Writer
Steven
Steven has been a senior writer & editor of Donemax software since 2020. He's a super nerd and can't imagine the life without a computer. Over 6 years of experience of writing technical solutions and software tesing, he is passionate about providing solutions and tips for Windows and Mac users.

Editor in chief
Gerhard Chou
In order to effectively solve the problems for our customers, every article and troubleshooting solution published on our website has been strictly tested and practiced. Our editors love researching and using computers and testing software, and are willing to help computer users with their problems