Written byCoco LinUpdated on Mar 26, 2025
How to Repair a Disk with PowerShell?
Approved byGerhard Chou
PAGE CONTENT:
- Checking Disk Health with PowerShell
- Running CHKDSK via PowerShell
- Repairing the File System with PowerShell
- Repairing Disk Errors with DISM and SFC
- Checking and Repairing Bad Sectors
- Advanced Disk Repair with PowerShell
- Recover Data from Hard Drive with Errors
- Preventive Measures to Avoid Future Disk Issues
- Conclusion
Disk errors and failures can be a major concern for Windows users. Hard drives and SSDs may develop issues due to bad sectors, corrupted file systems, or logical errors. If not addressed promptly, these problems can lead to data loss or system crashes.

Windows provides built-in tools to check and repair disks, including the CHKDSK utility and Disk Management. However, using PowerShell offers more control, automation, and efficiency when diagnosing and fixing disk-related problems.
This guide will walk you through step-by-step instructions on how to check and repair disk with PowerShell.
Checking Disk Health with PowerShell
Before repairing a disk, it is crucial to assess its health. PowerShell provides several commands to monitor the physical and logical health of a drive.
Before you run any command, first start PowerShell. Press Win + R keys to open Run and enter powershell to start it.
1. Check Physical Disk Status
To get an overview of your connected drives, use the following command:
Get-PhysicalDisk
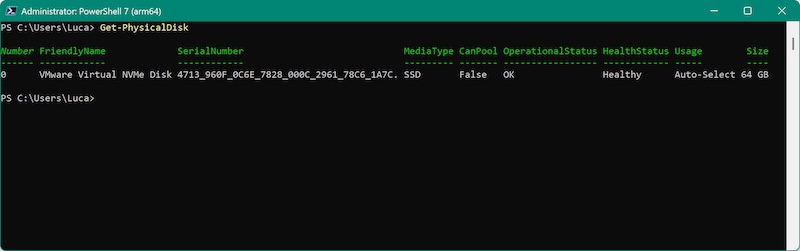
This command displays information such as OperationalStatus, HealthStatus, and MediaType. If the HealthStatus shows "Unhealthy" or OperationalStatus indicates "Failed," then the disk may need repairs or replacement.
2. Check Volume and File System Health
You can check the status of a specific volume (partition) using:
Get-Volume
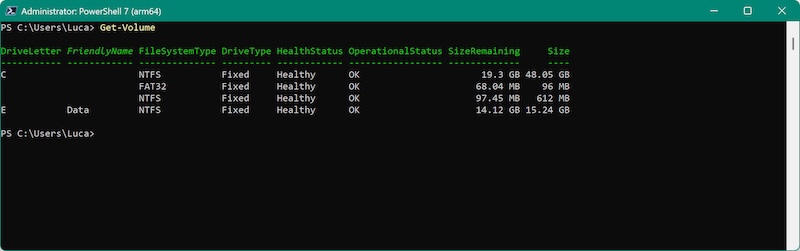
This will show important details such as the DriveLetter, FileSystemType, HealthStatus, and SizeRemaining. If the HealthStatus is "Unknown" or "Failed," then running repair commands is necessary.
3. Check SMART Attributes
SMART (Self-Monitoring, Analysis, and Reporting Technology) helps assess the condition of a drive. Use the following command to retrieve SMART data:
Get-WmiObject -Class win32_diskdrive -Property STATUS
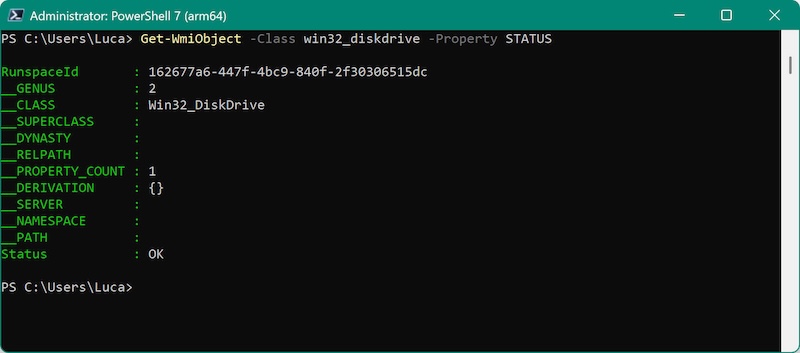
If PredictFailure is True, your drive is likely failing and should be replaced.
Running CHKDSK via PowerShell
The CHKDSK (Check Disk) utility is one of the primary tools used to scan and repair drive errors. You can initiate it directly from PowerShell.
1. Running CHKDSK Without Fixing Errors
To perform a read-only scan of your disk, use:
chkdsk E:
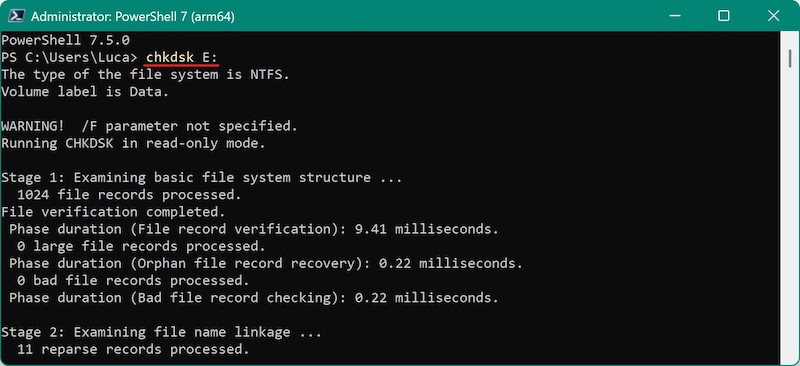
Replace E: with the appropriate drive letter. This scan will detect file system issues but will not fix them.
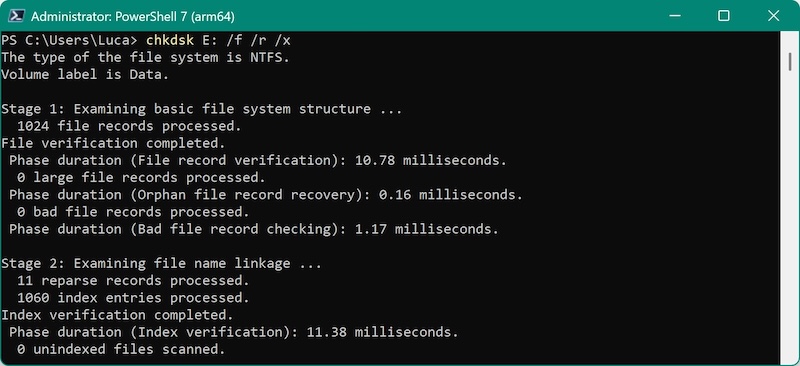
2. Running CHKDSK with Repair Options
If errors are found, you can use CHKDSK with repair options:
chkdsk E: /f /r /x
- /f fixes detected errors
- /r locates bad sectors and attempts recovery
- /x dismounts the drive before the scan
If CHKDSK is unable to run because the drive is in use, it will prompt you to schedule the scan for the next restart.
Repairing the File System with PowerShell
File system errors can occur due to sudden shutdowns, power failures, improper drive ejection, malware infections, or software crashes. These errors can cause issues such as corrupted files, slow performance, missing data, and drive inaccessibility. PowerShell provides built-in tools to scan and repair these errors efficiently.
Understanding File System Corruption
A file system organizes how data is stored and retrieved on a disk. In Windows, common file systems include:
- NTFS (New Technology File System) – Used in most modern Windows installations, supports large files, encryption, and recovery options.
- FAT32 (File Allocation Table 32-bit) – Older file system, used in USB drives and external storage. Limited to 4GB file size and lacks advanced recovery features.
- exFAT (Extended File Allocation Table) – Designed for flash drives and external storage, supports large files but lacks journaling.
When file system corruption occurs, common symptoms include:
- Files and folders disappearing or becoming unreadable
- The system reporting "The file or directory is corrupted and unreadable"
- Slow disk performance and unexpected crashes
PowerShell's Repair-Volume cmdlet is an efficient alternative to CHKDSK, offering quicker and more focused repair options.
Scanning for File System Errors
Before making any repairs, it is best to perform a scan to detect corruption without modifying the disk.
Run the following command to scan a volume:
Repair-Volume -DriveLetter E -Scan

What does this do?
- It scans for file system errors without fixing them.
- If errors are found, it suggests running a repair command.
- Unlike CHKDSK, this command does not require a system reboot.
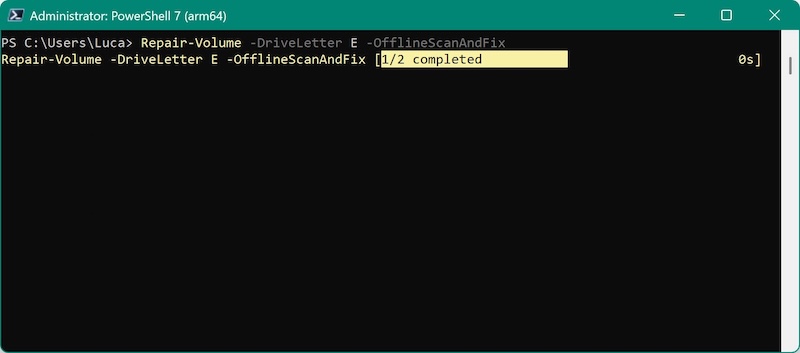
Running an Offline Scan and Fix
If errors are detected, you can fix them without rebooting using:
Repair-Volume -DriveLetter E -OfflineScanAndFix
How does this work?
- It runs a deeper scan than the -Scan option.
- Fixes minor corruption automatically.
- Can repair directory structures, cross-linked files, and metadata issues.
- Works for NTFS and ReFS file systems.
When should you use it?
- If the file system has minor issues and the drive is not in use by critical processes.
- If you want to repair without restarting the computer.
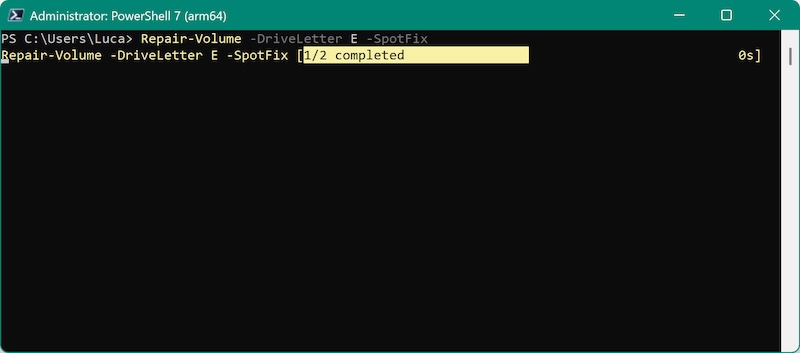
Spot Fixing Specific Issues
For targeted repairs, use:
Repair-Volume -DriveLetter E -SpotFix
What is SpotFix?
- This method fixes only the errors that have been logged instead of scanning the whole disk.
- It is much faster than a full CHKDSK scan.
- It is ideal for quick fixes when you do not want to perform a complete repair process.
When should you use it?
- If you ran Repair-Volume -Scan and errors were found but are minor.
- When disk errors are logged but not critical.
- If you need a fast repair without scanning the entire disk.
Comparing Repair-Volume vs. CHKDSK
|
Feature |
Repair-Volume |
CHKDSK |
|
Requires reboot? |
No |
Yes (if fixing errors) |
|
Scans for errors? |
Yes |
Yes |
|
Fixes errors? |
Yes |
Yes |
|
Works on live systems? |
Yes |
No (if fixing) |
|
Fast repair? |
Yes (SpotFix) |
No (full scan needed) |
When to Use Each Repair Method
|
Scenario |
Recommended Command |
|
Check if a drive has file system errors |
Repair-Volume -DriveLetter E -Scan |
|
Fix errors without rebooting |
Repair-Volume -DriveLetter E -OfflineScanAndFix |
|
Quickly fix minor errors |
Repair-Volume -DriveLetter E -SpotFix |
|
Perform a full deep repair |
chkdsk E: /f /r |
By understanding and using these PowerShell commands, you can efficiently repair file system errors without waiting for long CHKDSK scans or system restarts. If file system corruption is persistent, back up important data and consider formatting or replacing the drive.
Repairing Disk Errors with DISM and SFC
1. Running System File Checker (SFC)
SFC scans and repairs corrupted Windows system files:
sfc /scannow
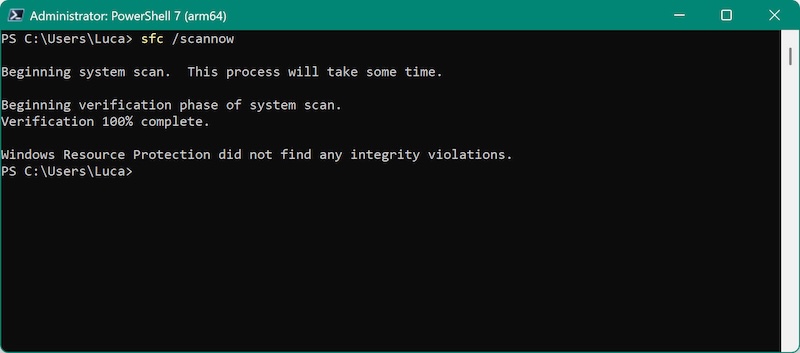
If it finds corrupted files, it attempts to replace them with correct versions from the system cache.
2. Using DISM to Repair System Files
If SFC fails to resolve issues, use the Deployment Image Servicing and Management (DISM) tool:
DISM /Online /Cleanup-Image /RestoreHealth
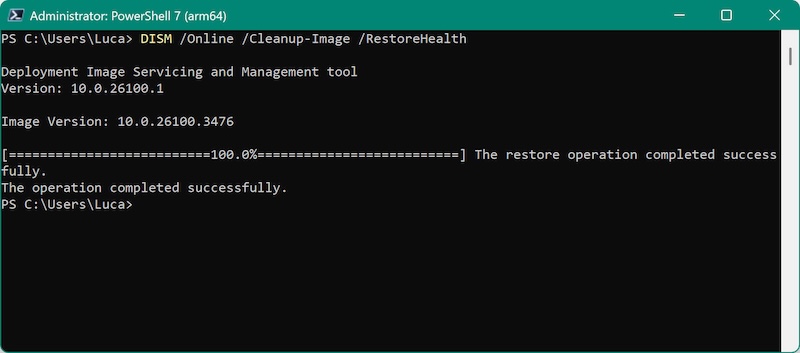
This checks for Windows corruption and repairs it using Windows Update.
Checking and Repairing Bad Sectors
Bad sectors on a hard drive can cause data corruption and slow performance.
1. Checking for Bad Sectors
To quickly check if a drive has bad sectors, run:
Get-WmiObject -Class win32_diskdrive -Property STATUS
If the status is "Pred Fail" or "Bad," your disk is likely failing.
2. Recovering Bad Sectors with CHKDSK
If you suspect bad sectors, use:
chkdsk E: /r

This scans for bad sectors and attempts to recover readable data.
Advanced Disk Repair with PowerShell
1. Using Reset-PhysicalDisk
For disks in a Storage Pool, you can reset them with:
Reset-PhysicalDisk -FriendlyName "DiskName"
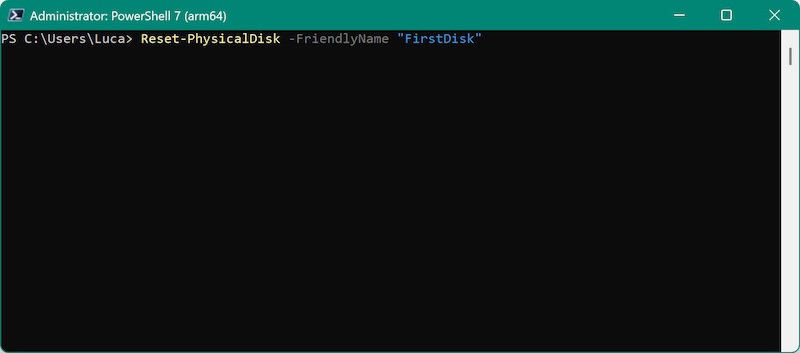
This can help recover drives with minor issues.
2. Repairing Virtual Disks
If you use Storage Spaces, run:
Repair-VirtualDisk -FriendlyName "StoragePoolName"
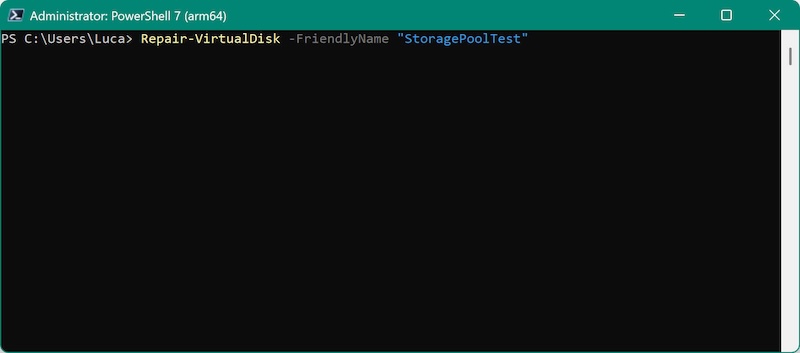
This attempts to fix issues within a software RAID or storage pool.
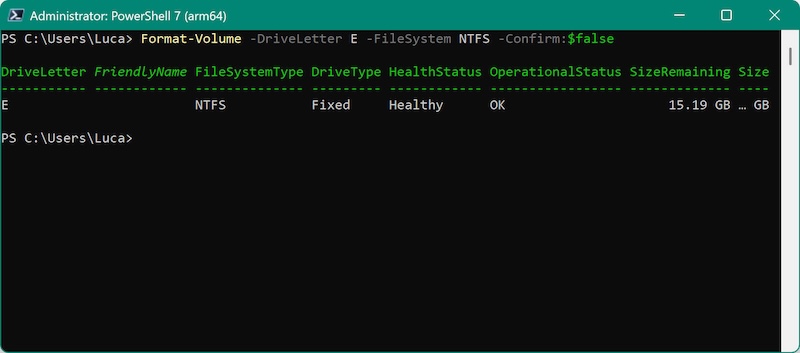
3. Formatting and Re-initializing Disks
If a disk remains unresponsive, formatting may be necessary:
Format-Volume -DriveLetter E -FileSystem NTFS -Confirm:$false
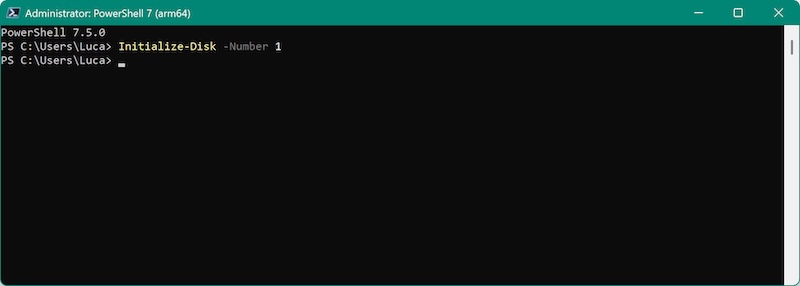
To reinitialize a problematic disk:
Initialize-Disk -Number 1
Recover Data from Hard Drive with Errors
If there are issues with a hard drive and there are important files on the drive, we suggest you try to recover the data before trying to repair or reformat the hard drive. In some case, the repair process might mess up the files and cause data loss. If you format the drive directly, all the data on the drive will be removed.
It's necessary to recover the important files first in such cases. A reliable data recovery software, like Donemax Data Recovery, will be useful to extract the files from a hard drive with issues.
Donemax Data Recovery
- Most reliable data recovery software for both Windows and macOS.
- Recover deleted, formatted, or other lost files from different devices.
- Fast to scan and recover pictures, videos, documents, and other files.
When you find there are issues with the drive and you cannot access the files or drive, stop using the drive first and start to recover data before any other actions. Here are the steps to recover data with Donemax Data Recovery.
Step 1. Download and install the data recovery tool on your computer. Start the software and it will show all the connect drives on the computer. Check and select the drive which has issues.

Step 2. Click Scan button and the software will then deeply scan the drive to search for files on the drive. It may take a while depending on the size and status of the disk. Just wait patiently.
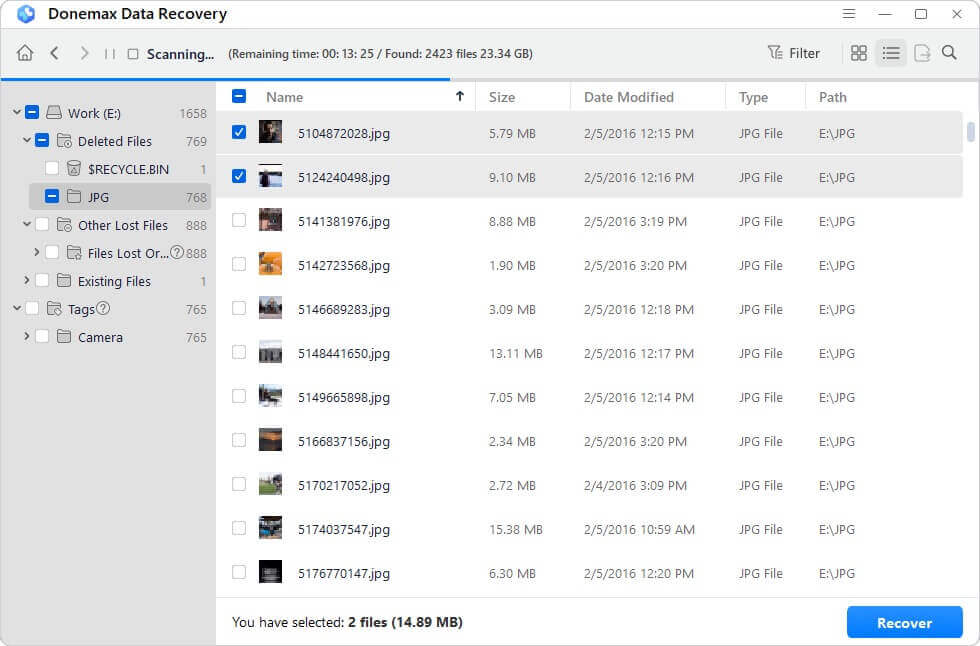
Step 3. After the scanning process is done, all the found files will be listed. Check and preview the files to locate the wanted files. Select all the wanted files and click Recover button to save them to another drive.

Preventive Measures to Avoid Future Disk Issues
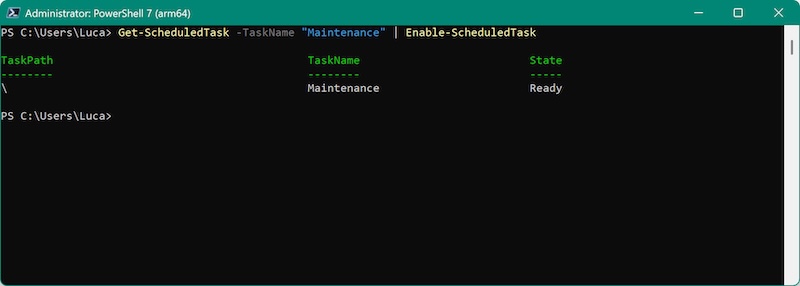
1. Enable Automatic Maintenance
Windows performs maintenance tasks automatically. Ensure it is enabled:
Get-ScheduledTask -TaskName "Maintenance" | Enable-ScheduledTask
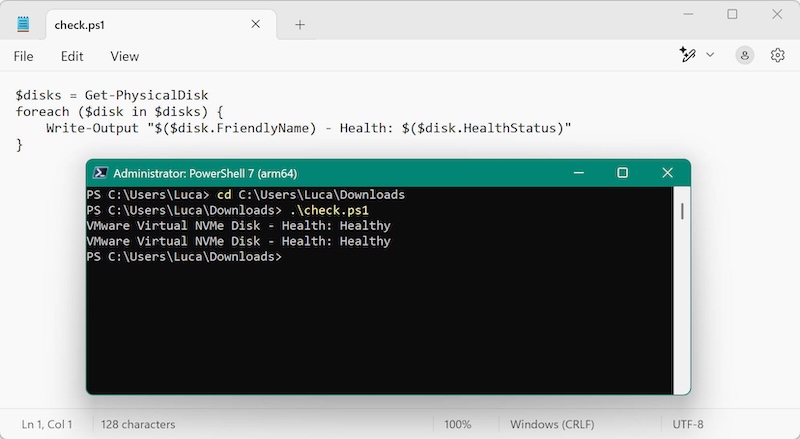
2. Monitor Disk Health with PowerShell Scripts
You can create a simple script to check disk health periodically:
$disks = Get-PhysicalDisk
foreach ($disk in $disks) {
Write-Output "$($disk.FriendlyName) - Health: $($disk.HealthStatus)"
}
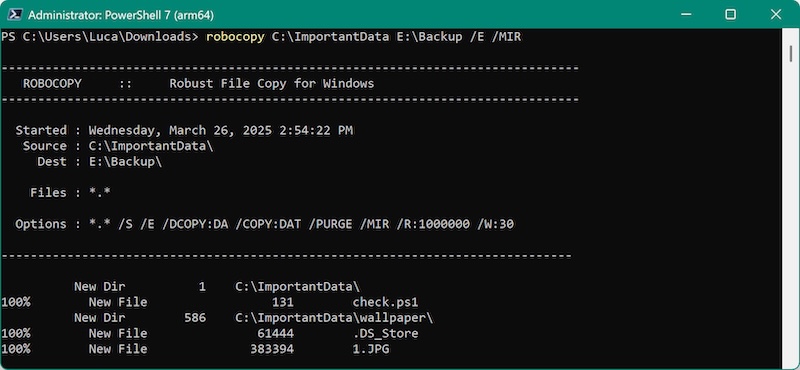
3. Regularly Backup Your Data
Even with repairs, disks can fail unexpectedly. Use PowerShell to create backups:
robocopy C:\ImportantData E:\Backup /E /MIR
You can also use third-party backup software to back up the important data. For example, you can use Donemax Disk Clone to copy your hard drive as backup:

Clone hard drive to back up data to another drive
Using reliable disk copy software Donemax Disk Clone, it's easy and secure to back up all data from one drive to another one.
Conclusion
PowerShell provides powerful tools for diagnosing and repairing disk issues in Windows. From CHKDSK and Repair-Volume to SFC and DISM, these commands help maintain the health and integrity of your drives.
If disk errors persist despite these steps, consider replacing the drive to prevent data loss. If there are issues access the drive and files, recover the data first with a reliable data recovery software. Always keep backups to avoid unexpected failures.
By using PowerShell for disk maintenance, you gain a fast, efficient, and automated approach to keeping your system stable and reliable.
Donemax Data Recovery
One of the best data recovery programs to recover deleted, formatted or lost data from PC, Mac, HDD, SSD, USB drive, SD card, camera, RAID, Sever or other storage devices.
Related Articles
- Nov 25, 2024How to Clean Install macOS Monterey [Step-by-step Guide]
- Jan 17, 2025How to Format an SD Card to ExFAT or FAT32 on Mac?
- Feb 21, 2024How to Remove Stubborn Files from PC?
- Mar 17, 2025Should I Install Windows 11 24H2? How to Install Windows 11 24H2
- Mar 01, 2025How to Safely Eject/Remove an SD Card from Windows PC, Mac, and Mobile Phone?
- Mar 19, 2025How to Use Seagate Game Drive PS5 SSD?

Contributing Writer
Coco Lin
Coco has been a writer and a chief programmer at Donemax software since 2018. Over 10 years of experience of writing troubleshooting articles in the software industry, she is passionate about programming and loves to providing solutions to Windows and Mac users. Also she enjoys music and palying tennis in her free time.

Editor in chief
Gerhard Chou
In order to effectively solve the problems for our customers, every article and troubleshooting solution published on our website has been strictly tested and practiced. Our editors love researching and using computers and testing software, and are willing to help computer users with their problems