PAGE CONTENT:
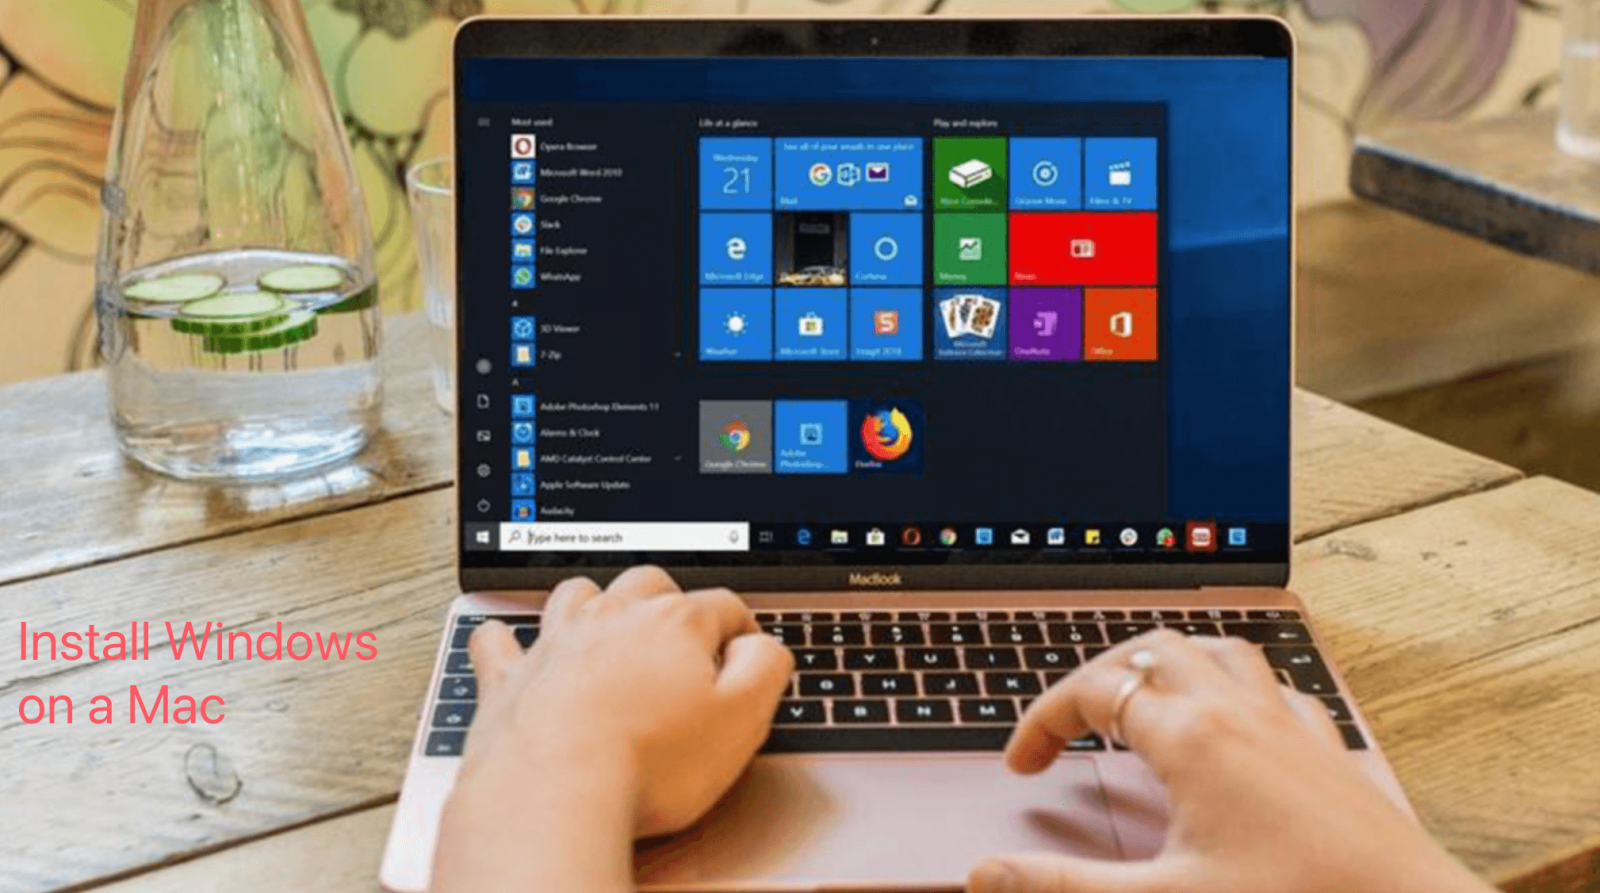
Mac computers are known for their sleek design and reliable performance, but sometimes you may need access to Windows-only applications, games, or development tools. Installing Windows 11/10 on a Mac allows you to run Windows programs seamlessly alongside macOS, broadening your productivity and usability. This comprehensive guide will walk you through the process of installing Windows on a Mac using two primary methods: Boot Camp and Virtual Machines.

Why Install Windows on a Mac?
Running Windows on a Mac offers numerous advantages, including:
- Access to Windows-Exclusive Applications: Some programs, especially business, gaming, or engineering tools, are only available for Windows.
- Gaming Performance: Macs generally lack gaming optimization, but installing Windows opens up compatibility with a vast library of PC games.
- Development Needs: Developers often need Windows environments for testing or development in specific frameworks.
Compatibility and Requirements
Before starting, ensure your Mac meets the hardware and software prerequisites:
Compatible Mac Models:
- Most Intel-based Macs support Windows 10/11 installation.
- Apple Silicon (M1 or later) Macs can only use virtualization to run Windows (e.g., Parallels Desktop).
System Requirements for Windows:
- Processor: 1 GHz or faster.
- RAM: At least 4 GB for basic functionality (8 GB recommended).
- Storage: 64 GB minimum; 128 GB or more is recommended for smoother performance.
- Graphics: DirectX 9 or later compatible GPU.
What You'll Need:
- A Mac with macOS installed.
- A Windows 10/11 ISO file (download from Microsoft's website).
- At least 50–100 GB of free disk space.
- A USB flash drive (16 GB or larger) may be required for certain older Mac models.
Methods to Install Windows on Mac
There are two popular ways to install Windows on a Mac:
- Boot Camp: This is Apple's built-in tool for creating a dual-boot system, allowing you to run Windows natively on your Mac.
- Virtual Machines (VMs): Software like Parallels Desktop, VMware Fusion, and VirtualBox lets you run Windows inside macOS without rebooting.
Installing Windows Using Boot Camp
Boot Camp is Apple's built-in utility that allows you to create a dual-boot system, running macOS and Windows on the same Mac. This method provides native performance for Windows applications, making it ideal for gaming and resource-intensive tasks.
Step 1: Check System Requirements
Before starting, verify your Mac meets the requirements for installing Windows:
- Ensure you have an Intel-based Mac, as Boot Camp is not natively supported on Apple Silicon Macs (M1 or later).
- Your Mac should have at least 64 GB of free storage; 128 GB or more is recommended for better performance.
- Update macOS to the latest version to ensure compatibility.
Step 2: Download the Windows ISO File
- Visit Microsoft’s official website.
- Select Windows 10 or Windows 11 from the available options.
![Installing Windows 11/10 on a Mac]()
- Choose your preferred language and confirm the download.
- Save the ISO file to an accessible location, such as the Downloads folder.
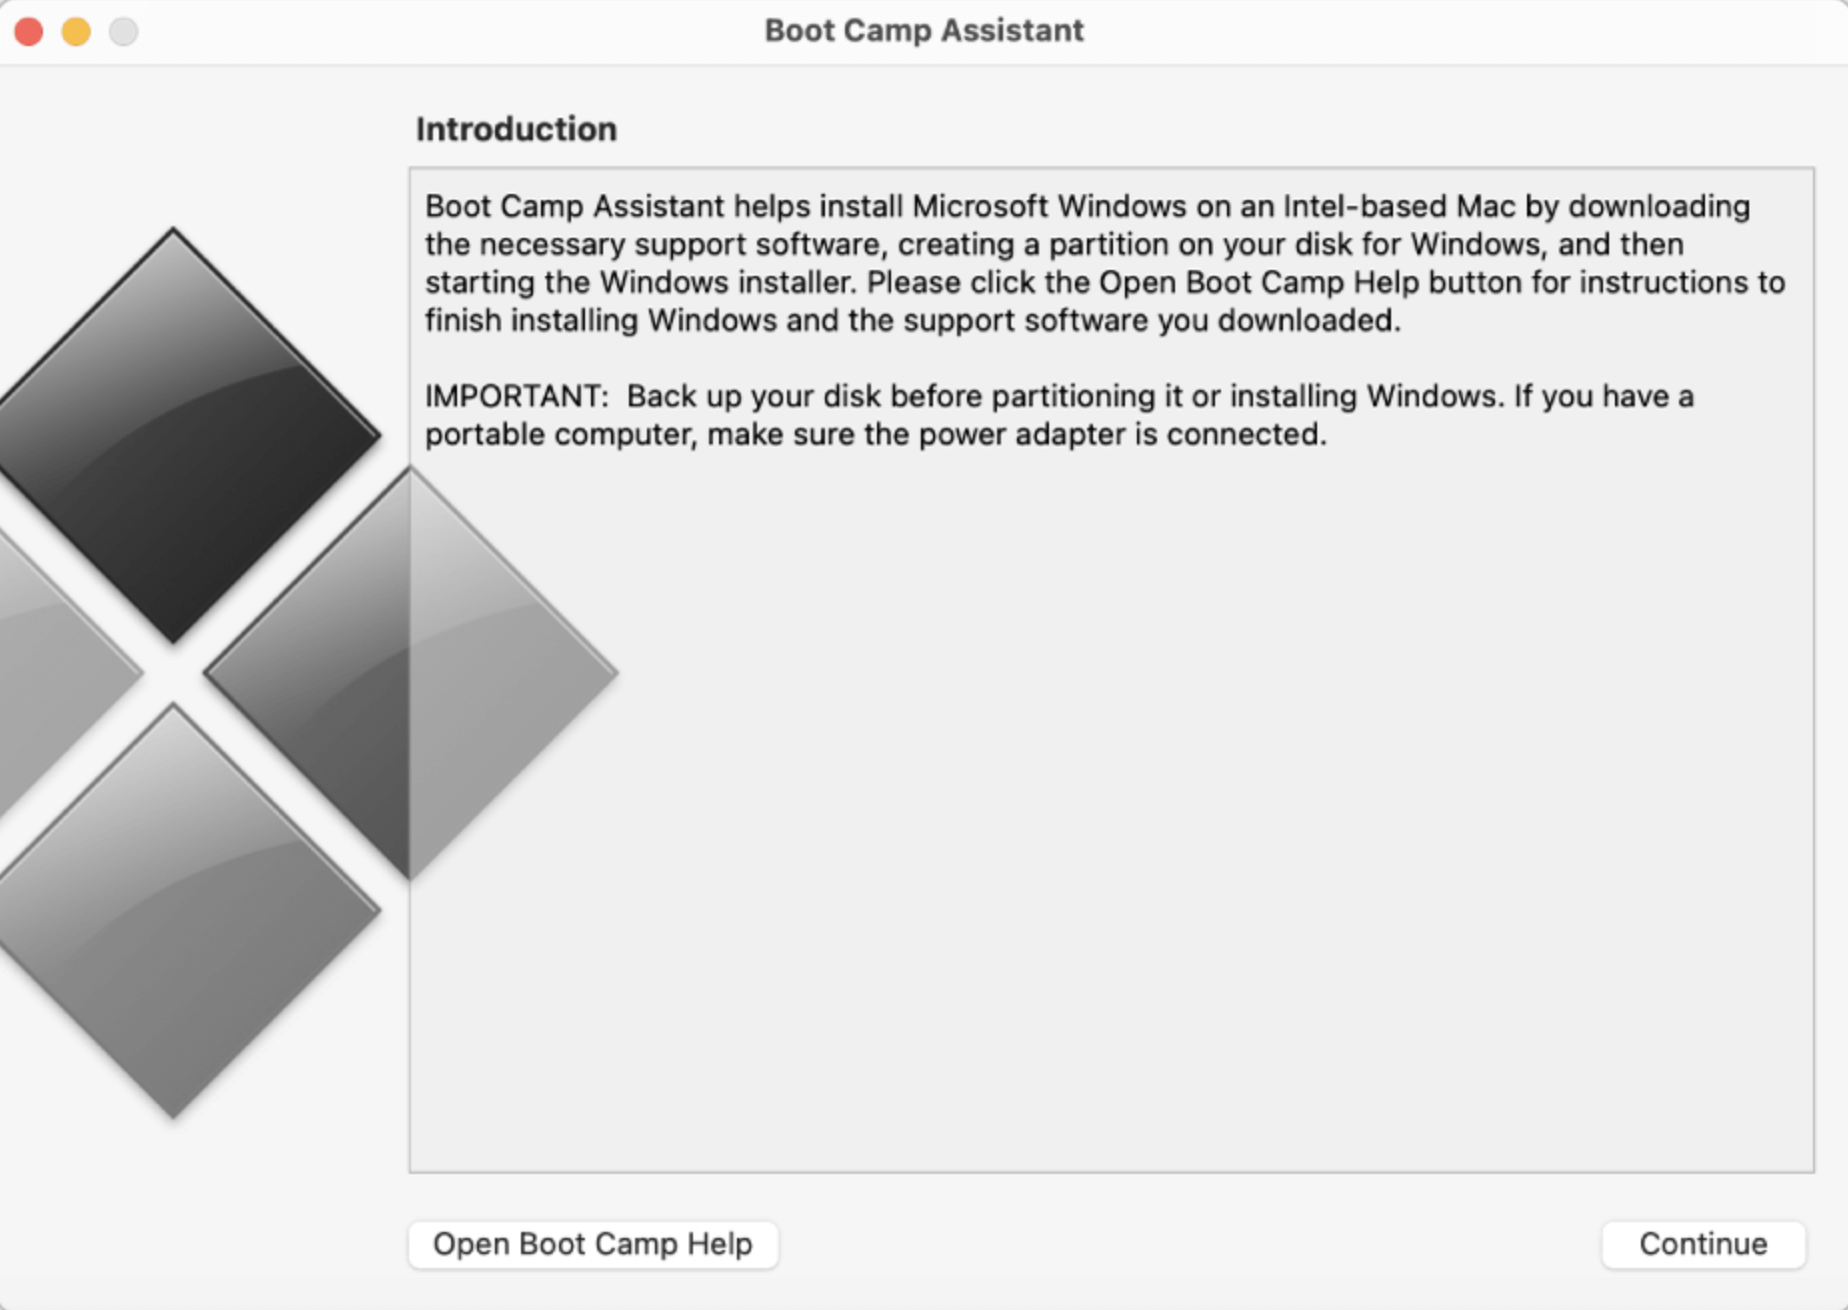
Step 3: Launch Boot Camp Assistant
- Open Boot Camp Assistant from the Applications > Utilities folder.
![Installing Windows 11/10 on a Mac]()
- Follow these steps:
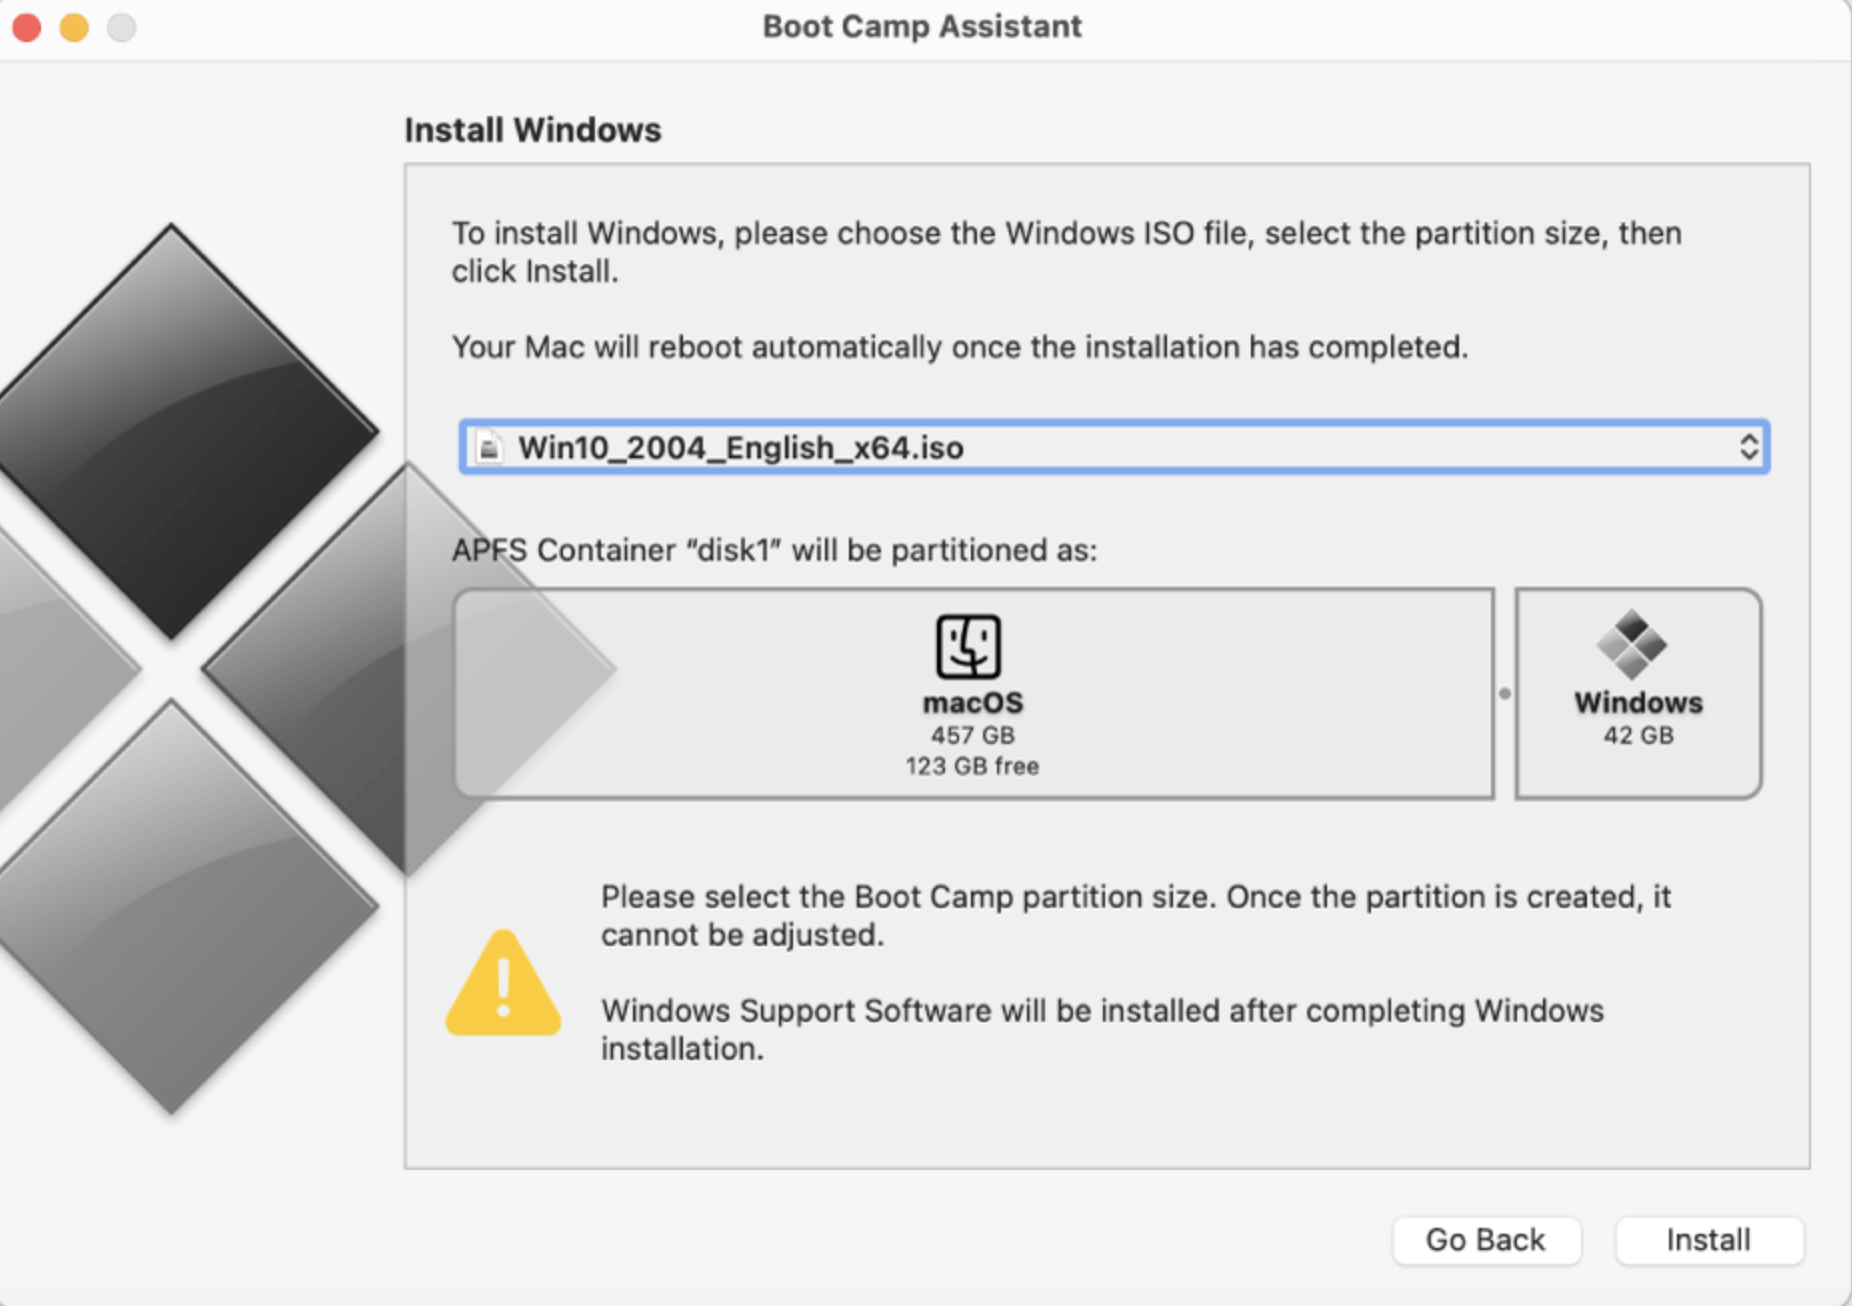
- Select the ISO file you downloaded.
- Adjust the partition size for Windows. Apple recommends a minimum of 64 GB, but more is better for applications, files, and updates.
- Ensure the correct partition size is allocated - this cannot easily be changed later.
![Installing Windows 11/10 on a Mac]()
Step 4: Install Windows
- Boot Camp will create the Windows partition and restart your Mac automatically.
- Follow the Windows installation steps:
- Choose the partition labeled BOOTCAMP for installation.
- Format the partition if prompted, ensuring it is set to NTFS.
- Allow the installation process to complete. The computer may restart several times.
Step 5: Install Windows Support Drivers
After Windows installation:
- Boot Camp will prompt you to install Windows Support Software.
- This software includes essential drivers for the keyboard, trackpad, display, and other hardware.
- Follow the on-screen prompts to complete the installation and restart the Mac when prompted.
Step 6: Configure Windows Settings
- After logging into Windows for the first time, configure your region, keyboard layout, and other preferences.
- Install Windows updates to ensure you have the latest security patches and features.
- Activate Windows using a valid product key or purchase one if needed.
Tips for Using Boot Camp
- To switch between macOS and Windows, restart your Mac and hold down the Option (Alt) key during startup. This will display the boot menu.
- Use Disk Utility in macOS to check the health of the Boot Camp partition periodically.
Installing Windows Using Virtual Machines
Virtual Machines (VMs) allow you to run Windows inside macOS, letting you use both operating systems simultaneously. This method is perfect for users who want convenience over raw performance.
Step 1: Choose Virtualization Software
Several options are available for creating virtual machines:
- Parallels Desktop:
- Known for its user-friendly interface and seamless integration with macOS.
- Supports direct installation of Windows 11 on Apple Silicon Macs.
- VMware Fusion:
- A powerful virtualization tool that offers robust performance and advanced features.
- Suitable for Intel-based and Apple Silicon Macs.
- VirtualBox:
- A free, open-source option.
- Suitable for basic virtualization needs but lacks the polish of commercial alternatives.
Step 2: Install the Virtualization Software
- Download and install your chosen virtualization software from its official website.
- Follow the installation prompts to complete the setup.
Step 3: Create a New Virtual Machine
- Launch the virtualization software.
- Click on Create New Virtual Machine or a similar option.
- Select the Windows ISO file you downloaded earlier.
- Allocate resources:
- CPU: Assign at least 2 cores; more for demanding tasks.
- RAM: Allocate at least 4 GB (8 GB or more for better performance).
- Storage: Set aside at least 50 GB for the Windows installation.
Step 4: Install Windows
- Start the virtual machine and follow the standard Windows installation steps.
- Configure the same preferences as you would for a Boot Camp installation.
- Install guest tools provided by the virtualization software (e.g., Parallels Tools or VMware Tools) to improve performance and enable advanced features like shared folders and resolution scaling.
Step 5: Optimize the Virtual Machine
- Enable hardware acceleration in the VM settings for better performance.
- Adjust resource allocation based on your Mac’s hardware. For example, assign more RAM or CPU cores if the virtual machine feels sluggish.
- Configure shared folders for seamless file transfers between macOS and Windows.
Advantages of Virtual Machines
- No need to restart your Mac to switch between macOS and Windows.
- Easy to back up, pause, or delete the virtual machine.
- Ideal for running lightweight Windows applications without compromising macOS performance.
Limitations of Virtual Machines
- Performance depends heavily on your Mac’s hardware. Older Macs with limited RAM or CPU cores may struggle.
- Not ideal for gaming or resource-intensive tasks like video editing or 3D rendering.
Tips for Using Virtual Machines
- Use SSD storage for the virtual machine for faster performance.
- Keep the virtualization software and Windows installation updated for maximum compatibility.
- Close unused applications in macOS to free up system resources for the VM.
Using Third-Party Bootloaders (Advanced)
For users who require more flexibility and customization when installing Windows on a Mac, third-party bootloaders like rEFInd are an option. These tools are particularly useful for advanced setups, such as:
- Managing dual-boot systems with multiple operating systems (e.g., macOS, Windows, Linux).
- Customizing bootloader themes and options.
- Overcoming Boot Camp limitations for certain macOS versions or older Mac hardware.
![Installing Windows 11/10 on a Mac]()
What is rEFInd?
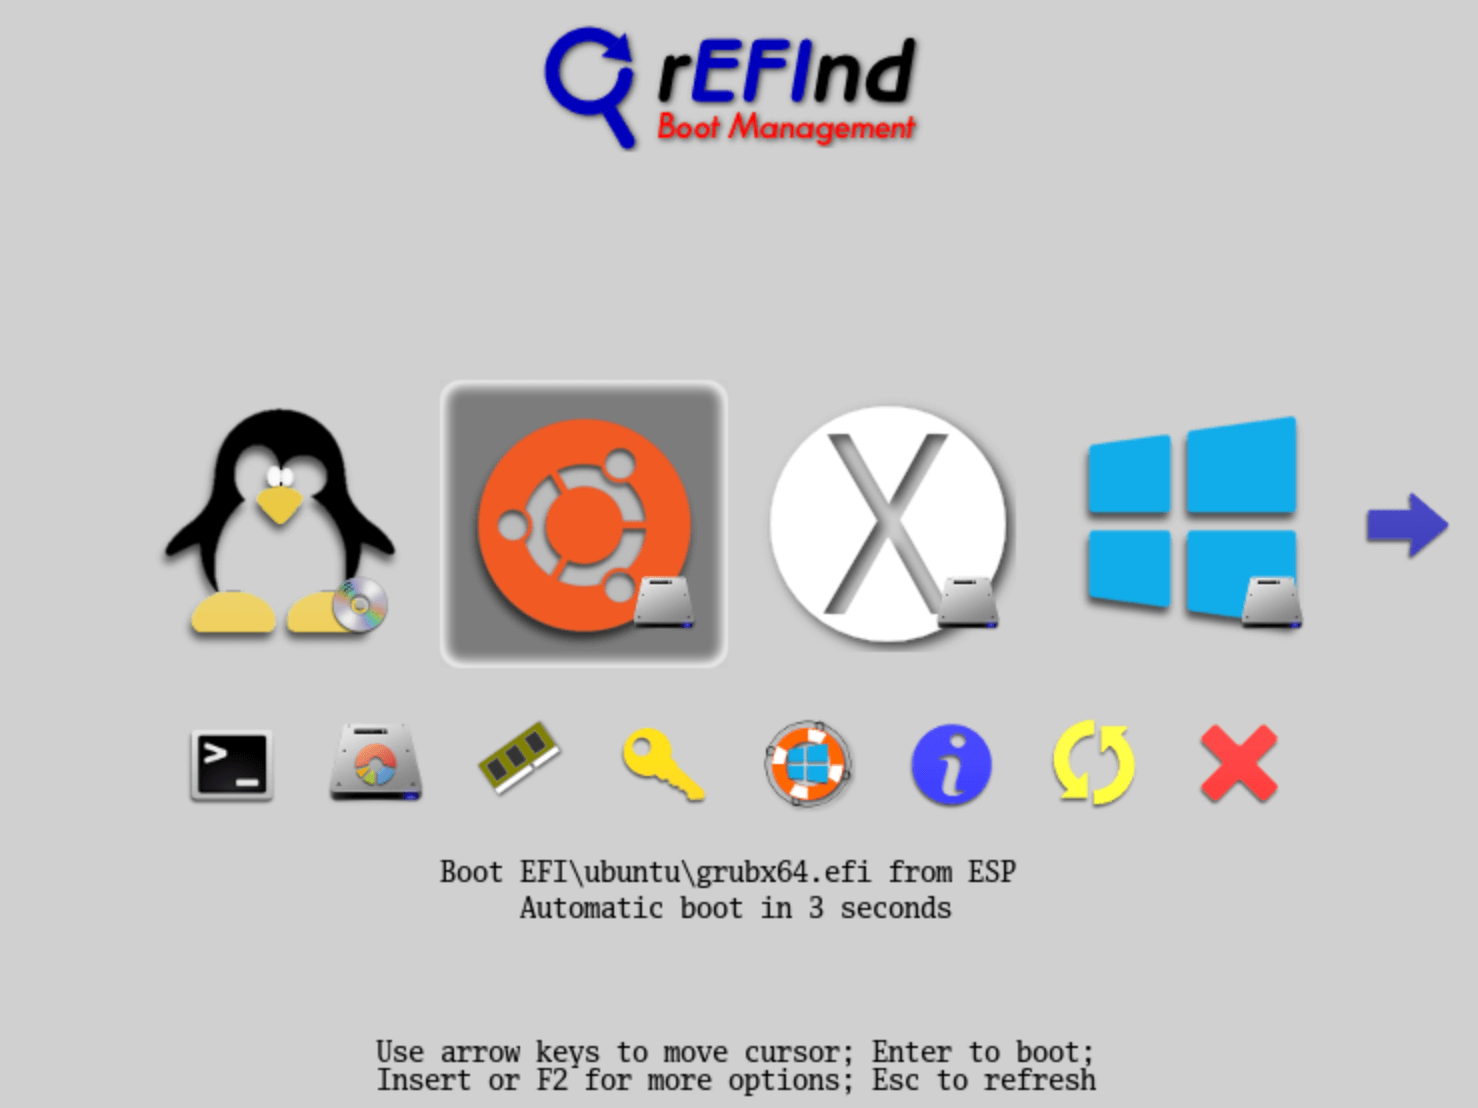
rEFInd is a boot manager that simplifies the process of choosing an operating system at startup. It offers a user-friendly graphical interface and supports various operating systems beyond macOS and Windows.
How to Use rEFInd?
- Download and Install rEFInd:
- Visit the official rEFInd website and follow the installation guide.
- Use Terminal commands to install the bootloader.
- Customize Boot Options:
- Modify the configuration file to tailor the boot options, such as icons, timeout settings, and descriptions.
- Dual-Boot with rEFInd:
- After installing rEFInd, restart your Mac to see a boot menu with options for macOS, Windows, and any additional operating systems.
Limitations
- Requires technical expertise and careful configuration.
- Installing third-party bootloaders may void Apple support for certain issues.
- Not officially supported by Apple, so troubleshooting may be challenging.
Who Should Use It?
Third-party bootloaders are recommended for advanced users comfortable with Terminal commands, system modifications, and managing custom configurations.
Tips and Troubleshooting
Common Issues and Fixes:
- Boot Camp Installation Errors:
- Ensure the Windows ISO file is not corrupted.
- Free up additional disk space on your Mac.
- Driver Issues in Boot Camp:
- Download the latest Windows support software from Apple's website.
- Reinstall drivers if hardware features like the trackpad or keyboard don't work.
- Virtual Machine Performance Issues:
- Allocate more RAM and CPU resources to the virtual machine.
- Ensure hardware virtualization is enabled in the VM settings.
Switching Between macOS and Windows:
- For Boot Camp: Restart your Mac and hold down the Option (Alt) key during startup to choose between macOS and Windows.
- For Virtual Machines: Simply open the VM application and start Windows.
Pros and Cons of Each Method:
Boot Camp
- Pros:
- Native performance, ideal for gaming and resource-heavy applications.
- Full hardware compatibility with no performance degradation.
- Cons:
- Requires rebooting to switch between macOS and Windows.
- Partitioning reduces available storage space for macOS.
Virtual Machines
- Pros:
- No need to reboot; run macOS and Windows simultaneously.
- Easy to back up, pause, and resume the virtual machine.
- Cons:
- Performance is limited by available system resources.
- Not ideal for gaming or intensive applications.
Conclusion
Installing Windows 11/10 on a Mac is a straightforward process that offers immense flexibility for users who need access to both operating systems. Boot Camp is the best choice for native performance, while Virtual Machines are ideal for those who prefer seamless integration between macOS and Windows.
By carefully following the steps outlined in this guide, you can enjoy the best of both worlds on your Mac. Choose the method that aligns with your needs, and get ready to unlock the power of Windows alongside macOS.

Donemax Disk Clone for Mac
An award-winning disk cloning program to help Mac users clone HDD/SSD/external device. It also can create full bootable clone backup for Macs.
Related Articles
- Sep 18, 2025How to Unlock iPhone without Passcode or Face ID?
- Sep 15, 2025How to Install macOS Sequoia on VMware on Windows?
- Feb 21, 2024How to Remove Stubborn Files from PC?
- Mar 22, 2024What Is SMC? How to Reset SMC on Mac?
- May 19, 2025Clean Install macOS Ventura: A Comprehensive Guide
- Mar 01, 2025How to Safely Eject/Remove an SD Card from Windows PC, Mac, and Mobile Phone?

Charles
Charles, who lives in Sydney, Australia, is an editor & writer of Donemax Team. He is good at writing articles related with Apple Mac computers, Windows operating systems, data recovery, data erasure, disk clone and data backup, etc. He loves reading and playing tennis in his spare time and is interested in testing new digital devices such as mobile phones, Macs, HDDs, SSDs, digital cameras, etc.

Gerhard Chou
In order to effectively solve the problems for our customers, every article and troubleshooting solution published on our website has been strictly tested and practiced. Our editors love researching and using computers and testing software, and are willing to help computer users with their problems


