Written byCoco LinUpdated on May 20, 2024
Seagate Backup Plus External Hard Drive Not Showing Up on Mac, Fix It
Approved byGerhard Chou
Hi, my 1TB Seagate Backup Plus external hard drive can’t be recognized by my MacBook Pro. Is there any way to solve this problem?
PAGE CONTENT:
The Seagate Backup Plus external hard drive and other external hard drives help us keep our important files and memories safe. These drives are essential for all Mac users because they are reliable and easy to use. They can store family photos, work papers, and multimedia collections.
If, on the other hand, your Seagate Backup Plus external hard drive doesn't show up on your Mac, it can be very annoying and leave you feeling like you're lost in a sea of digital confusion. Don't worry - this guide is here to help you find the answer. In this guide, we'll discuss fixing this common issue.
Why Seagate Backup Plus External Hard Drive Not Showing Up on Mac?
There are several reasons why the Seagate Backup Plus external hard drive might not show up on your Mac. Some of these are connection problems, like loose wires, broken ports, or bad connections that make it hard to recognize. Incompatible software or tools that aren't working right can also make compatibility difficult.
Power source problems can make things not work or appear. It's also possible that the Seagate Backup Plus external hard drive won't work on your Mac if it gets damaged, has software problems, or fails internally.
Methods to Fix Seagate Backup Plus Drive Not Showing Up on Mac
Method 1: Using Finder to Change the Settings
Step 1. On your Mac, click the Finder icon in the dock or choose Finder from the Applications area to open a new window.
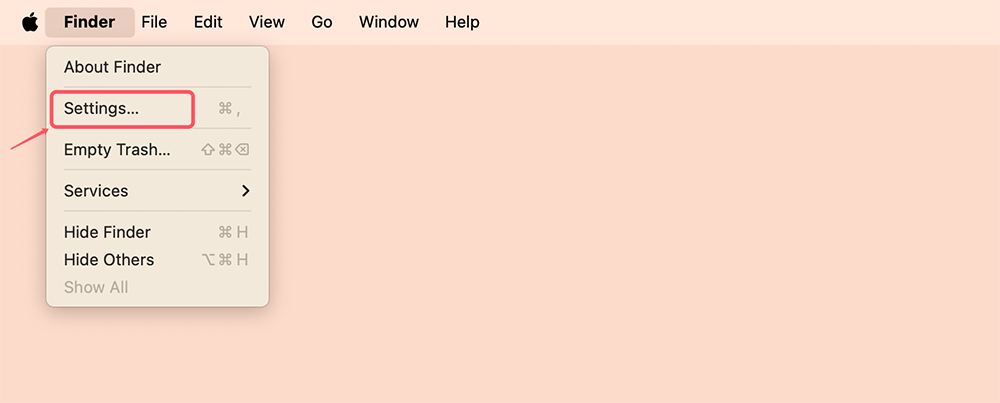
Step 2. Click "Finder" in the menu bar at the top of the screen, and then select "Settings" from the menu that appears.
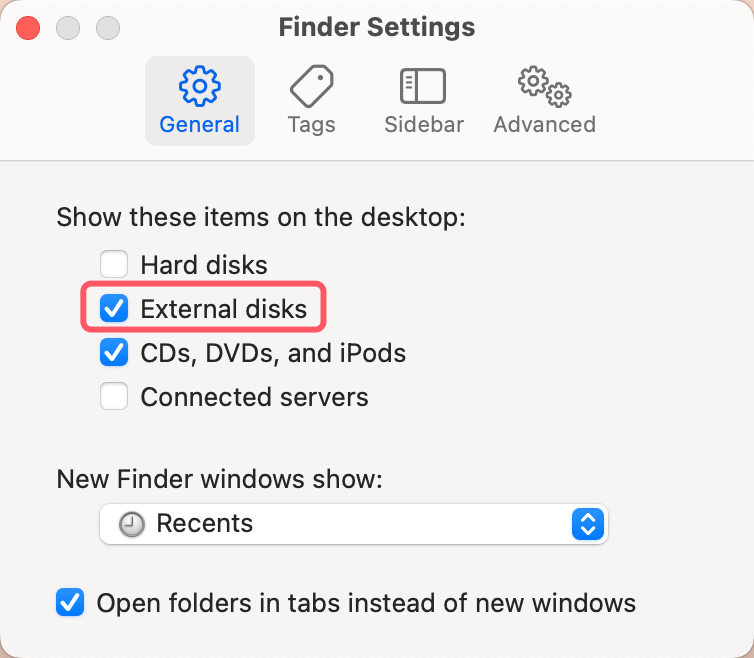
Step 3. Open Finder Settings window, and click General, under Show these items on the desktop:, make sure External disks is selected.
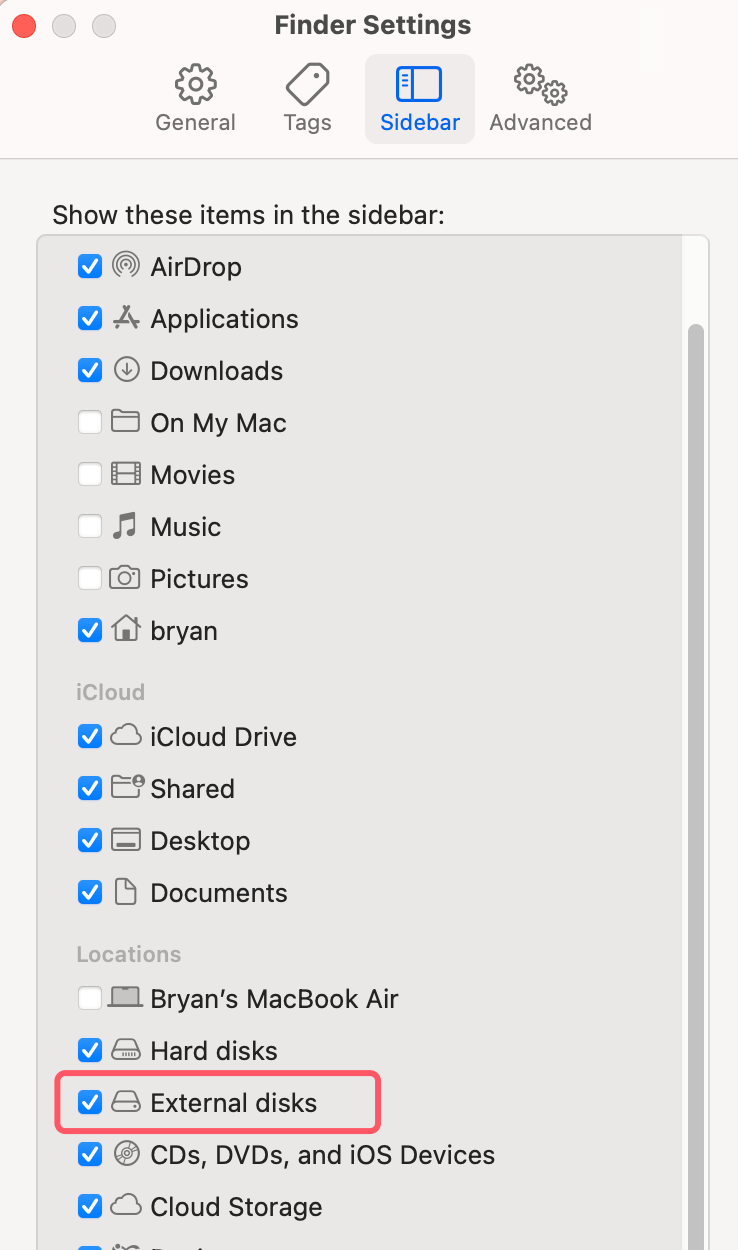
Step 4. Click on the "Sidebar" tab at the top of the Finder Settings window. To list the Seagate Backup Plus external hard drive on the Finder sidebar, select External disks.
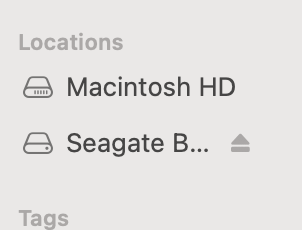
Step 5. Close the Finder Settings window once you're done setting up external drives. Look at the menu in the Finder window again. Click "Locations" and then look for Seagate Backup Plus drive.
Method 2: Using Disk Utility
Step 1. To open Disk Utility, go to "Applications" > "Utilities" > "Disk Utility."
Step 2. Click "External" or "External Drives" on the left side of Disk Utility until you see the Seagate Backup Plus external hard drive. If you can't see it, ensure the drive is hooked to your Mac correctly.
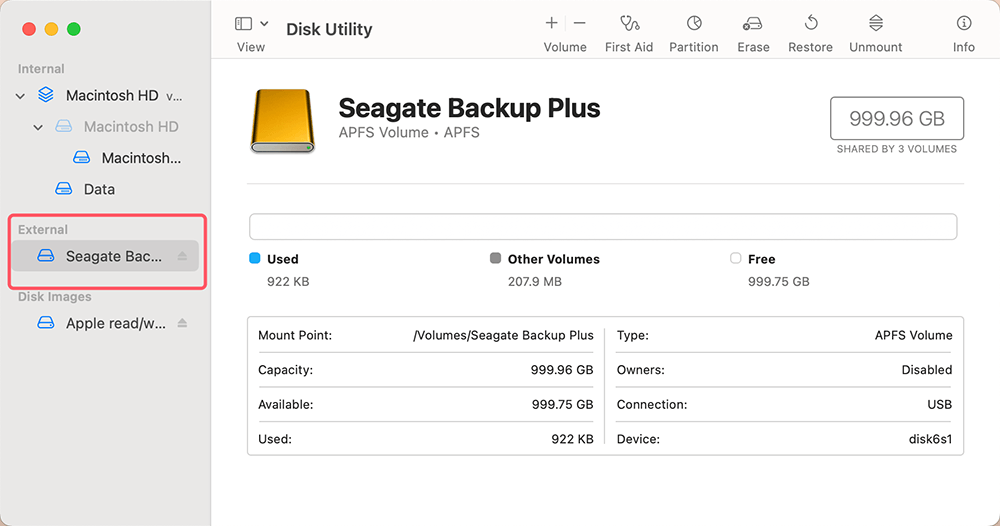
Step 3. Click on the Seagate Backup Plus external hard drive to select it. Information about it is on the main page of Disk Utility.
Step 4. Click the "Mount" button at the top of the Disk Utility window. It will try to mount the drive, so your Mac can view it.

After you click "Mount," check the state of the drive. If everything goes well, the drive icon should go from being greyed out to looking normal, which means it's now mounted and can be used.
You can go back to the Finder or your desktop. You should now see the icon for the Seagate Backup Plus external hard drive. It means it's mounted and ready to be used. Click the drive icon to see what's on the drive and ensure it's working right.
Method 3: Using First Aid to Repair Seagate Backup Plus Drive
Step 1. To open Disk Utility, go to "Applications" > "Utilities" > "Disk Utility." In Disk Utility, look for the Seagate Backup Plus drive.
Step 2. When choosing the Seagate drive, press the "First Aid" button at the top of the "Disk Utility window."
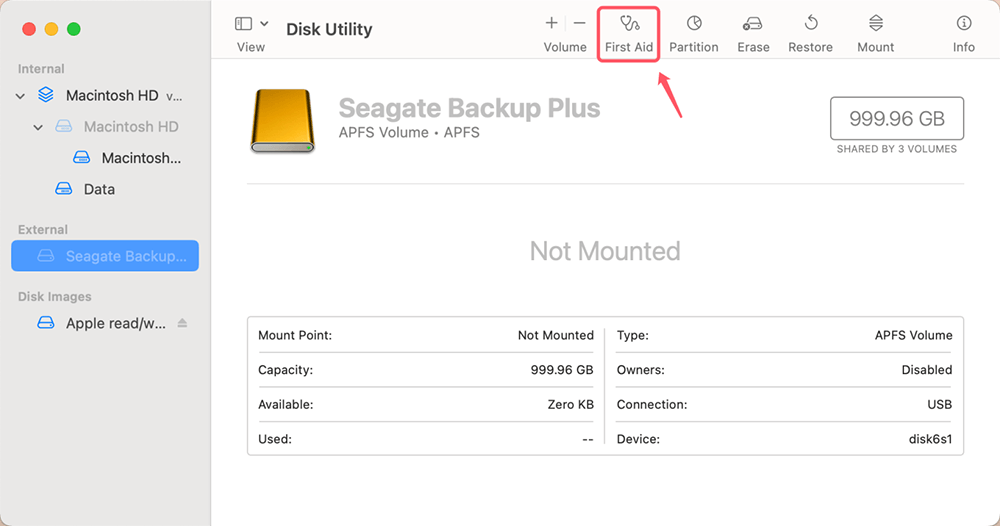
Disk Utility will test to ensure the Seagate Backup Plus drive's file system is correct. Due to the drive's size and state, this process may take a while.
Step 3. Disk Utility will show the data once the verification process is complete. If any problems are found, Disk Utility will try to fix them on its own. Read the given information to find out what's happening with the drive.
A message will appear if Disk Utility finds and fixes problems with the Seagate Backup Plus drive. It means the repair process was successful. Follow any other hints or directions that Disk Utility gives you.
After the fix, close Disk Utility and check the Seagate Backup Plus drive again in Finder or your desktop to see if it can be reached.
Method 4: Reformatting Drive to a Mac-Supported File System
Ensure you have a copy of any important files on the Seagate Backup Plus drive before starting the reformatting process. Reformatting the drive will delete all of its files.
Step 1. To open Disk Utility, go to "Applications" > "Utilities" > "Disk Utility."
Step 2. In Disk Utility, look for the Seagate Backup Plus drive on the left side.
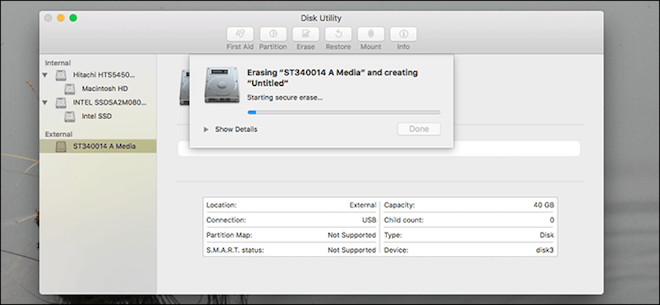
Step 3. A "Erase" button is at the top of the Disk Utility window. Click it and then select the Seagate drive.
Step 4. In the Erase text box, you'll be asked to pick a new format for the Seagate Backup Plus drive. Choose a file system that works with Macs, like "APFS (Apple File System)" or "Mac OS Extended (Journaled)."
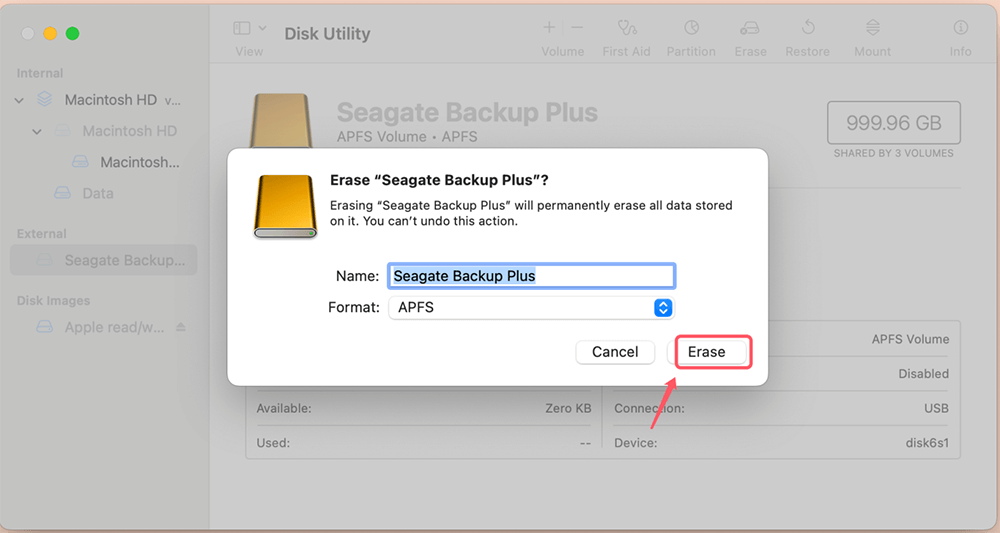
After choosing the file system you want and giving the drive a name, click the "Erase" button to start the process of reformatting. A message will tell you that all the data on the drive will be deleted. To move on, click "Erase" again.
Disk Utility will now format the Seagate Backup Plus drive to the chosen file system. Based on the drive size, the process could take a while.
Step 5. When reformatting is done, Disk Utility will show a message stating that the Seagate drive was erased and formatted successfully.
Close Disk Utility and check to see if the Seagate Backup Plus drive now shows up on your Mac and can be used. You might have to take it out and put it back in the drive for it to show up.
If you have lost data due to erasing the drive, data recovery software can help you get the lost data back.
Recover Files from Erased Drive on Mac
You can recover lost data from a Seagate Backup Plus external hard drive which is erased by Disk Utility.
Method 5: Using NTFS for Mac Tool
If the Seagate Backup Plus external hard drive has been formatted to NTFS, you can use NTFS for Mac to help you mount NTFS drive and enable writable for NTFS drive on Mac.
Step 1. Download and install Donemax NTFS for Mac, then open it, find the NTFS Seagate Backup Plus external hard drive, click on Mount button.

Step 2. Then click on Enable Writable for NTFS Seagate Backup Plus external hard drive.

Conclusion:
In conclusion, fixing problems where your Seagate Backup Plus external hard drive doesn't show up on your Mac takes time and a systematic approach. Using these steps, you can fix connection problems and file system errors and ensure that your computer works with your Mac. Changing the settings in Finder, using Disk Utility to mount the drive or run First Aid, or reformatting the drive to a file system that works with Macs are all possible ways to fix the issue.
If you have lost data due to fixing Seagate Backup Plus external hard drive, just use a data recovery app - such as Donemax Data Recovery for Mac to help you get the lost data back.
Related Articles
- Jun 25, 2025Deleted App Still Shows Up on Mac? Here's How to Fix It
- Feb 07, 2025How to Fix Can't Read SD Card on Mac? [8 Methods]
- Aug 18, 2025Fix SD Card Not Initialized on Windows and macOS – Complete Repair & Recovery Guide
- Sep 23, 2024Fix Bad Sectors on HDD/SSD/USB Drive: A Comprehensive Guide
- Feb 22, 2025How to Fix Corrupted XQD Card Without Losing Data?
- Jan 22, 2025[8 Methods] Fix CF Card Not Reading/Recognized/Detected: A Complete Troubleshooting Guide

Contributing Writer
Coco Lin
Coco has been a writer and a chief programmer at Donemax software since 2018. Over 10 years of experience of writing troubleshooting articles in the software industry, she is passionate about programming and loves to providing solutions to Windows and Mac users. Also she enjoys music and palying tennis in her free time.

Editor in chief
Gerhard Chou
In order to effectively solve the problems for our customers, every article and troubleshooting solution published on our website has been strictly tested and practiced. Our editors love researching and using computers and testing software, and are willing to help computer users with their problems
Hot Donemax Products
Clone hard drive with advanced clone technology or create bootable clone for Windows/Mac OS.

Completely and easily recover deleted, formatted, hidden or lost files from hard drive and external storage device.
Certified data erasure software - permanently erase data before selling or donating your disk or any digital device.