Written byStevenUpdated on Apr 10, 2025
Fix com.apple.DiskManagement.disenter error 0 on Mac
Approved byGerhard Chou
Before we start: If you couldn't mount a disk on Mac and get this error message "com.apple.DiskManagement.disenter error 0," just use data recovery software - such as Donemax Data Recovery for Mac to recover all files from it. Then use disk utility, Terminal or other tools to fix com.apple.DiskManagement.disenter error 0 and mount the disk on your Mac.
PAGE CONTENT:
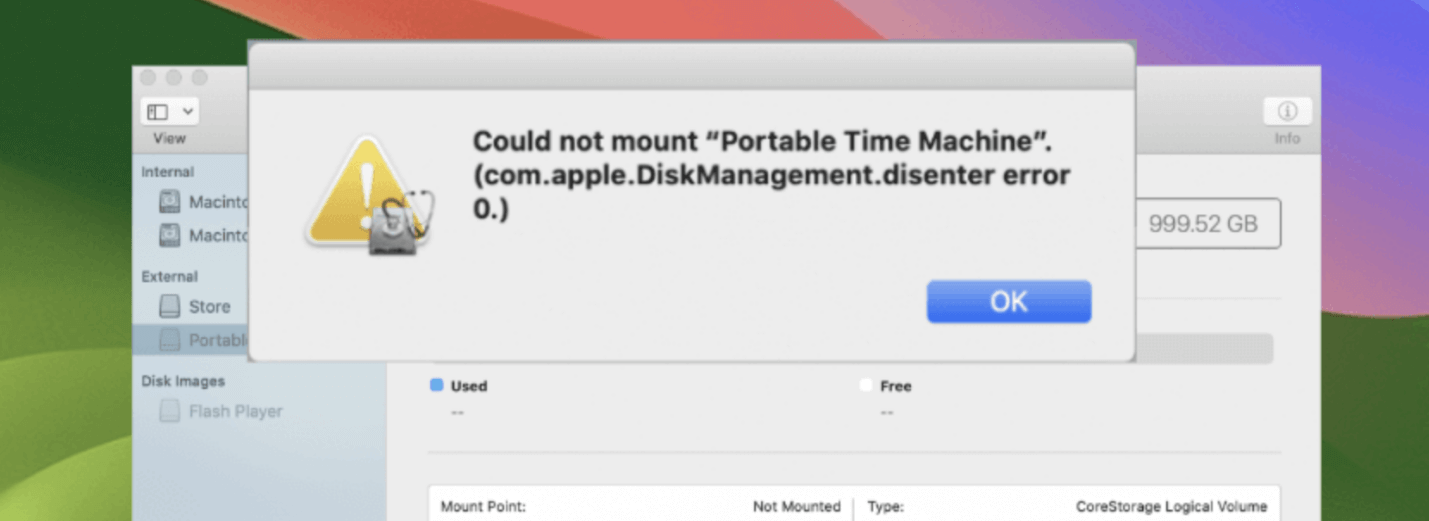
If you're a Mac user who frequently plugs in USB drives, external hard drives, or SD cards, encountering the dreaded com.apple.DiskManagement.disenter error 0 can be frustrating. This error often appears in Disk Utility when trying to mount or access an external storage device, leaving users unable to view or use their data.
But don't worry. In this guide, we'll break down what causes this error and give you step-by-step instructions on how to fix it. Whether you're dealing with file system incompatibilities or deeper drive issues, we've got you covered.
What is com.apple.DiskManagement.disenter error 0?
The com.apple.DiskManagement.disenter error 0 is a generic error code in macOS that means the system failed to mount a disk but didn't provide a specific reason. It's part of a broader family of "disenter" errors, each with different numbers pointing to different underlying issues.
You'll most likely encounter this error when:
- Inserting an external drive and trying to mount it through Disk Utility
- Attempting to mount a disk via Terminal
- Booting from an external drive that fails to load
Unlike other disenter errors (like error 49218 or 49244, which relate to partition issues or file system corruption), error 0 is vague, indicating that something generic went wrong in the disk mounting process.
Common causes of DiskManagement.disenter error 0
Here are some of the most frequent reasons behind this error:
- Incompatible File System: macOS doesn't natively support file systems like NTFS (read-only) or Linux's ext3/ext4.
- Corrupted File System: Improper ejection or physical damage may corrupt the drive's partition table.
- USB Port or Cable Issue: A faulty or loose cable can interrupt the connection.
- macOS Permissions Problem: Disk Utility might lack the necessary permissions to mount the disk.
- macOS Bug or Glitch: System updates or background processes can interfere with disk mounting.
- Outdated macOS Version: Some newer drives may require updated system support.
Before diving into advanced solutions, it's important to rule out some basic checks.
Preliminary Checks
1. Try a Different USB Port or Cable
Sometimes the issue is hardware-related. Switch to another port or use a different cable, especially if the drive works fine on another machine.
2. Test the Drive on Another Computer
Check whether the drive mounts on another Mac or a Windows/Linux machine. This helps determine if the drive itself is faulty.
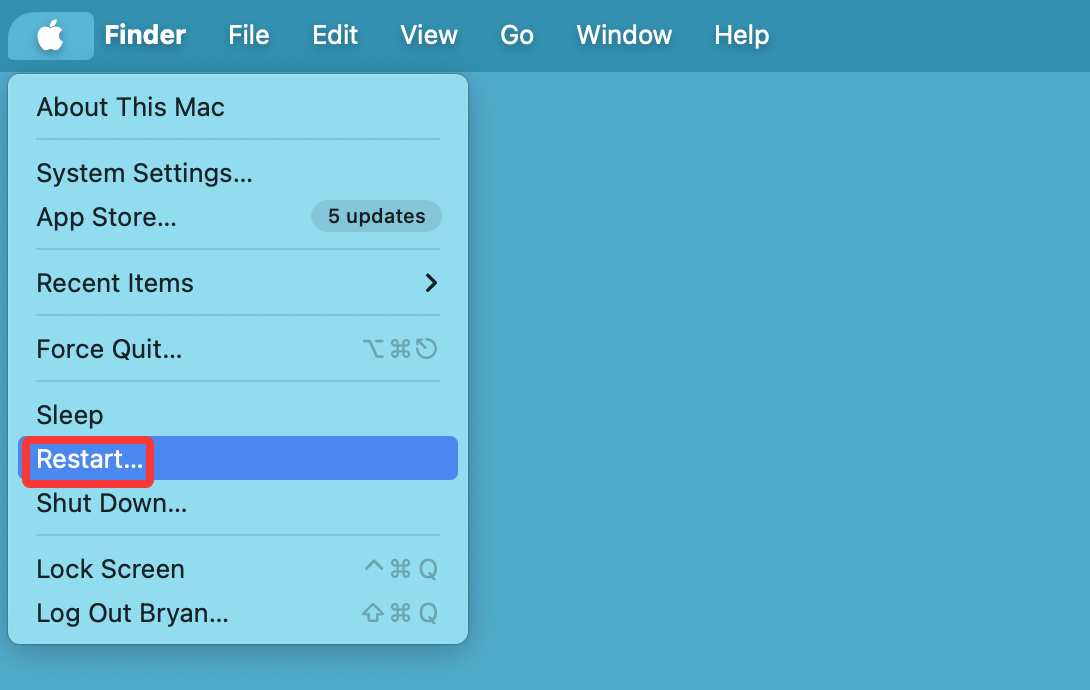
3. Restart Your Mac
A simple reboot can reset temporary software glitches that block the mounting process.
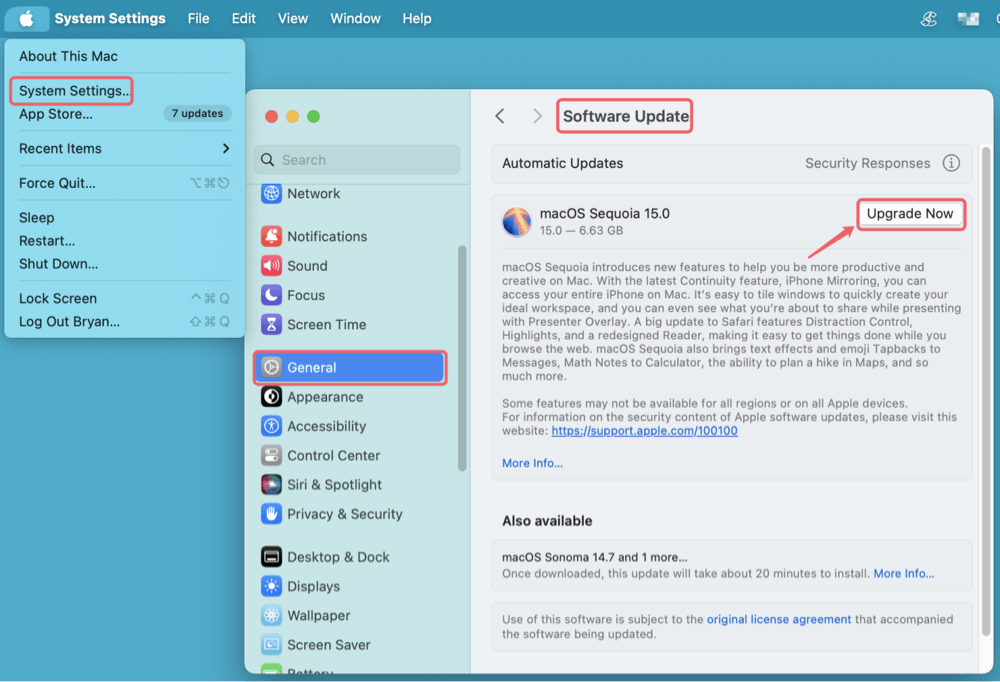
4. Update macOS
Go to System Settings > General > Software Update and install any available updates.
If none of these basic steps help, continue with the solutions below.
How to fix com.apple.DiskManagement.disenter error 0?
Method 1: Mount the Drive Manually Using Terminal
If your drive refuses to mount through Disk Utility and shows the com.apple.DiskManagement.disenter error 0, using Terminal can give you deeper control over disk management. macOS's Terminal allows you to interact directly with the system's disk management functions through the diskutil command-line tool.
This method is particularly helpful if:
- Disk Utility is slow or unresponsive.
- You need to verify the system's recognition of the device.
- You suspect a permissions or file system mismatch.
Step-by-Step Instructions
Step 1: Open Terminal
- Open Finder from Utilities via Applications.
![Fix com.apple.DiskManagement.disenter error 0 on Mac]()
- Or press Command + Space, type Terminal, and hit Enter.
![Fix com.apple.DiskManagement.disenter error 0 on Mac]()


Step 2: List All Connected Disks
Run this command:
diskutil list
Step 3: Try to Mount the Drive Manually
Now try to mount the disk. Use the identifier from above (e.g., disk5):
diskutil mountDisk /dev/disk5
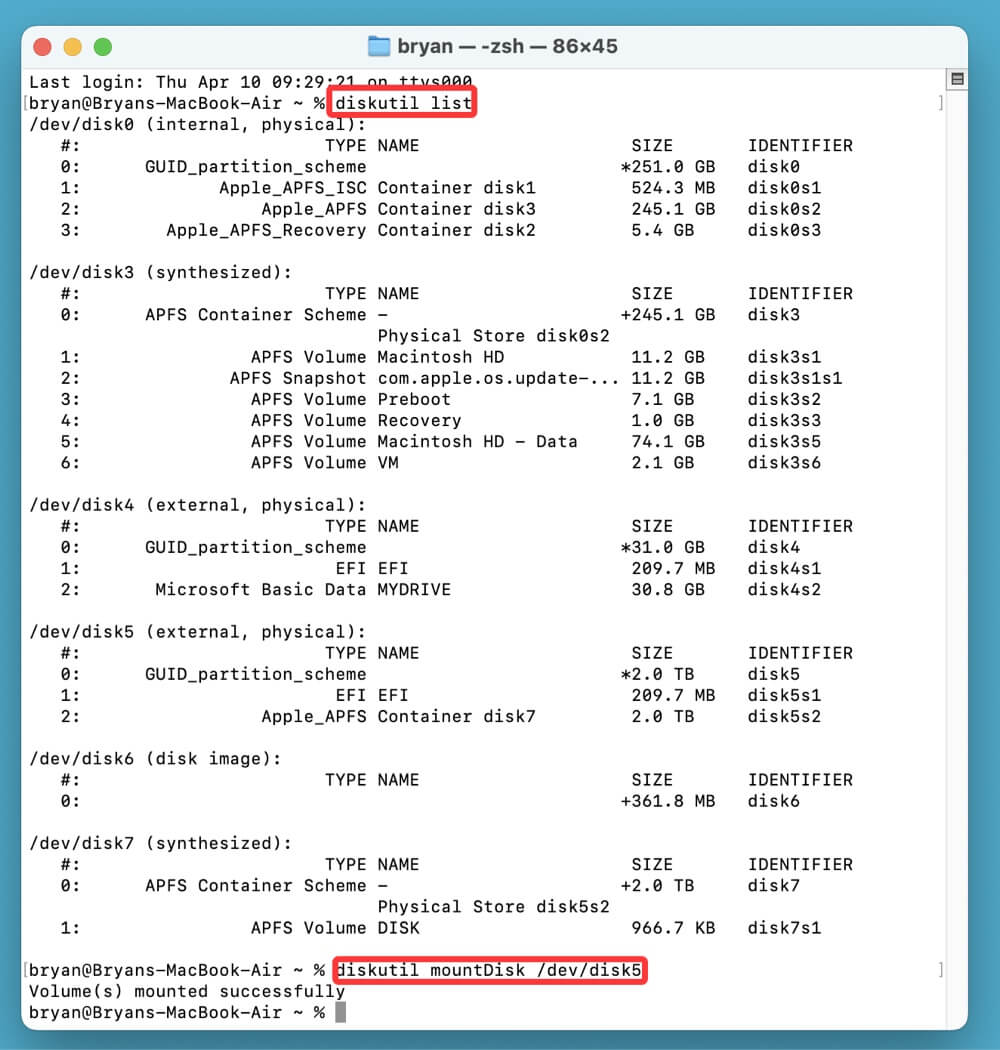
If successful, you'll see a message like:
Volume(s) mounted successfully
You can now access the drive in Finder.
Step 4: If Mount Fails, Try Forcing Mount
Sometimes the disk may be improperly marked as unmounted or incorrectly ejected. You can try force mounting it with:
sudo mkdir /Volumes/MyUSB
sudo mount -t ntfs -o read-only /dev/disk5s2 /Volumes/MyUSB
Replace ntfs with apfs, exfat, msdos, or hfs depending on the actual format of the drive.
💡 Note: macOS only allows read-only access to NTFS by default. Use third-party drivers like Donemax NTFS for Mac if you need write access.
Step 5: Eject the Disk via Terminal (Optional)
If the mount attempt was unsuccessful and you want to retry safely, eject the disk using:
diskutil eject /dev/disk5
You can then unplug and reconnect it to try again.
Method 2: Run First Aid in Disk Utility
macOS includes a diagnostic tool called First Aid that checks and repairs disk issues.
Steps:
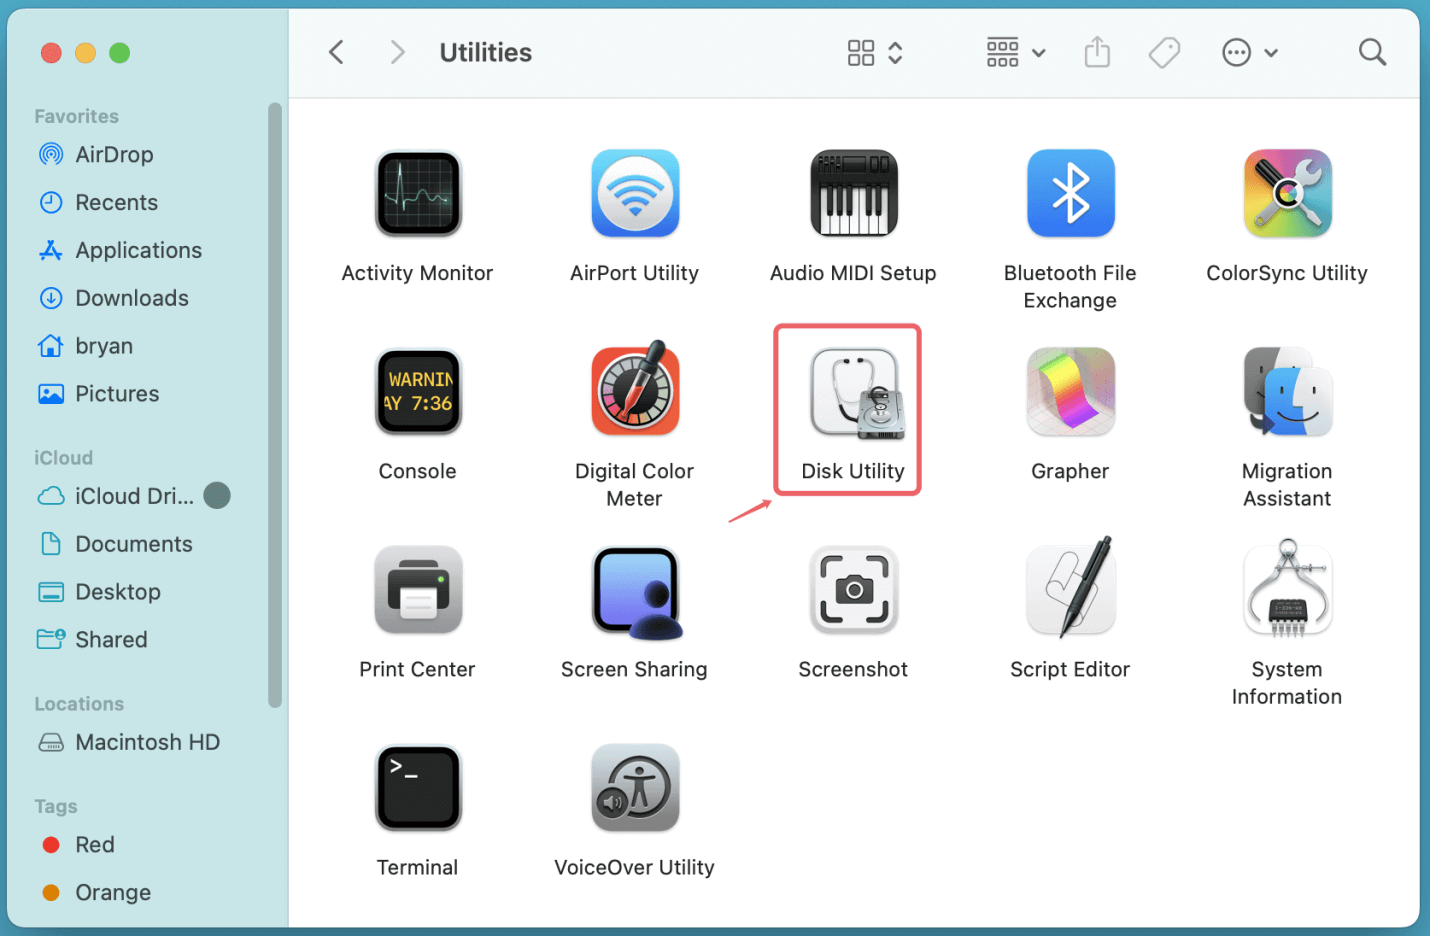
- Go to Disk Utility from Utilities via Applications.
![Fix com.apple.DiskManagement.disenter error 0 on Mac]()
- Select the unmounted external drive in the sidebar.
- Click First Aid > Run.
![Fix com.apple.DiskManagement.disenter error 0 on Mac]()
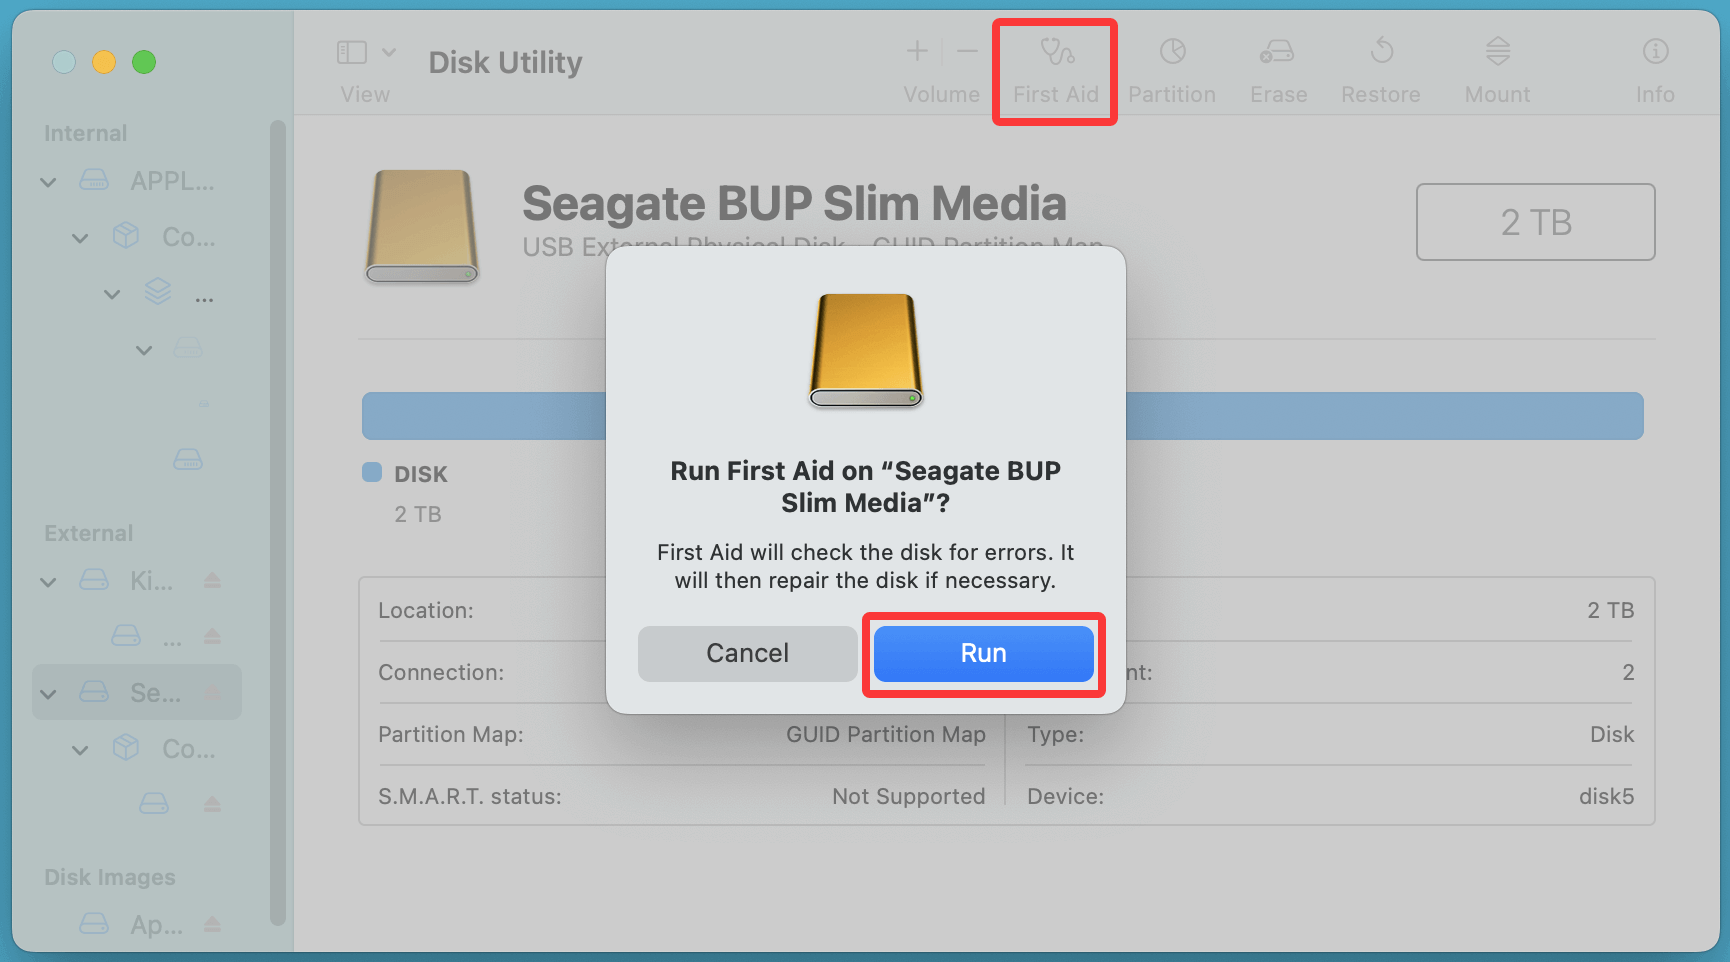
First Aid will analyze the volume for errors and attempt repairs. If successful, try mounting the drive again. If First Aid fails, the file system might be seriously corrupted or unsupported.
Method 3: Reformat the Drive (Warning: Data Loss)
If the disk remains inaccessible and you don’t need the data, reformatting is a clean fix.
Steps:
- Open Disk Utility.
- Select the unmountable drive.
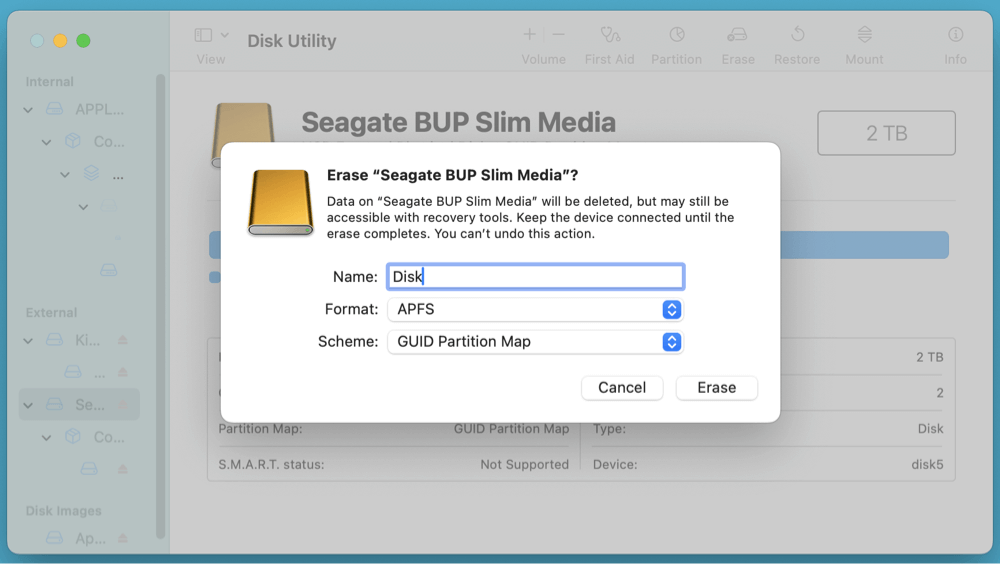
- Click Erase at the top.
- Choose:
- Name: (Any)
- Format: exFAT (if using across Mac and Windows) or APFS/Mac OS Extended (if using on Mac only)
- Scheme: GUID Partition Map
- Click Erase.
![Fix com.apple.DiskManagement.disenter error 0 on Mac]()
After reformatting, the drive should mount properly. If you need to recover data before reformatting, see the next section.
Method 4: Use NTFS Drivers for macOS
If your drive is formatted as NTFS, macOS can only read from it by default - it can't write to it or mount it fully in some cases. NTFS drivers can help you mount NTFS drives on Mac and it allows your Mac to read-write NTFS drives without any limitation.
Step 1. Download and install the reliable NTFS driver - Donemax NTFS for Mac on your Mac.
Step 2. Open Donemax NTFS for Mac, select the NTFS disk, click on Mount button.

Step 3. Click on Enable Writable button if you want to write data to the NTFS disk on your Mac.

Method 5: Reset NVRAM and SMC
Corrupted system settings can interfere with how macOS interacts with external drives.
Reset NVRAM:
- Turn Off your Mac.
- Switch it on, then push and hold right away:
Option + Command + P + R
- Release after holding for roughly 20 seconds.
Reset SMC (for Intel Macs):
- Turn Off your Mac.
- Unplug the power for 15 seconds.
- Plug it back in, wait 5 seconds, and turn it on.
💡 Note: Apple silicon Macs automatically handle SMC resets during restart.
How to Recover Inaccessible or Lost Data from Unmounted Disk on Mac?
If your external drive shows disenter error 0 but contains important files, don't erase it yet. Try using data recovery software to rescue your files before proceeding.
Steps to Recover:
Step 1. Download and install the reliable Mac data recovery software - Donemax Data Recovery for Mac. It can help you recover deleted/formatted/lost files and inaccessible files from the unmounted disk.
Step 2. Open Donemax Data Recovery for Mac and select the disk which is not mounting.

Step 3. Click on Scan button to deeply scan the disk and find all recoverable files.

Step 4. After deep scan, you can see all recoverable files and you can preview them. Then select the wanted files, click on Recover button to save them.

Prevent Future com.apple.DiskManagement.disenter Errors
Keeping your drive and system healthy can prevent these errors from reoccurring. Follow these best practices:
1. Always Eject Drives Properly
Right-click the drive in Finder > Eject before unplugging it. This prevents file system corruption.
2. Use Compatible File Systems
Stick with ExFAT if you need cross-platform support, or APFS/Mac OS Extended for Mac-only usage.
3. Regularly Check Drive Health
Tools like Donemax Data Recovery for Mac, Smart Utility, or Disk Utility > First Aid can help monitor drive health over time.
4. Keep macOS Updated
New macOS versions often include bug fixes and better file system support.
5. Back Up Important Data
Use Time Machine or cloud storage to ensure you’re not relying on a single external drive.
When to Seek Professional Help
If none of the solutions work and your drive:
- Makes clicking or beeping sounds
- Isn't recognized by any computer
- Shows repeated mounting failures despite all efforts
Then it might be suffering from hardware damage. Contact a professional data recovery service such as DriveSavers or Ontrack, especially if the data is valuable.
Conclusion
The com.apple.DiskManagement.disenter error 0 is a vague but solvable issue that often stems from file system conflicts, drive corruption, or simple connection issues. In this guide, we covered:
- Common causes of the error
- Basic troubleshooting steps
- How to use Terminal, Disk Utility, and third-party tools
- Data recovery methods before formatting
- Preventive tips to avoid future issues
By following the methods outlined above, you should be able to successfully mount your external drive or at least recover your data before reformatting. As always, prevention is better than cure - so remember to eject drives safely and back up regularly!
Donemax NTFS for Mac
An easy-to-use NTFS for Mac tool to help you enable writable for NTFS drives on Mac so that you can read-write NTFS drives on Mac without any limitation. It also can help you mount, format, repair, rename, open drive on your Mac.
Related Articles
- Dec 18, 2024How to Fix a USB Drive Read-Only on Mac? [8 Solutions]
- Mar 04, 20257 Solutions to Fix WD My Book Not Showing Up on Windows 11/10/8
- Dec 12, 2024How to Fix USB Drive Won't Mount on Mac?
- Feb 12, 2025[6 Solutions] Fix There's a Problem with This Drive Error Without Losing Data
- Apr 10, 2025Fix Micro SD Card Not Detected: Causes and Solutions
- Dec 23, 20247 Solutions to Fix 'APFS Object Map is Invalid' on Mac Without Losing Data

Contributing Writer
Steven
Steven has been a senior writer & editor of Donemax software since 2020. He's a super nerd and can't imagine the life without a computer. Over 6 years of experience of writing technical solutions and software tesing, he is passionate about providing solutions and tips for Windows and Mac users.

Editor in chief
Gerhard Chou
In order to effectively solve the problems for our customers, every article and troubleshooting solution published on our website has been strictly tested and practiced. Our editors love researching and using computers and testing software, and are willing to help computer users with their problems
Hot Donemax Products
Clone hard drive with advanced clone technology or create bootable clone for Windows/Mac OS.

Completely and easily recover deleted, formatted, hidden or lost files from hard drive and external storage device.
Certified data erasure software - permanently erase data before selling or donating your disk or any digital device.