PAGE CONTENT:
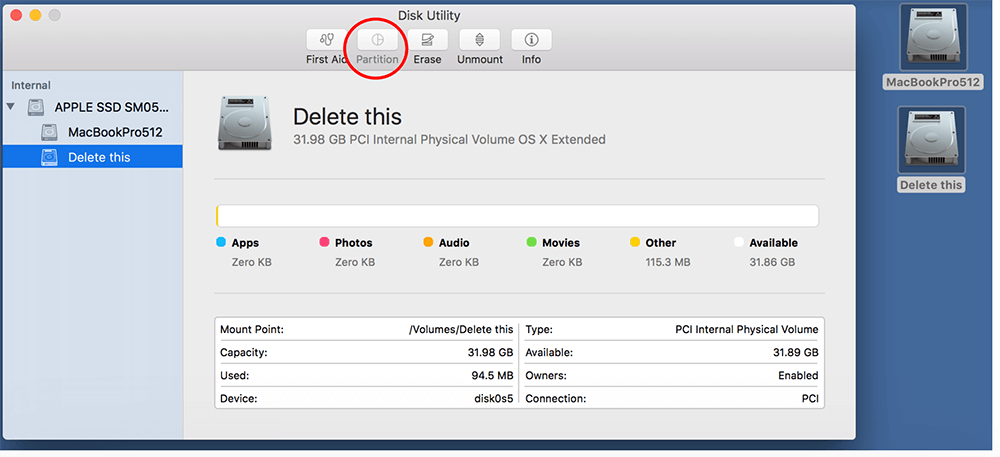
When managing disk partitions on a Mac, users often rely on the built-in Disk Utility application. This tool allows you to create, delete, and manage partitions on your hard drive or external disks. However, you might encounter a frustrating issue where the Partition tab in Disk Utility is greyed out, preventing you from making necessary changes. In this article, we'll explore the common causes of this issue and provide a detailed guide to help you solve this issue.

Introduction of Partition Feature in Disk Utility
Disk Utility is an essential utility in macOS that helps users manage their disks and storage devices. It provides a user-friendly interface to perform tasks like formatting disks, verifying their integrity, and partitioning them to allocate storage for different purposes. However, when the Partition tab is greyed out, it can be a significant roadblock in managing your disks effectively.
This article aims to explain the common reasons behind this problem and provide you with a detailed guide to troubleshoot and resolve it. Whether you're looking to resize an existing partition or create a new one, the following steps will help you regain control over your disk management.
🔖Importance of Partitioning:
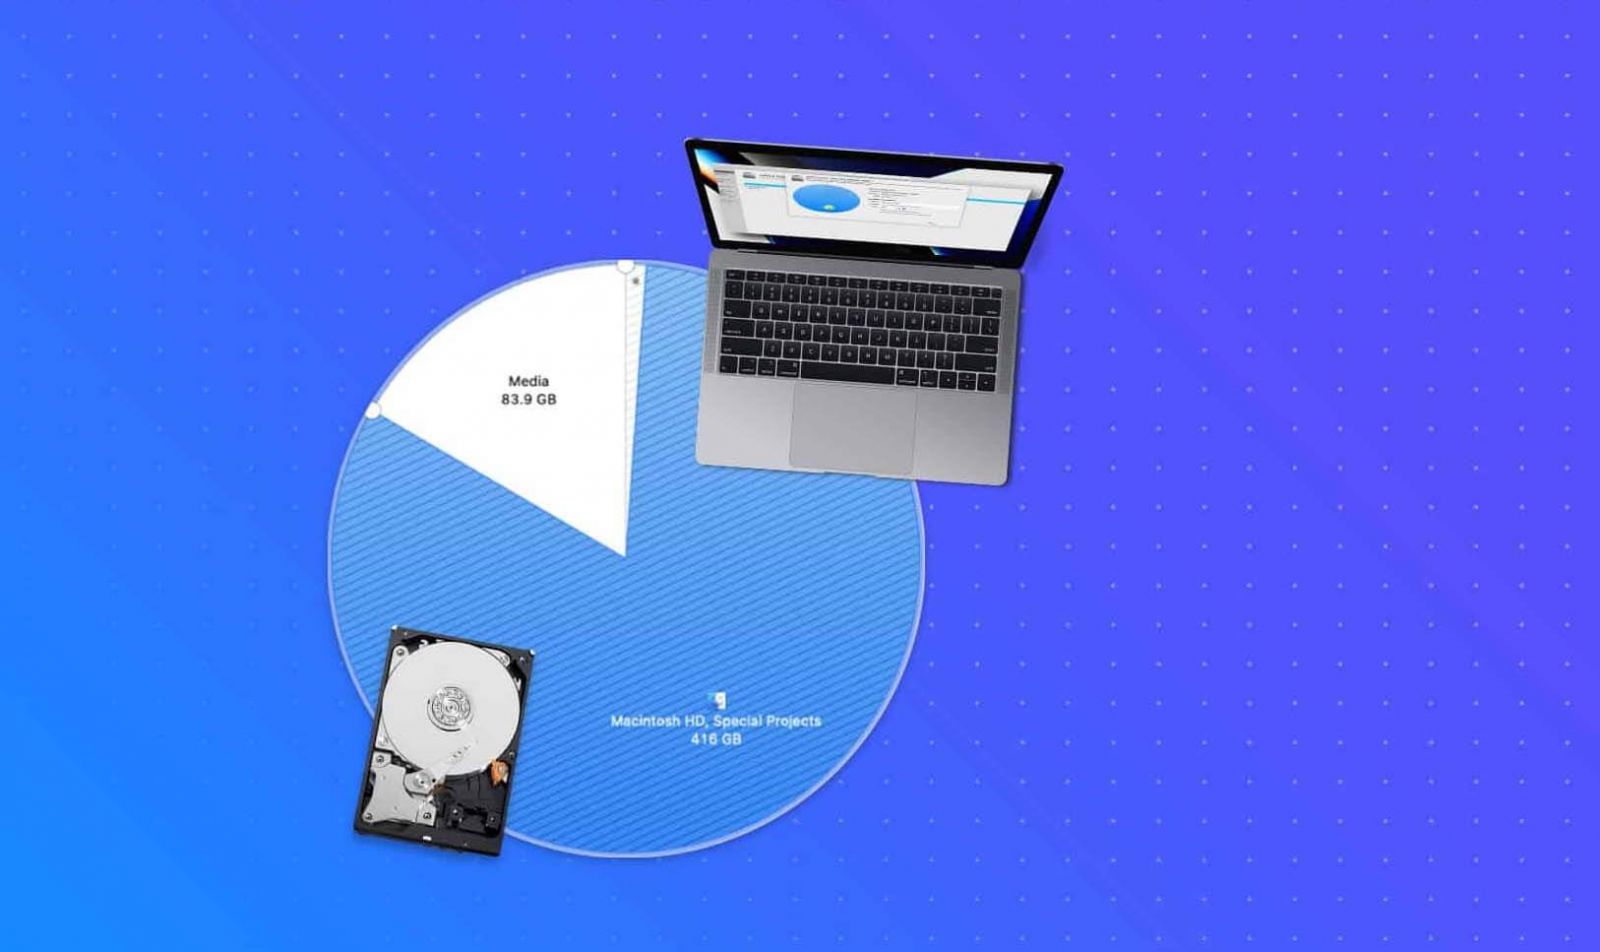
Partitioning allows you to divide a single physical disk into multiple logical sections. This can be beneficial for:
- Organizing Data: Separating files by categories (e.g., media, documents).
- Running Multiple Operating Systems: Installing a second OS without affecting the primary installation.
- Enhanced Performance: Optimizing disk space and management.

How to Partition a Drive on Mac?
With Disk Utility, you can easily partition a HDD/SSD, USB drive, SD card or the startup disk on Mac.
Common Reasons for a Greyed Out Partition Tab
◾Disk Not Selected Properly
One of the most common reasons for the greyed-out Partition tab is that the correct disk has not been selected in Disk Utility. If you don't have a disk selected, the options available in the toolbar, including the Partition tab, will remain inactive.
◾Disk is Not Mounted
If the disk you're trying to partition is not mounted, the Partition tab will be greyed out. A mounted disk is one that your Mac recognizes and can read. If a disk is unmounted, you won't be able to perform any operations, including partitioning.
◾File System Compatibility
Not all file systems are compatible with Disk Utility's partitioning features. For instance, if your disk is formatted in a way that doesn't support partitioning (like certain types of network storage or Windows-based file systems), you may find the Partition tab disabled.
◾Disk Utility Limitations
The restrictions of Disk Utility vary based on the kind of disk that you are attempting to manage. For example, if you are working with an APFS (Apple File System) formatted disk, the partitioning options might differ from those available for HFS+ (Mac OS Extended) formatted disks. Understanding these limitations can clarify why the options may be greyed out.
◾Disk Errors
If your disk has errors or corruption, Disk Utility might disable the partitioning feature. Issues like bad sectors, damaged file systems, or hardware problems can prevent you from making changes to the disk.
◾Incorrect Drive Format
The drive must be in a compatible format to be partitioned. Disk Utility typically works with:
- APFS (Apple File System)
- HFS+ (Mac OS Extended)
- FAT and ExFAT (for external USB drives)
If the drive is formatted as NTFS, for example, you cannot partition it without third-party software.
Step-by-Step Guide to Fix Partition Icon Greyed Out In Disk Utility
If you find the Partition tab greyed out in Disk Utility, follow these troubleshooting steps to resolve the issue:
Step 1: Check Disk Selection
The first step is to ensure that you have selected the correct disk in Disk Utility.
- Open Disk Utility: Disk Utility is located in the Utilities folder under the Applications, or use Spotlight search by pressing Command + Space and typing "Disk Utility."
![Open Disk Utility]()
- Select the Disk: In the left sidebar, you will see a list of available disks and volumes. Click on the disk you want to manage. If the disk is not selected, the options in the toolbar will remain inactive.
![Select the Disk]()
Step 2: Check Permissions
Insufficient permissions can restrict access to partitioning:
- Check Disk Information: Find the drive on Mac desktop, right-click it and choose Get Info.
![Check Disk Information]()
- Check Permissions: At the bottom, check the "Sharing & Permissions" section. Make sure you can read and write to your user account.
![Check Permissions]()
- Change Permissions: If required, select the lock icon, type in your admin password, and modify the permissions.
Step 3: Close Other Tasks in Disk Utility
If Disk Utility is busy with another operation, it may restrict access to the Partition tab.
- Wait for Any Ongoing Processes: If you recently ran a repair or format, wait for it to complete.
- Restart Disk Utility: Quit Disk Utility and reopen it to check if the Partition tab is now accessible.
![Close Other Tasks in Disk Utility]()
Step 4: Mount the Disk
If the disk is unmounted, you need to mount it before proceeding with partitioning.
- Locate the Disk: In the Disk Utility sidebar, look for your unmounted disk. It may be grayed out or marked as "unmounted."
- Mount the Disk: Select the unmounted disk and click the Mount button in the toolbar. If successful, the disk should now appear active, and the Partition tab may become available.
![Mount the Disk]()
Step 5: Verify and Repair Disk
Using the First Aid feature can help identify and fix any disk errors that may be preventing you from accessing the Partition tab.
- Select the Disk: In Disk Utility, click on the disk you want to verify.
- Run First Aid: Click on the First Aid button in the toolbar. This will check the disk for errors and attempt to repair them. Follow the prompts to complete the process.
![Verify and Repair Disk]()
- Check the Status: Once First Aid has completed, check if the Partition tab is still greyed out. If not, you should be able to proceed with partitioning.
Step 6: Check File System
Ensure that the file system of the disk you are trying to partition is compatible with Disk Utility.
- Identify the File System: In Disk Utility, select the disk and look at the information displayed in the right panel. It will show the current format (e.g., APFS, HFS+).
- Compatibility: If your disk is formatted with a file system that doesn't support partitioning, you may need to back up your data and reformat the disk using a compatible file system.
Note: If you want to use NTFS drive on your Mac, install an third-party NTFS driver on your Mac.
Step 7: Restart Your Mac
Sometimes, a simple restart can resolve temporary glitches that may be causing the Partition tab to remain greyed out.
Restart the Mac: In the upper-left corner of the screen, click the Apple logo, then choose Restart. Check to see if the Partition tab is now active when you launch Disk Utility again after your Mac resumes.

Alternative Methods to Manage Partitions
If you still can't access the Partition tab after following the troubleshooting steps, you might consider alternative methods for managing partitions.
🔖Use Terminal for Partitioning
If Disk Utility continues to present issues, you can use the Terminal for partitioning. However, this method requires caution to avoid data loss.
- Open Terminal:
- Go to Terminal from Utilities via Applications.
- List All Drives:
- Enter the following command:
diskutil list
- Enter the following command:
- Identify the Drive:
- Locate the drive you want to partition and note its identifier (e.g., disk2).
- Resize or Create a New Partition:
- To resize a partition:
diskutil resizeVolume disk2s1 50G
- To create a new partition:
diskutil partitionDisk disk2 2 GPT JHFS+ NewPartition 50G JHFS+ ExistingPartition 50G
- To resize a partition:
- Confirm Changes:
- Monitor the output for success messages.
🔖Third-Party Partition Management Software
If Disk Utility is not meeting your needs, there are various third-party partition management tools available that may provide more functionality and user-friendly interfaces. Some popular options include:
- Paragon Hard Disk Manager: A comprehensive Disk management utility with partitioning capabilities.
- iPartition: A user-friendly application specifically designed for partition management.
- GParted: An open-source partition editor available for Mac, though it typically requires creating a bootable USB to run.
Preventive Measures
Once you've resolved the issue, it's important to take steps to prevent it from happening again.
1. Regular Backups
Ensure you are regularly backing up your data using Time Machine or other backup solutions. This practice can save you from data loss during partitioning issues.
2. Proper Ejection of Drives
Always eject external drives properly before disconnecting them. This can help prevent file system errors that lead to partition issues.
3. Monitor Drive Health
Keep an eye on your drives' health with tools like SMART Utility or Disk Utility's First Aid feature. Regular checks can help identify potential problems before they lead to data loss.
4. Avoid Using Unsupported File Systems
Use file systems compatible with macOS, particularly if you plan to share drives between different operating systems. This can help prevent issues with Disk Utility.
Conclusion
Encountering a greyed-out Partition tab in Disk Utility can be frustrating, but by complying the steps described in this article, you can troubleshoot and resolve the issue effectively. Remember to check disk selection, mount the disk, verify and repair any errors, and ensure file system compatibility. If the problem persists, consider using Terminal commands or third-party software for disk management.
Taking preventive measures, such as regular disk maintenance and backing up your data, will help you avoid similar issues in the future. With the right approach, you can manage your Mac's disk partitions smoothly and efficiently.


Donemax NTFS for Mac
An easy-to-use NTFS for Mac tool to help you enable writable for NTFS drives on Mac so that you can read-write NTFS drives on Mac without any limitation. It also can help you mount, format, repair, rename, open drive on your Mac.
Related Articles
- Oct 12, 2024External Hard Drive Not Appearing In Finder (Mac), Fix It Now
- Jan 12, 20255 Fixes for Fixing Partition Map Error on Mac
- Feb 11, 2025Fix RAW SD Card: A Complete Guide to Repair & Recover Data
- Jan 02, 2025(Solved) Can't Repair Volume Because Other APFS Volumes in Its Container Are Mounted
- Apr 10, 2025Fix com.apple.DiskManagement.disenter error 0 on Mac
- Oct 14, 20246 Proven Methods to Fix Mac's USB Port Not Working

Steven
Steven has been a senior writer & editor of Donemax software since 2020. He's a super nerd and can't imagine the life without a computer. Over 6 years of experience of writing technical solutions and software tesing, he is passionate about providing solutions and tips for Windows and Mac users.

Gerhard Chou
In order to effectively solve the problems for our customers, every article and troubleshooting solution published on our website has been strictly tested and practiced. Our editors love researching and using computers and testing software, and are willing to help computer users with their problems
Hot Donemax Products

Clone hard drive with advanced clone technology or create bootable clone for Windows/Mac OS.

Completely and easily recover deleted, formatted, hidden or lost files from hard drive and external storage device.

Certified data erasure software - permanently erase data before selling or donating your disk or any digital device.


