Written byMariaUpdated on Jun 08, 2024
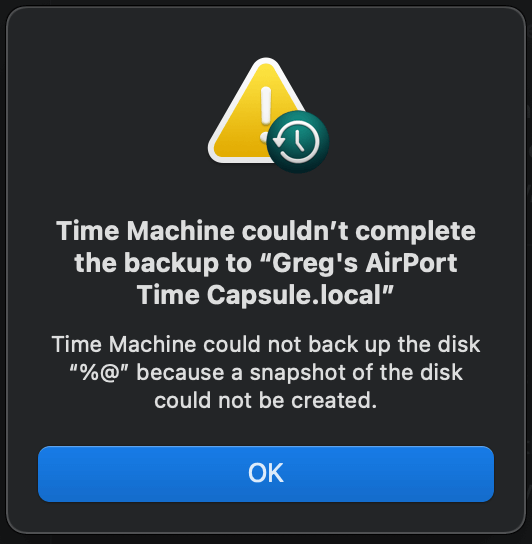
Time Machine Backup Could Not Be Completed, Fix This Issue
Approved byGerhard Chou
PAGE CONTENT:
Imagine how scary it would be to lose your favorite pictures, important papers, or the playlist you spent hours assembling. Time Machine on your Mac comes in handy in times like these. But things get annoying when you get the feared "Backup Could Not Be Completed" message. Don't worry - we'll help you with the rescue mission!
By using these easy step-by-step instructions, this piece will help you figure out what went wrong. We want your Time Machine experience to be as smooth as a Sunday morning coffee, no matter how tech-savvy or quickly you need help. Let's determine what's wrong and get your backup back on track!
Common "Backup Could Not Be Completed" Error Causes:
- Insufficient Space on Backup Disk: A backup doesn't work because the backup disk doesn't have enough room. Time Machine needs a lot of room to store backups made in small steps over time. Make sure there is enough room on your backup disk for the backup.
- Corrupted Time Machine Preferences: The Time Machine settings file can get damaged from time to time, which can cause problems when trying to back up. The problem might be fixed by resetting or creating these settings.
- Network Connectivity Problems: If you are backing up with Time Machine on a network-attached storage (NAS) device, issues with the network can slow down the backup process. Make sure that the link between your Mac and the NAS is stable.
- File System Issues on Backup Disk: The Time Machine might be unable to finish the backup because the file system on the backup disk might have problems. For most of these problems, running disk cleaning tools to fix the disk will fix them.
- Software Conflicts: Backups can also fail because of problems with third-party software or system changes. Finding and fixing these problems is very important so that the Time Machine works well.
How to Fix the Error "Backup Could Not Be Completed"?
Check Backup Disk Space:
Go to System Preferences > Time Machine or System Settings > General > Time Machine to see how much room is left on your backup disk. If it's getting low, you might want to get rid of old backups or buy a bigger backup option. A backup disk that gets food is a backup disk that is happy.
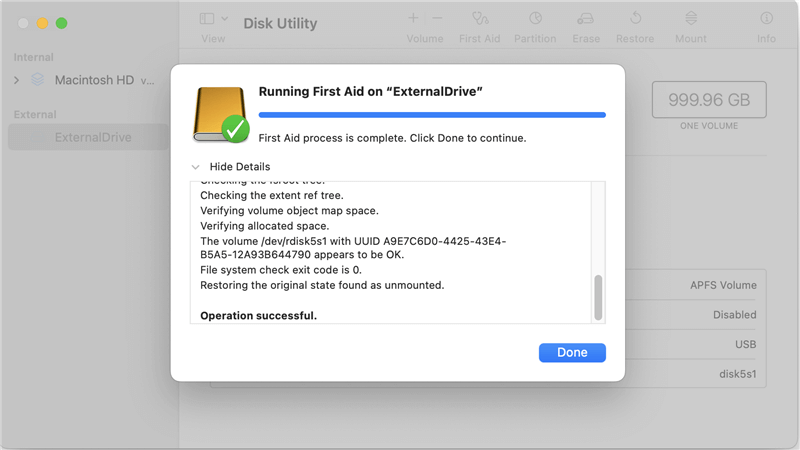
Verify and Repair Backup Disk:
The reliable Disk Utility can help you keep your backup disk in good shape. Choose your backup disk in Disk Utility and start the "First Aid" process to check for and fix any possible file system problems. A disk that has been fixed is a good way to keep your info safe.
Reset Time Machine Preferences:
Preferences are like the stars that tell Time Machine what to do. If they get damaged, restarting them can give you a new start. To clear your backup disk's settings, go to "System Preferences" > "Time Machine," click "Options," and then take it out and put it back in.
Restart Time Machine:
A light push is sometimes all it takes. To turn off low-priority throttling, open Terminal and type sudo sysctl debug.lowpri_throttle_enabled=0. After that, start Time Machine again. It might help fix short-term problems and get the backup process back on track.

Review Network Connections:
Checking your network links is a good way to ensure your network-attached storage goes smoothly. A strong link is what keeps your Time Machine going. Make sure that there is a secure digital link between your Mac and the NAS device.
Update macOS and Time Machine:
Keep up with the times to avoid trouble. Go to "System Preferences" > "Software Update" and make sure that both Time Machine and macOS are up to date. With updates, you can often fix problems that people already know about. Your Time Machine will appreciate the extra care.
Check for Software Conflicts:
The internet ecosystem is very big, and there are times when it gets tense. Check if any third-party software or system changes you installed are causing issues. Say goodbye to these digital friends now and see if Time Machine starts its backup dance again.
Create a New Backup Disk:
If nothing else works, you might want to start a new story. You can make a new backup disk by formatting an old drive or buying a new one. You start over with a clean slate for your Time Machine travels.
Best Time Machine Alternative - Donemax Disk Clone
If you can’t use Time Machine back up your Mac, you can use a disk cloning application to help you clone everything from the Mac internal SSD to the external hard drive, creating a bootable clone backup.
Donemax Disk Clone for Mac is one of the best Mac clone apps. It supports to securely and easily clone HDD/SSD and external storage device on Mac. It can help you quickly back up your Mac to an external hard drive when Time Machine is not working.
Donemax Disk Clone for Mac
- Clone HDD, SSD and external storage on Mac.
- Clone HDD to SSD on Mac.
- Create full bootable clone backup for Mac.
Step 1. Download and install Donemax Disk Clone for Mac, run it from Launchpad and connect the external hard drive to your Mac.
Step 2. Open Donemax Disk Clone for Mac, choose OS Clone mode, then select the external hard drive as the destination drive.
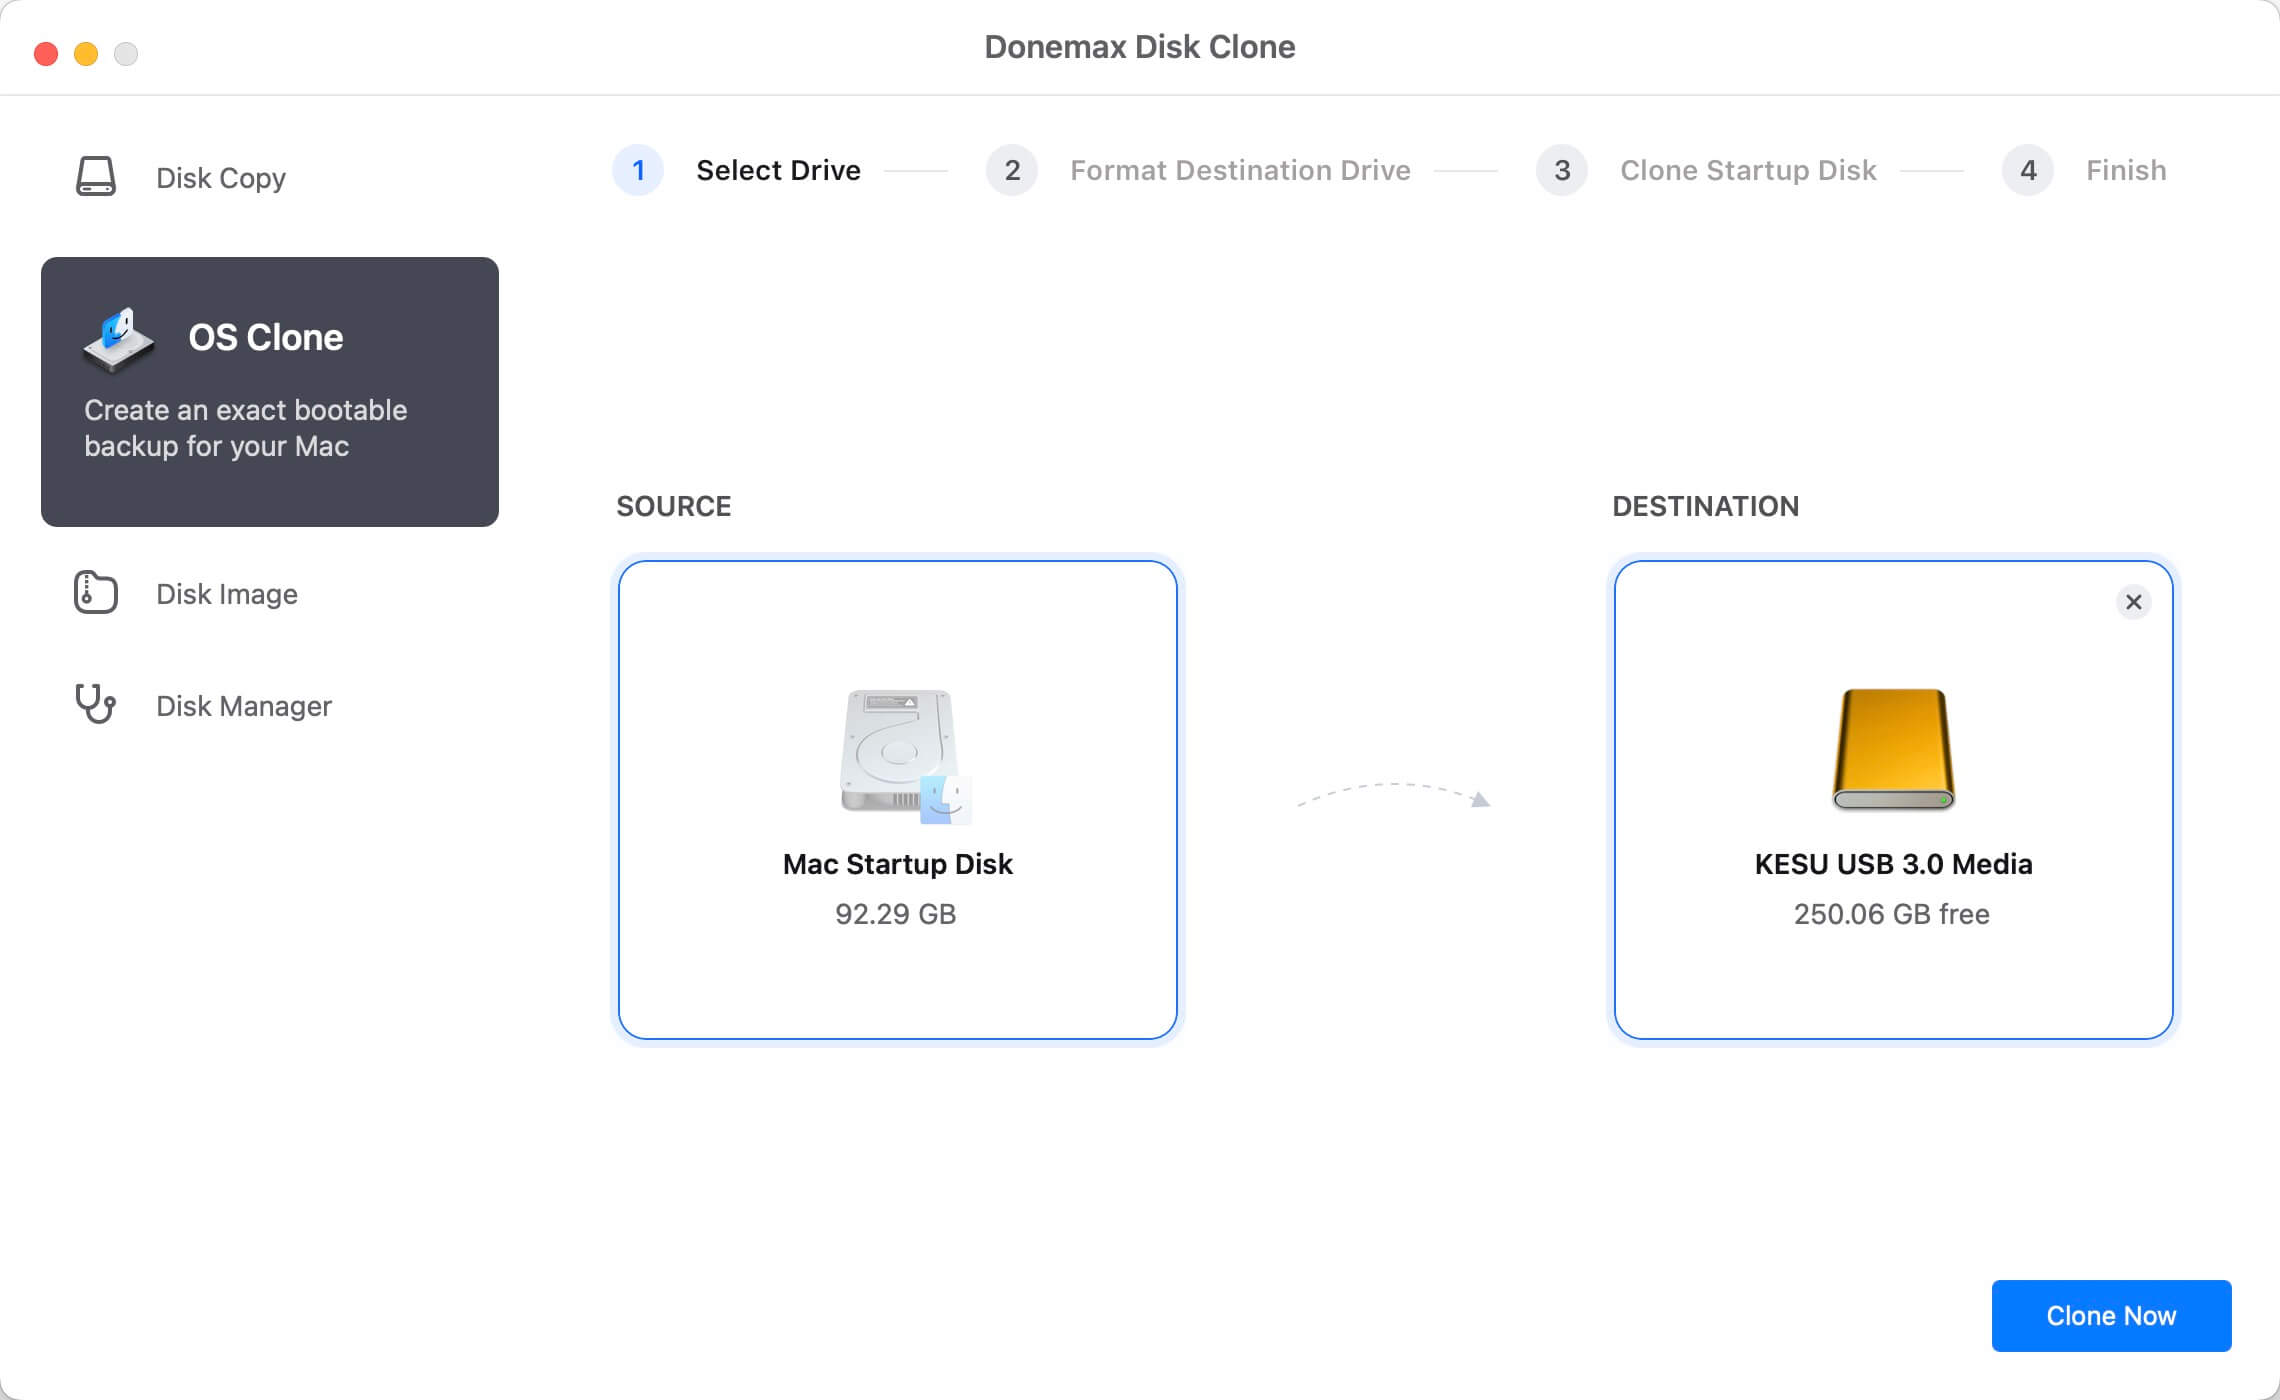
Step 3. Click on Clone Now button to clone all data including macOS, apps, settings and user files from the Mac internal disk to the external hard drive.

Once the cloning process gets finished, you can check the cloned data on the external hard drive.

Conclusion:
When using Time Machine, getting the "Backup Could Not Be Completed" error can be upsetting. However, users can often fix the problem and keep their important data safe by systematically addressing possible causes. To keep your Time Machine backup system working well, you need to regularly check the backup disk space, make sure the disk integrity is correct, and be on the lookout for possible problems. Users can eliminate this error and enjoy peace of mind with a strong data backup plan by following the troubleshooting steps in this piece.
Related Articles
- Jan 01, 1970Move Data from Intel Mac to Apple Silicon Mac
- Jun 24, 2025How to Use Time Machine on macOS Sequoia?
- Jul 30, 2025Methods to Create macOS Ventura USB Installer
- Jul 18, 2025How to Clone Disk on Mac Pro?
- May 07, 2025Download and Create macOS Monterey ISO File and Use It
- Nov 25, 2024Steps to Create Bootable Clone for macOS Big Sur [100% Working]

Contributing Writer
Maria
Maria is one of the senior writers & editors of Donemax who lives and works in Sydney, Australia. She loves PC, Mac and Internet Technology. She has 6 years of writing articles about data recovery on PC/Mac, disk cloning solution, data eraser and computer OS optimization, etc. She is also interested in testing various software and digital products.

Editor in chief
Gerhard Chou
In order to effectively solve the problems for our customers, every article and troubleshooting solution published on our website has been strictly tested and practiced. Our editors love researching and using computers and testing software, and are willing to help computer users with their problems