
Written byChristinaUpdated on Apr 08, 2026
5 Ways to Compress Files on Mac: Built-in, Terminal & Third-Party
Approved byGerhard Chou
Before we start: With the built-in file compression feature on macOS, it'a easily to compress files on Mac. Also, there are some third-party tools, like Donemax Disk Clone for Mac, offers advanced and more features for file compressino on Mac.
PAGE CONTENT:
File compression is a practical and efficient way to save storage space and make file sharing more convenient. Whether you're looking to share large files via email, save disk space on your Mac, or archive important data, compressing files can simplify your workflow.
Fortunately, macOS provides built-in tools for file compression and decompression, along with the option to use third-party apps for advanced compression formats. In this article, we'll explore various ways to compress files on Mac, from using Finder to employing Terminal commands, and touch upon the best third-party apps available. Let's dive into the details.
Introduction to File Compression
The technique of encoding data more effectively in order to minimize the size of a file or group of files is known as file compression. It's particularly useful when dealing with large files that you need to store or share with others. Compressing files helps to:
- Save valuable storage space on your hard drive or external storage devices.
- Make it easier to share files over email or cloud storage, especially when dealing with file size limits.
- Organize and archive large sets of files in a single, manageable format.
On a Mac, compressing files into ZIP format is the most common practice, as it is natively supported by macOS. However, there are also several other formats available through third-party apps, such as RAR, 7z, and tar.gz, which offer different levels of compression and support.
Built-in File Compression on macOS
macOS offers a simple and intuitive method for compressing files using the Finder, making it accessible even to those with little technical expertise. The native compression tool in macOS creates ZIP files, which are widely supported across platforms.
Steps to Compress Files/Folders Using Finder:
The easiest way to compress a file or folder on a Mac is through Finder. Here's a step-by-step guide:
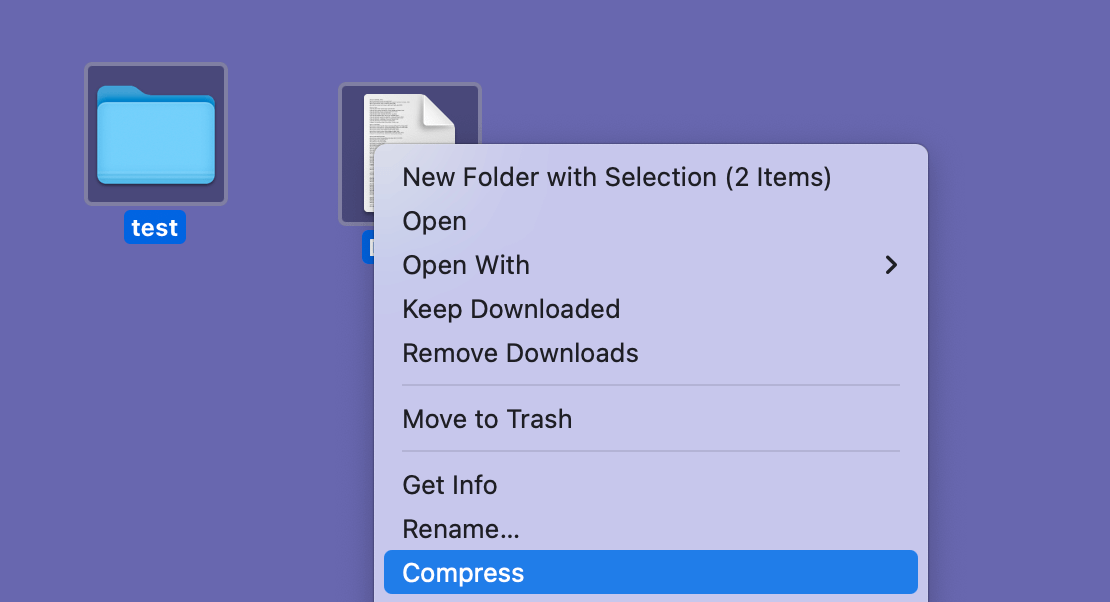
- Locate the File or Folder: Locate the file or folder you wish to compress in the Finder by opening it.
- Right-click (or Control-click): Once you've found the file or folder, right-click (or Control-click) on it to bring up the context menu.
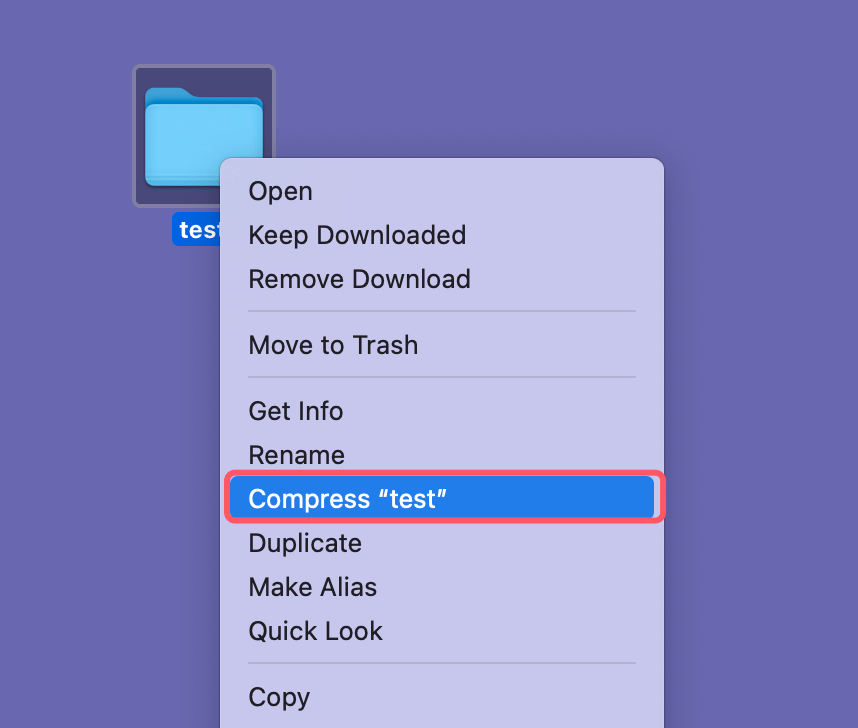
- Select 'Compress': From the context menu, select the option that says Compress [FileName]. If you're compressing a folder, it will say Compress [FolderName], and if multiple files are selected, it will say Compress X Items, where X is the number of files.
![Compress Files on Mac]()
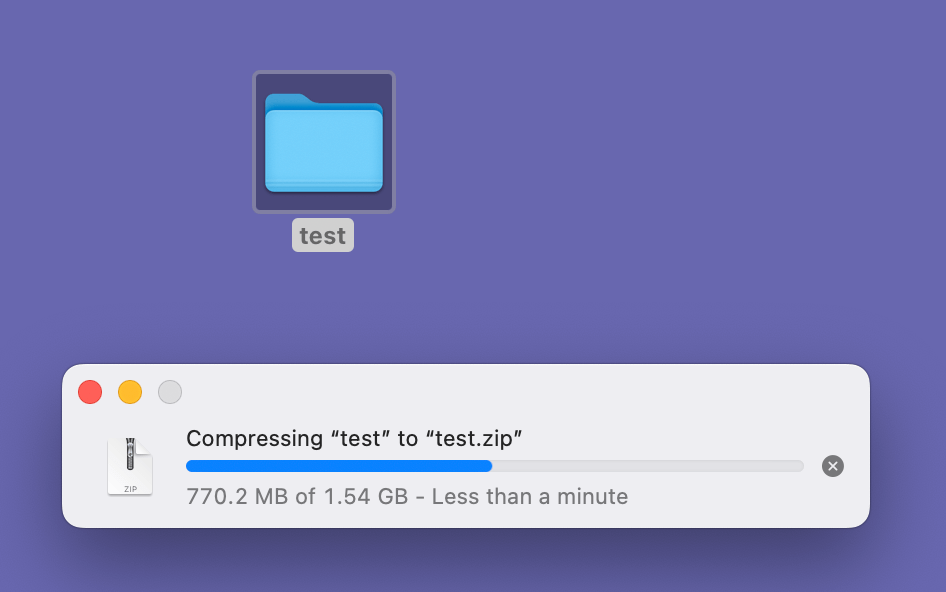
- Wait for Compression to Complete: The compression process will begin immediately.
![Compress Files on Mac]()
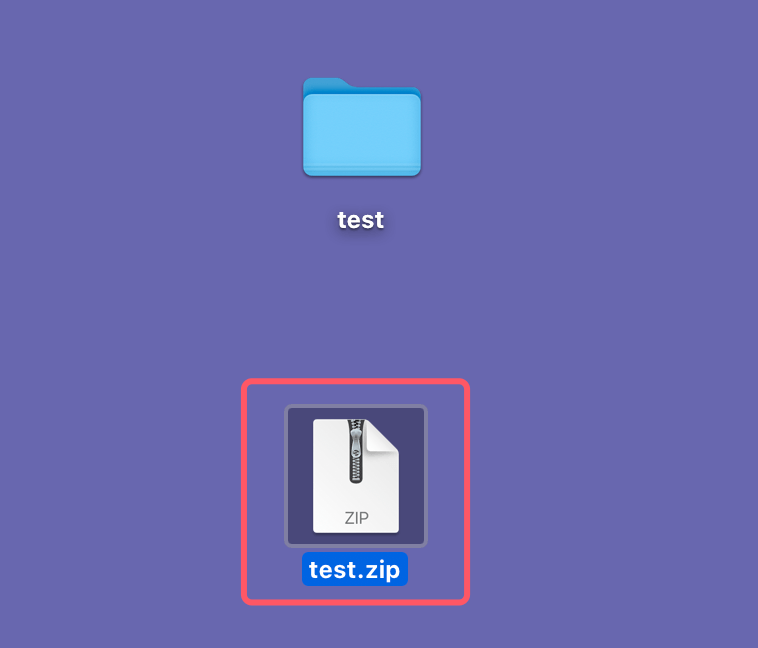
The time it takes depends on the size of the file or folder. Once complete, you'll see a ZIP file in the same directory with the same name as the file or folder, but with a .zip extension.
![Compress Files on Mac]()
Batch Compressing Multiple Files:
You can also compress multiple files at once using Finder. Follow these steps:
- Select all the files you want to compress by holding the Shift key and clicking on each file.
- Select any file by doing a right-click and selecting Compress. This will create a single ZIP file containing all the selected files.
![Compress Files on Mac]()
Using Terminal for File Compression
For those who are more comfortable using the command line, macOS provides powerful tools for compressing files via the Terminal. Terminal allows more control over the compression process, and it’s especially useful when you need to handle specific file types, apply advanced options, or automate compression tasks.
Basic ZIP Compression via Terminal:
Here's how you can compress files or folders using the Terminal:
- Open Terminal: You may open Terminal by going to Utilities via Applications or by searching for it in Spotlight.
- Navigate to the Directory: To find the folder containing the files you need to compress, use the cd (change directory) command. For Example:
cd ~/Documents
- Compress Files Using zip Command: Files can be compressed and stored in a ZIP archive using the zip command. To compress a single file, the syntax is:
zip compressed_file.zip file_to_compress.txt
To compress a folder, you would use the -r option, which stands for "recursive" and tells the system to include all subdirectories:
zip -r compressed_folder.zip folder_to_compress/
- Check the Result: After the command runs, you'll find the compressed ZIP file in the same directory.
Compressing Multiple Files and Directories:
You can also compress multiple files at once using Terminal. Here's the command for compressing multiple files:
zip compressed_files.zip file1.txt file2.txt file3.txt
If you want to compress both files and directories, the -r flag is necessary:
zip -r compressed_data.zip file1.txt folder2 folder3
How to Decompress Files on Mac?
Unzipping files on macOS is just as simple as compressing them. Whether you're using Finder or Terminal, extracting the contents of a ZIP file is quick and straightforward.
Decompressing Using Finder:
- Locate the ZIP File: Open Finder and navigate to the ZIP file you want to decompress.
- Double-click the ZIP File: Simply double-click the ZIP file, and macOS will automatically unzip it in the same directory. The uncompressed files will appear in a folder with the same name as the ZIP file.
Decompressing via Terminal:
For users who prefer the command line, you can also decompress ZIP files using the unzip command:
- Open Terminal.
- Navigate to the ZIP File's Directory: Use the cd command to go to the folder where the ZIP file is located:
cd ~/Downloads
- Use the unzip Command: To unzip the file, simply type:
unzip filename.zip
- Check the Decompressed Files: Once complete, the decompressed files will appear in the same directory.
Top 4 Third-Party File Compression Apps for Mac
While macOS's built-in compression and decompression tools work well for ZIP files, sometimes you might need more advanced options, such as compressing into different file formats (like RAR or 7z) or managing encrypted archives. In these cases, third-party compression apps can come in handy. Here are some of the best apps for file compression on Mac.
Top 1. Keka

Keka is a popular, free file compression tool for macOS. It supports a variety of file formats, including 7z, ZIP, Tar, Gzip, and more. One of Keka's strengths is its ability to create encrypted archives, which adds an extra layer of security to your compressed files.
How to Compress Files with Keka:
- Download and install Keka from the official website or the Mac App Store.
- Drag and drop the files or folders you want to compress into the Keka window.
- Select the compression format you want (e.g., 7z or ZIP) and adjust any settings like encryption or splitting the archive into multiple parts.
- Click Compress to create the archive.
Top 2. WinZip
WinZip is another well-known compression tool that has been around for years. It offers support for ZIP, Zipx, RAR, 7z, and more. While WinZip is not free, it offers a wide range of advanced features, including file encryption, cloud storage integration, and the ability to manage large archives.
How to Compress Files with WinZip:
- Install WinZip from the official website or the Mac App Store.
- Open the app and drag and drop the files you want to compress into the WinZip window.
- Choose the format and compression settings that suit your needs, such as adding encryption or splitting large files.
- Click Zip to start the compression process.
Top 3. The Unarchiver
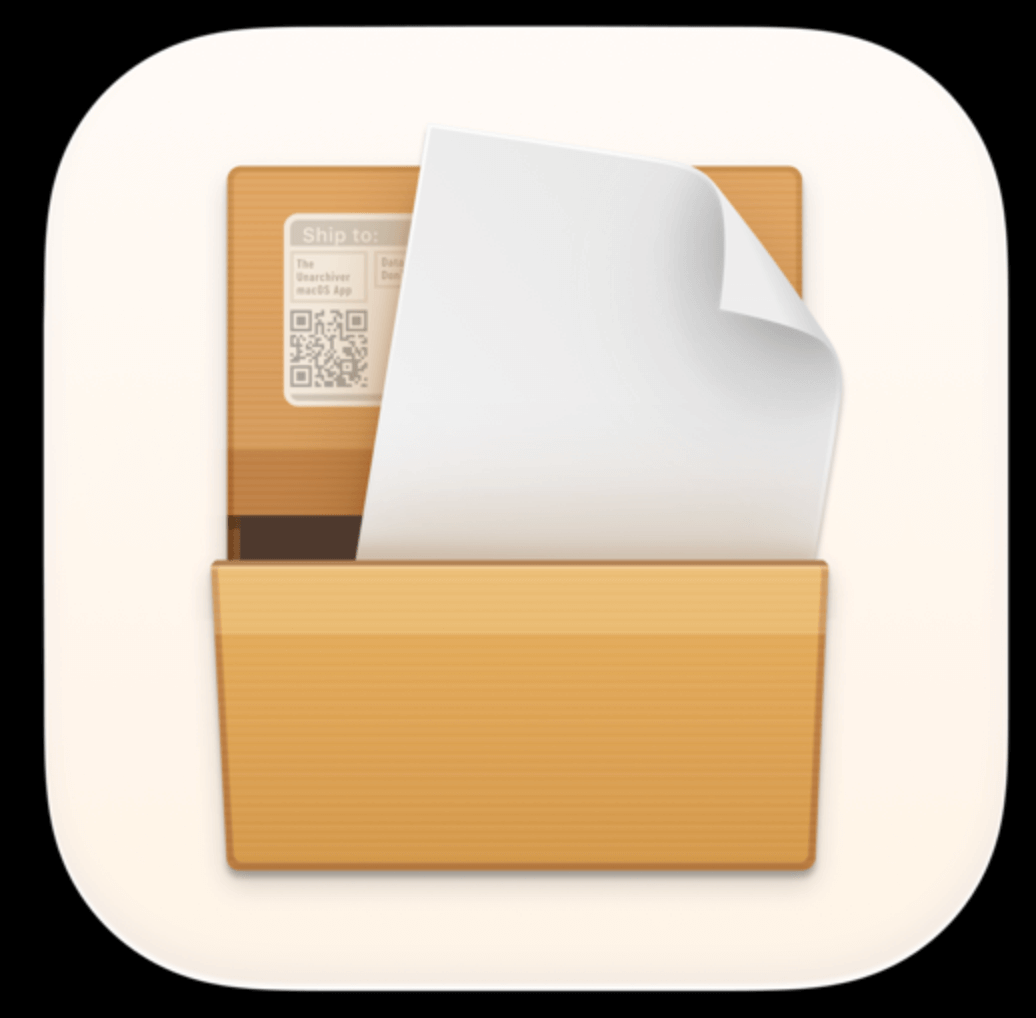
Although primarily known for decompression, The Unarchiver is a versatile tool that can handle several file formats, including RAR, 7z, Tar, and ZIP. While it lacks the advanced compression features of other tools, it is a powerful decompression tool and works seamlessly with macOS.
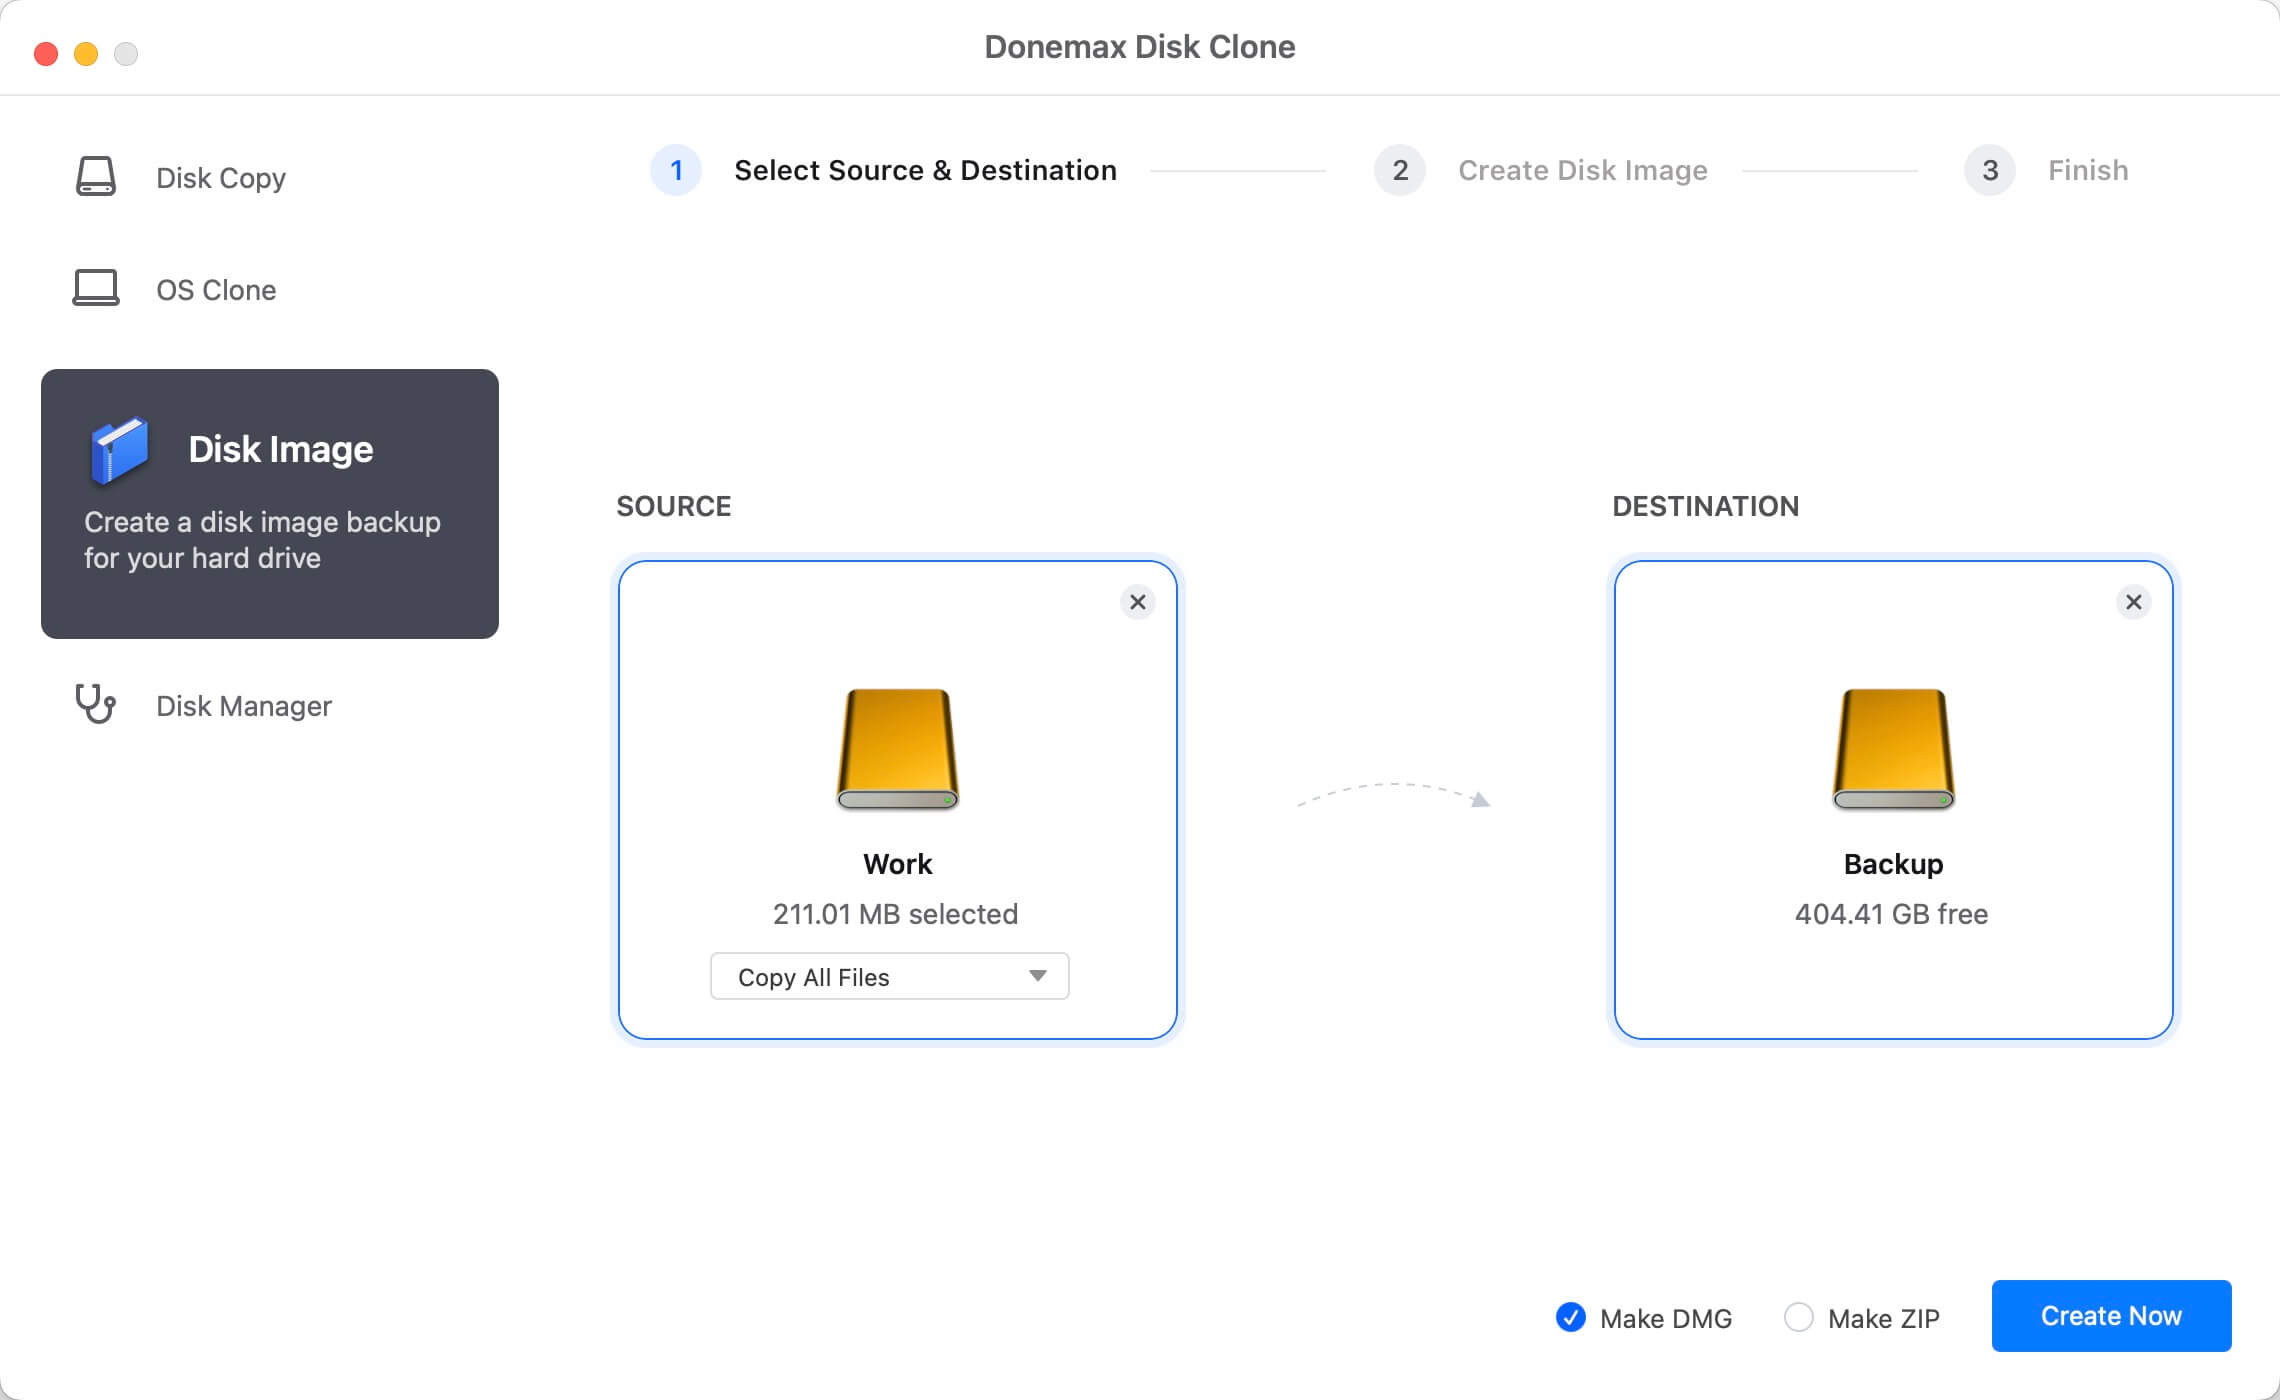
Top 4. Donemax Disk Clone for Mac

Donemax Disk Clone for Mac is a disk copy tool for Mac. The software can not only clone drive, but also make compress file for data on Mac. It offers a flexible way to make compress file for multiple files in different folders.
Donemax Disk Clone for Mac
- Create Zip and Dmg formats image files on Mac.
- Copy and transfer files from one drive to another.
- Make full and bootable disk clone backup for mac.
How to Compress Files with Donemax Disk Clone for Mac:
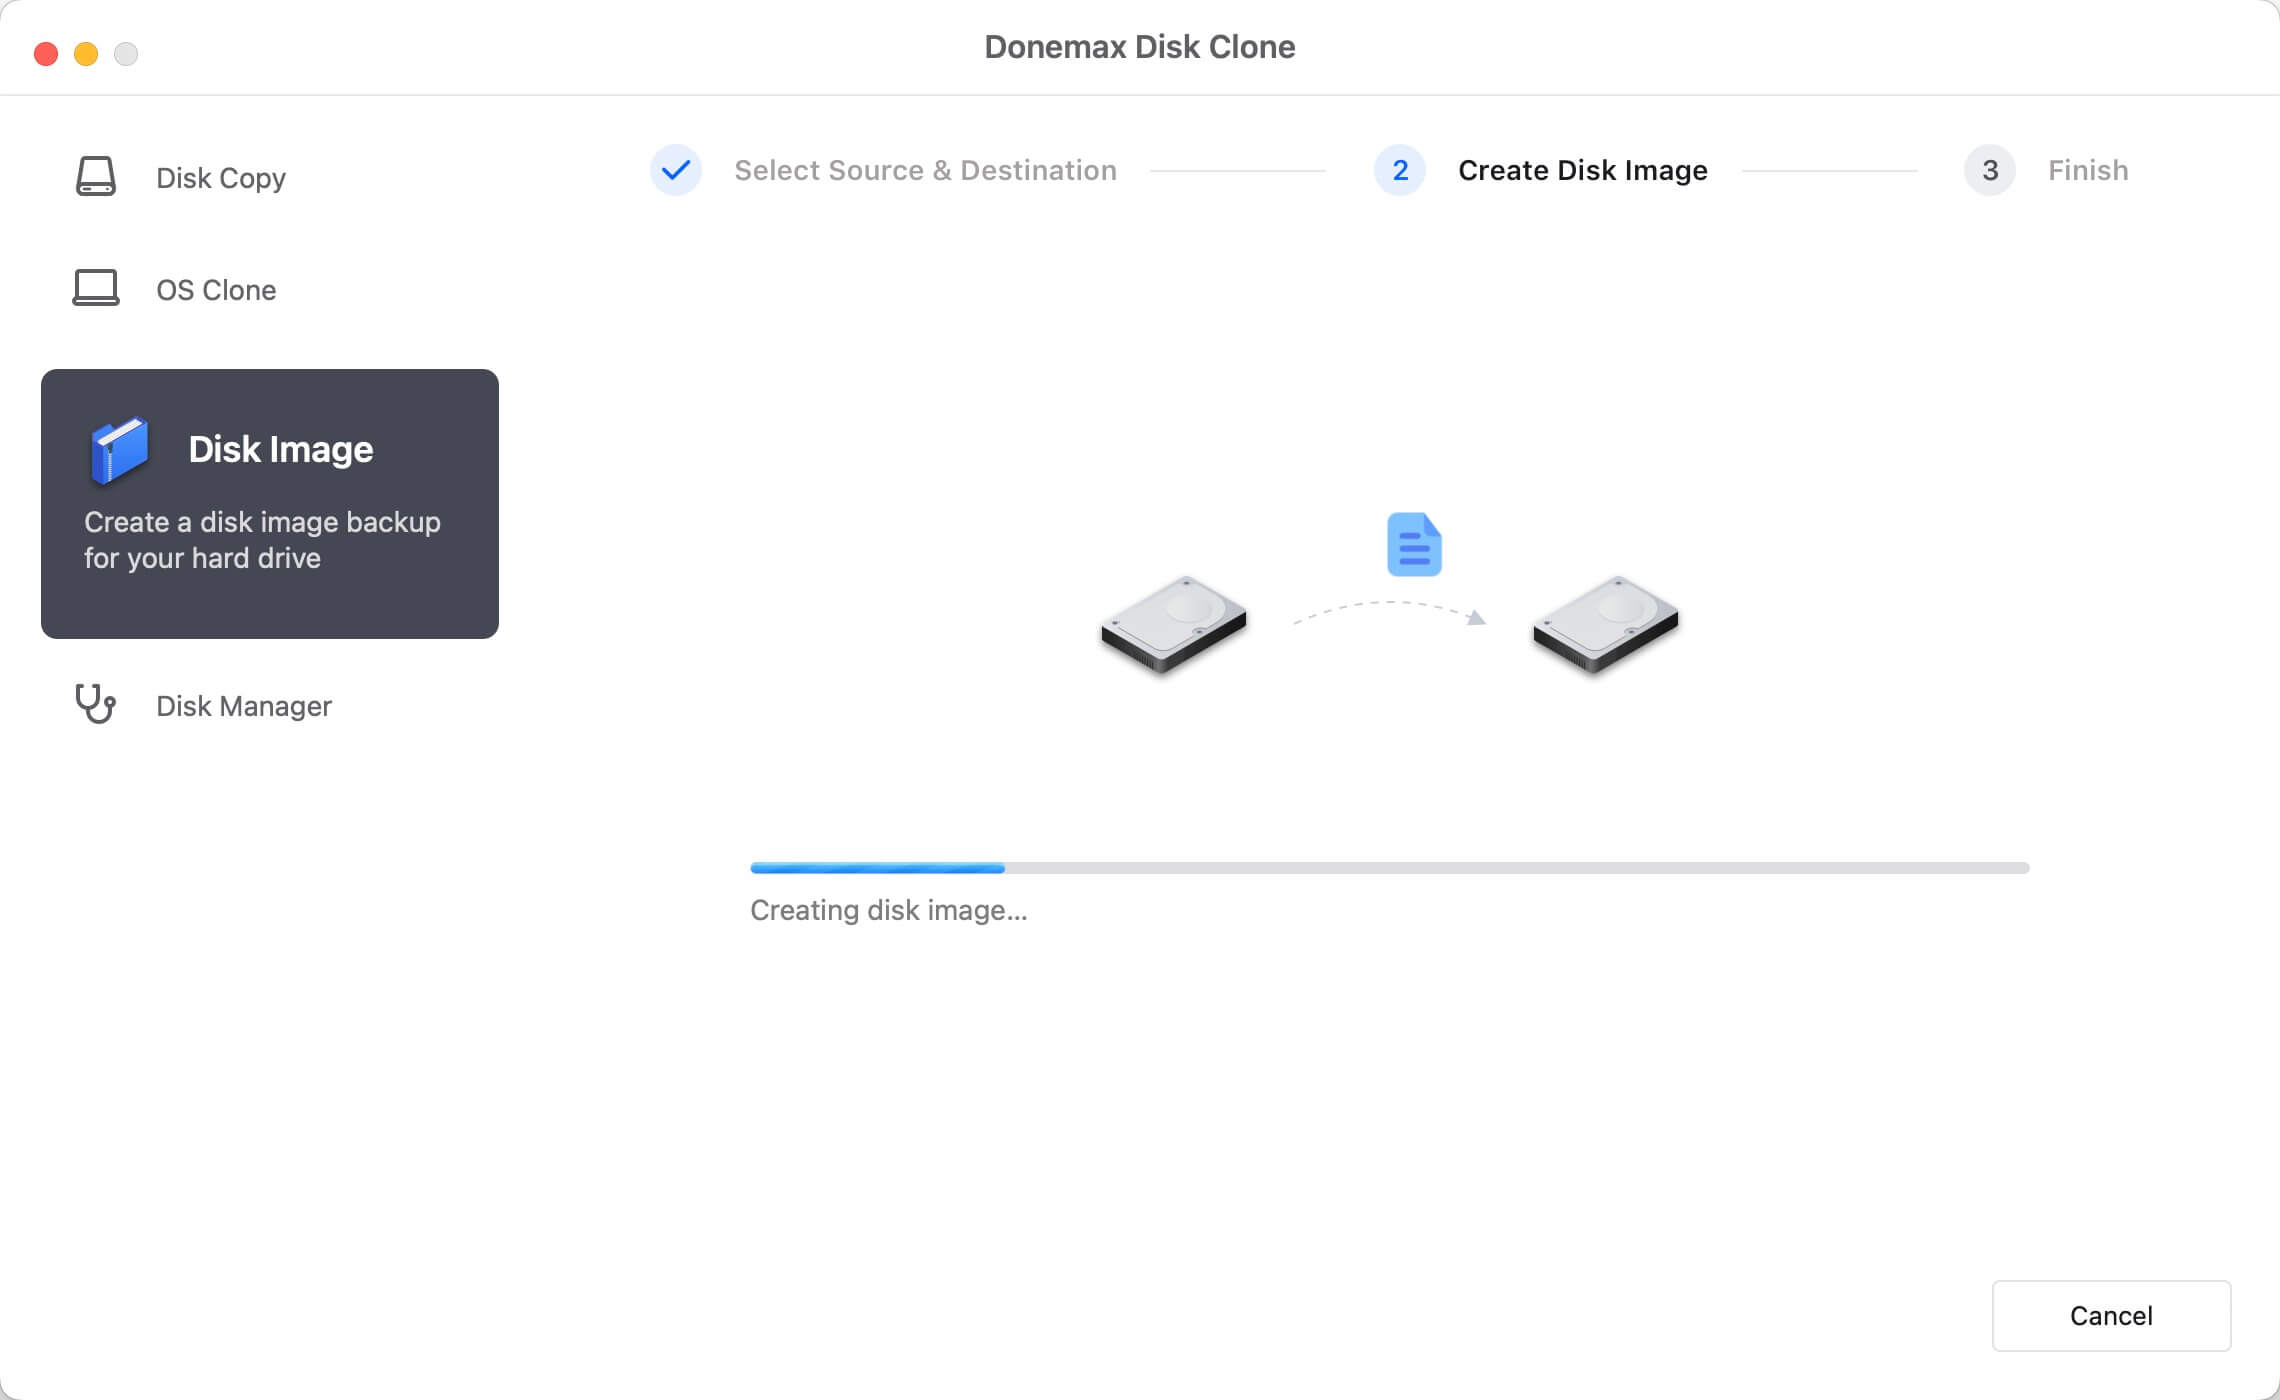
- Run the software Donemax Disk Clone for Mac and change to Disk Image mode. Select the files or folders which you want to compress. Select a destination drive to save the disk image. To make sure the created disk image is compressed, tick "Make ZIP" option.
![Compress Files on Mac]()
- Click on Create Now button to create zip file on Mac. The software will start to compress the selected files/folders into compressed disk image (.zip) file.
![Compress Files on Mac]()
After the compressing process is done, you can go to the destination disk and check the genereated .zip file.
Best Practices for Compressing Files on Mac
Compressing files isn't just about saving space - it's also about ensuring that your files remain organized and accessible. Here are some best practices for file compression on macOS:
★ Best Tips for Compressing Files on Mac:
- 1. Organize Files Before Compressing - Before you compress files, make sure they are well-organized. If you're compressing multiple files, consider placing them in a dedicated folder first. This way, when the files are decompressed later, everything will remain organized.
- 2. Use Descriptive File Names - When creating compressed files, use descriptive names for the ZIP or archive. Instead of using generic names like Files.zip, name the archive something more specific, like Project_Files_July2024.zip. This will make it easier to identify the contents later.
- 3. Encrypt Sensitive Data - If you're compressing sensitive information, consider encrypting the ZIP file or using a third-party app like Keka that supports password-protected archives. This adds an extra layer of security to your compressed files.
- 4. Split Large Files - When dealing with very large files, it can be useful to split the archive into multiple parts. Many compression tools, including Keka and WinZip, allow you to create multi-part archives, making it easier to store or transfer large files.
Conclusion
Compressing files on macOS is an essential task that can save you disk space and make file sharing more convenient. Whether you're using the native Finder method or exploring advanced options in Terminal, macOS makes it easy to create compressed ZIP files. For those who need more flexibility and support for additional formats, third-party apps like Keka and WinZip offer excellent alternatives.
💡 Note: If you want to recover deleted or lost zip, rar or 7zip archives on Mac, just try Mac data recovery software - such as Donemax Data Recovery for Mac. It can help you recover all types of files including archives on Mac.
No matter which method you choose, understanding the basics of file compression and applying best practices will help you manage your files more efficiently. Try experimenting with different tools and techniques to find the best solution for your needs, whether you're archiving files for long-term storage or sending them to colleagues.
Donemax Disk Clone for Mac
An award-winning disk cloning program to help Mac users clone HDD/SSD/external device. It also can create full bootable clone backup for Macs.
Related Articles
- Oct 14, 2024Fix Error Code 100006 on Mac: A Complete Guide to Solving the Issue
- May 22, 2026How to Use SD Card on Mac – A Complete Guide
- Apr 09, 2026Voice Memos on Mac: Storage Location, Backup & Export Guide
- Jun 06, 2025Sabrent Rocket External SSD Not Mounting on Mac, Fix It Now
- Jan 29, 2026Your System Has Run Out of Application Memory on Mac
- Apr 17, 20268 Ways to Fix Mac Error Code -8062 (2026 Troubleshooting Guide)

Contributing Writer
Christina
Christina is the senior editor of Donemax software who has worked in the company for 4+ years. She mainly writes the guides and solutions about data erasure, data transferring, data recovery and disk cloning to help users get the most out of their Windows and Mac. She likes to travel, enjoy country music and play games in her spare time.

Editor in chief
Gerhard Chou
In order to effectively solve the problems for our customers, every article and troubleshooting solution published on our website has been strictly tested and practiced. Our editors love researching and using computers and testing software, and are willing to help computer users with their problems