![Create disk image]()
Disk image is commonly used on Mac. If you have a disk image, you can easily mount it on Mac and access it as a virtual drive. Could we create disk image for a drive on which you lost data? Yes and we will teach you how to create disk image of a drive and then recover lost data from the disk image.
Part 1. Why do you need to create disk image?
Mac users often create disk images in different cases. For example, you can create disk image as backup. If you want to back up the data on a drive, you can create an image for it directly. After that, you are able to use the disk image on any Mac machines. It's able to mount it easily and access the files on the mounted drive for the disk image. In this way, you can also easily get your data from the disk image if you unfortunately lose data on the original drive.
Also, you can create disk image for a drive if data loss happen, then you can recover lost data from the disk image instead. In the meanwhile, you can continue using y our drive while worrying about further damage to the lost data. Also, if the disk is damaging, you can create disk image to recover data and don't need to touch the original drive again.
If you lost data from a hard drive on Mac, you can create a disk image and then recover data from the disk image. To do the job, you can just use the software Donemax Data Recovery for Mac. With this software, you can easily create disk image for data recovery. Also, it's able to recover lost data from the disk image. Please download the software first.
Part 2. How to create disk image?
To create a disk image with the software, please first connect the disk on which you lost data to the Mac. Also, you need to ensure you have another drive that has enough free space to keep the disk image. Then, please check and do as follows to create disk image with the software.
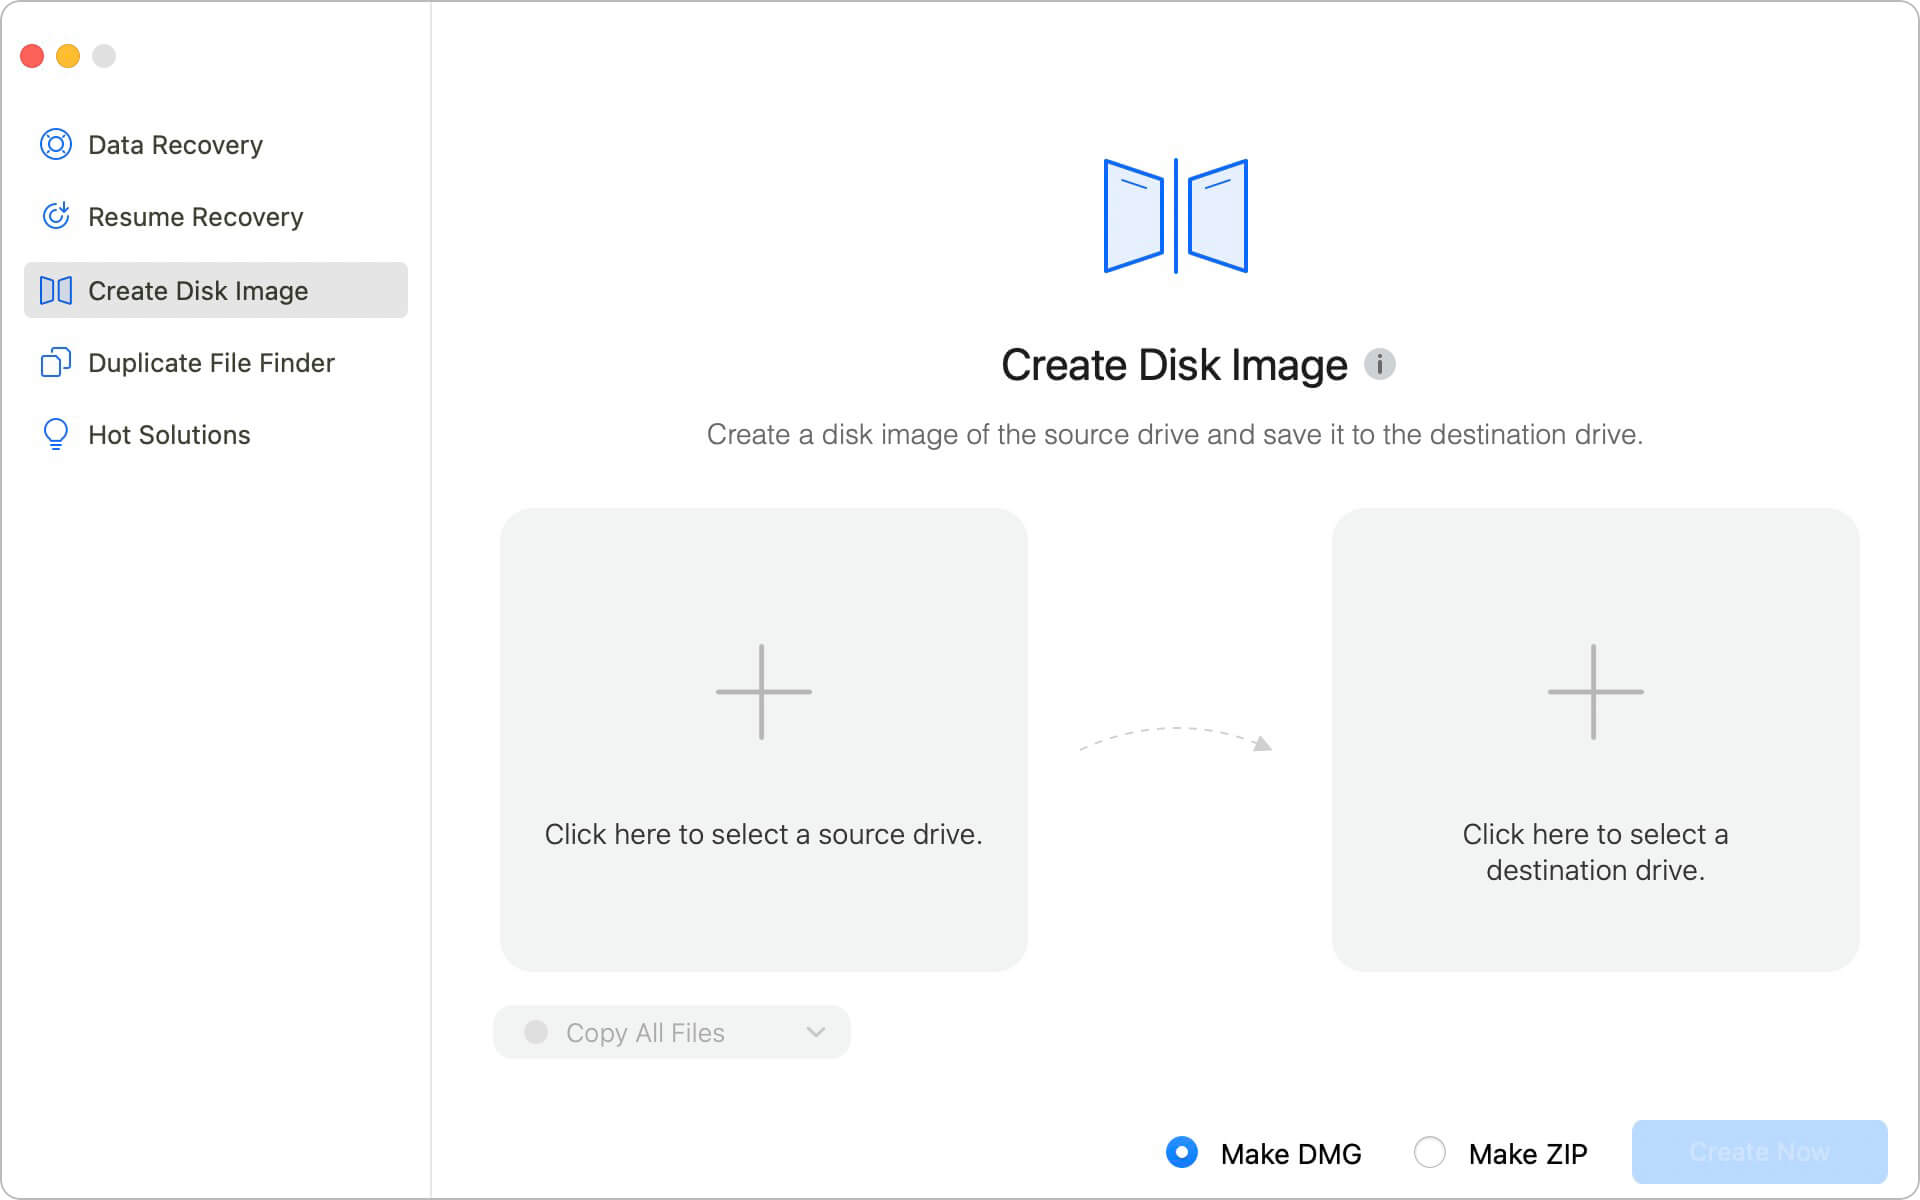
Step 1. Launch the Mac data recovery software and choose the option “Create Disk Image”.
![Create disk image]()
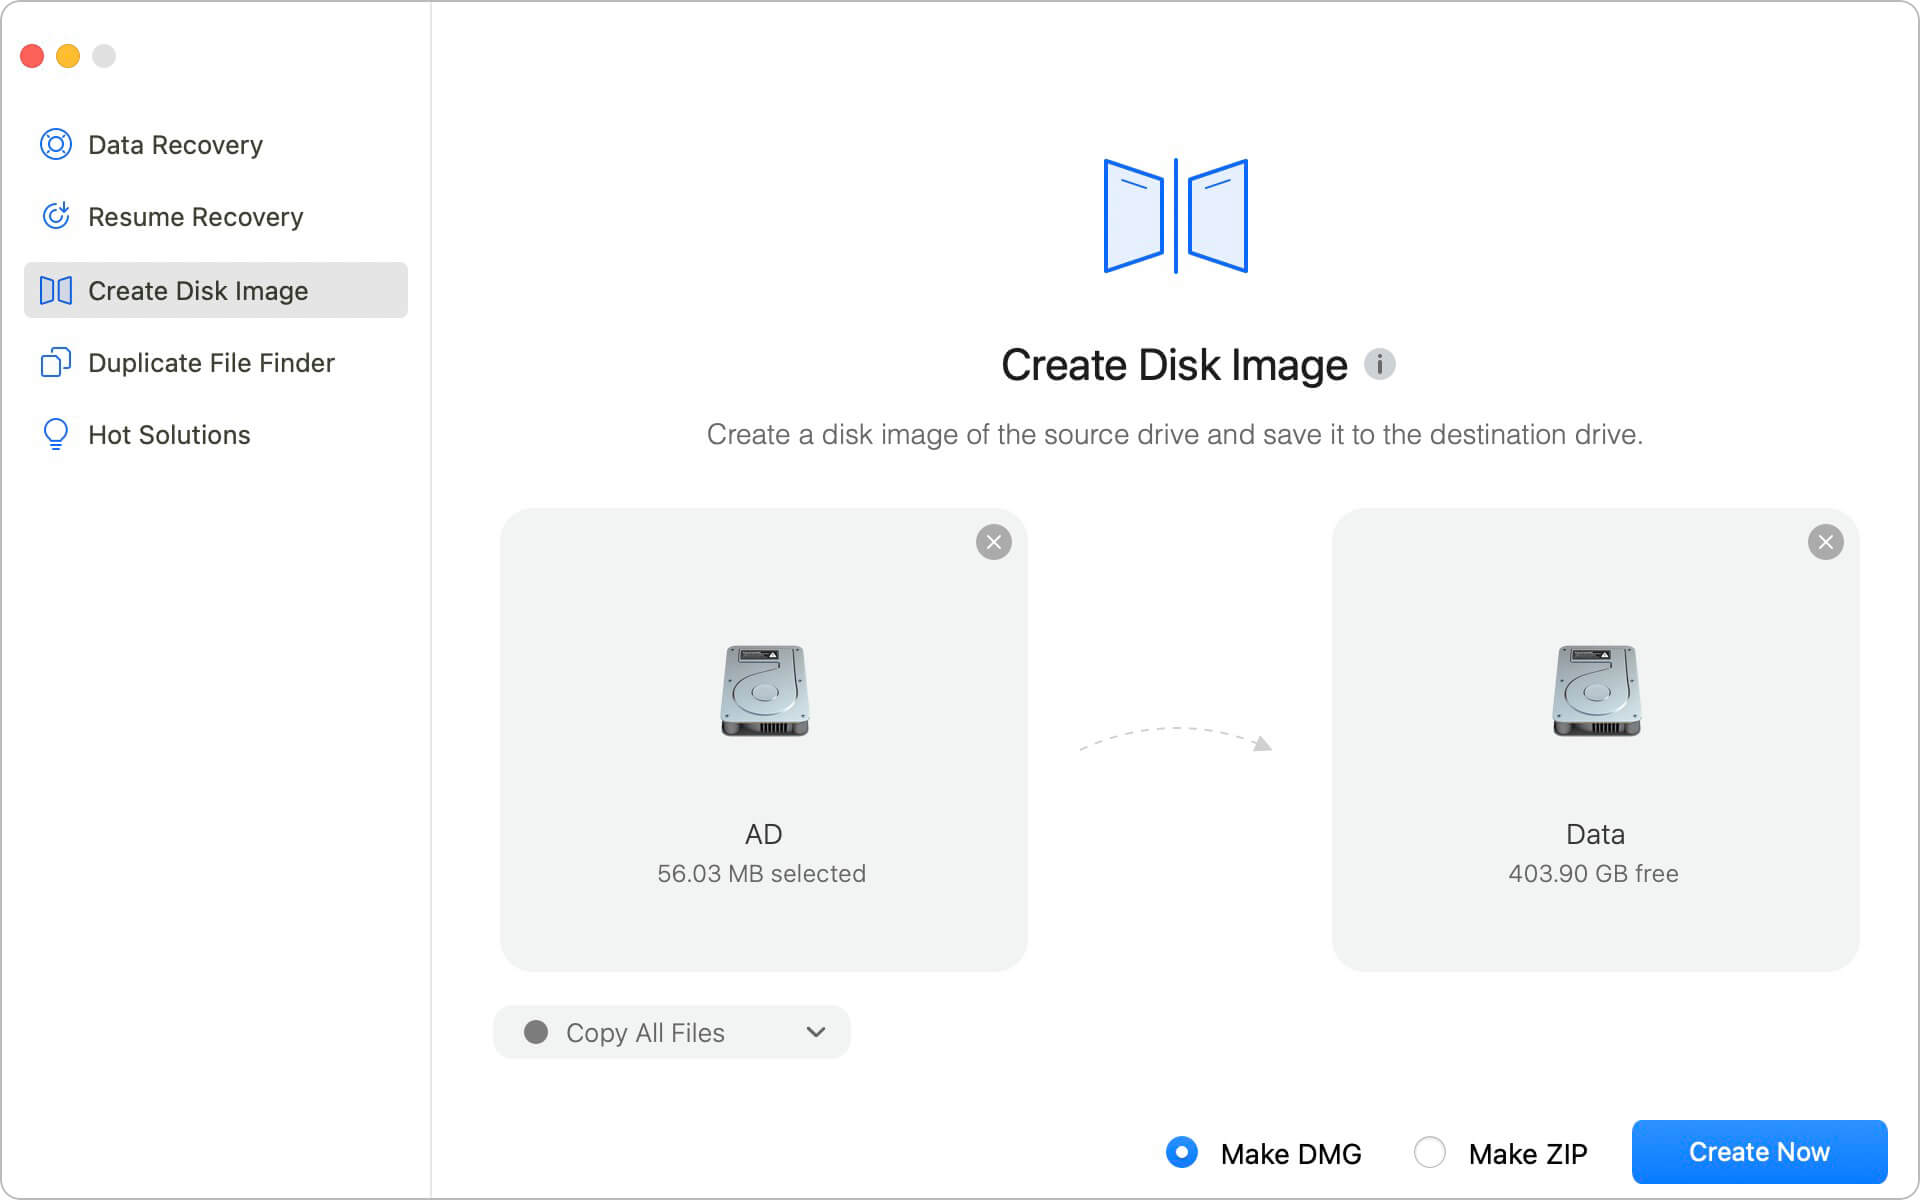
Step 2. Choose the disk where you lost data as source, choose another drive as destination.
![Create disk image]()
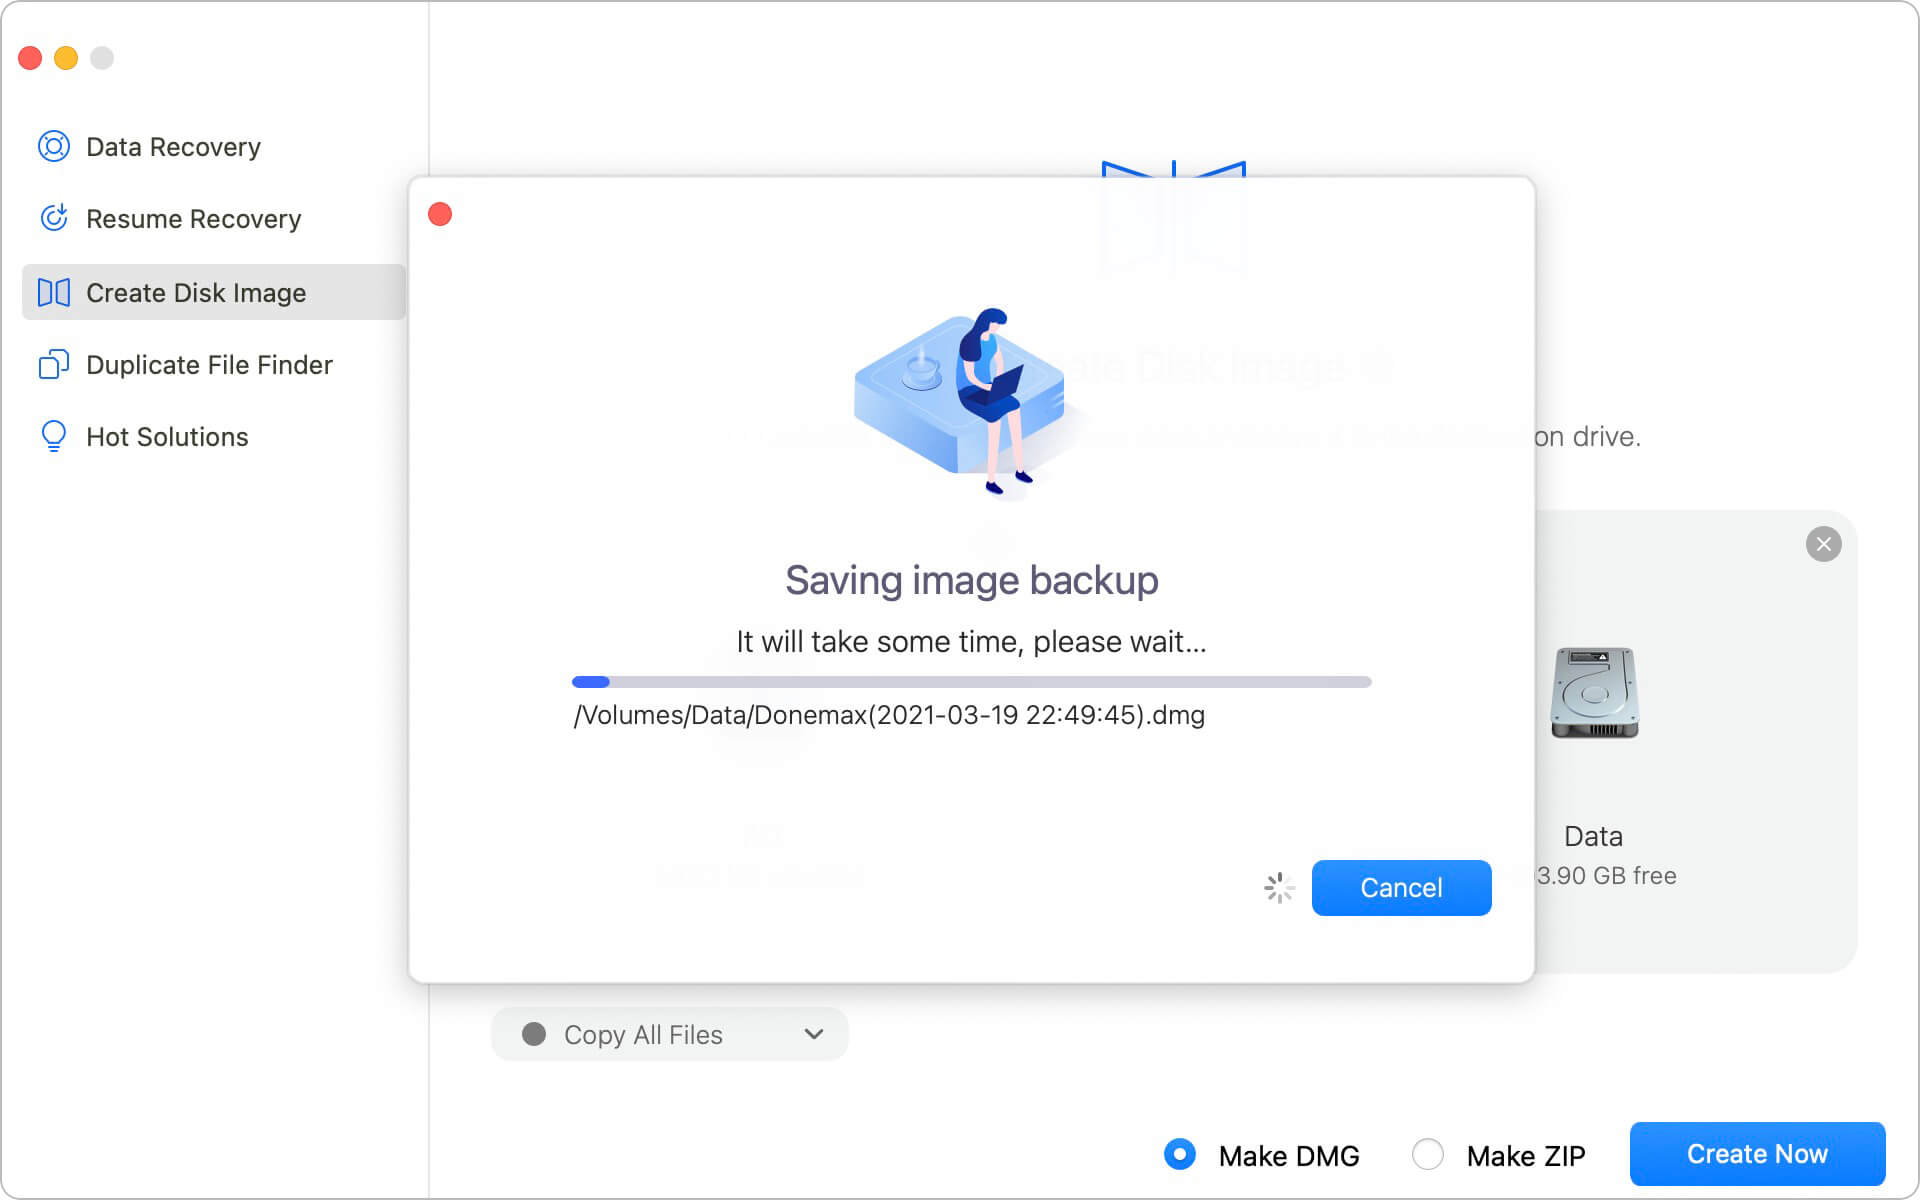
Step 3. Click the button Create Now to continue and it will create a full disk image for the disk.
![Create disk image]()
Tip: In order to create a full disk image along with the lost data, please ensure to choose “Copy All Files” and choose to make a DMG format disk image.
Part 3. Steps to recover lost data from disk image.
After creating the disk image successfully, you can find the disk image file on the destination drive. If you want to recover lost data from the disk image, please mount the disk image first. How to mount the DMG format disk image on Mac? Actually, it's very simple, go to the drive and locate it in Finder. Then just double click the DMG format disk image to mount it directly. Then you can check and do as follows to recover lost data from the disk image with the software Donemax Data Recovery for Mac.
Step 1. Please run the software. You will find the mounted disk image directly in the “Data Recovery” page. The mounted disk image will be listed under “Disk Images”.
![Create disk image]()
Step 2. Choose the mounted disk image in the list and click “Scan” button. The software will scan the disk image to search for the lost data.
![Create disk image]()
Step 3. After the scan is done, you will see all the found files in the software. You can check and choose the wanted files to recover.
![Create disk image]()
The software can create disk image for your hard drive, jump drive, or memory as backup or use the disk image for data recovery. It's very safe to recover data in this way. Also, the software can recover lost data directly from the drive/device. If you lost data on Mac, you can download and try Donemax Data Recovery for Mac to recover lost data.


