Want to upgrade your Mac operating system to MacOS Sonoma or just install it? You can use USB to quickly install and boot your MacOS Sonoma operating system. By creating a bootable USB installer, you can use USB to boot your Mac without affecting the original operating system or having problems with the original operating system. But, how to create a bootable USB installer for MacOS Sonoma? In fact, it's not a difficult task, this article will show you the detailed steps to create a bootable USB installer for MacOS Sonoma. just follow the guide.

What is MacOS Sonoma?

macOS Sonoma is a version of the operating system macOS from Apple. It is the development codename for macOS Monterey, which debuted at Apple's Worldwide Developers Conference (WWDC) in June 2021. Sonoma introduces a number of new features and improvements, including a new design language, enhanced multitasking capabilities, a more powerful Safari browser, a new communication tool called FaceTime, better privacy protections and more.
Sonoma also introduces an important feature that supports macOS to run iOS applications on Mac computers. This means that users can run apps from their iPhones and iPads directly on their Mac computers without the need to go through an emulator or other third-party software. macOS Sonoma is a major update from Apple for Mac computers designed to provide a better user experience and more powerful features.
macOS Sonoma is a major update introduced by Apple for Mac computers, designed to provide a better user experience and more powerful features. macOS Sonoma is a major update introduced by Apple for Mac computers, designed to provide a better user experience and more powerful features.
Why we need to a bootable USB Installer for MacOS Sonoma?
Before we start preparing to create a bootable USB installer, you may wonder why you need to create a bootable USB installer when the Mac itself has an operating system, there may be several reasons for using a USB to boot macOS Sonoma:
Installing a new system: If you want to install macOS Sonoma on a new Mac, you can use a USB to boot and install the system. This is usually used if there is no operating system available on your Mac or if you need to reinstall the system.
Fix System Problems: If your Mac encounters some system problems, such as not booting, crashing, or other errors, you can use a USB to boot and enter recovery mode to fix these problems. This method can help you reset passwords, fix disk errors, reinstall the system and so on.
Backup data: In some cases, you may need to backup your data from a Mac that is not booting properly. Booting macOS Sonoma with a USB will allow you to enter recovery mode and backup your data via Terminal or other tools.
Of course, whether it's installing a new system, fixing a problem or backing up your data, creating a bootable USB installer for macOS Sonoma provides a standalone environment that lets you do what's necessary without relying on your current operating system.
Preparations before creating a bootable USB installer
In order to ensure that we can successfully create a bootable USB installer for macOS Sonoma, we still need to do some preparation work:
Step 1. Make sure your Mac computer is compatible with macOS Sonoma. Sonoma is Apple's latest operating system version, so you need to make sure your Mac model and configuration meet the minimum system requirements.
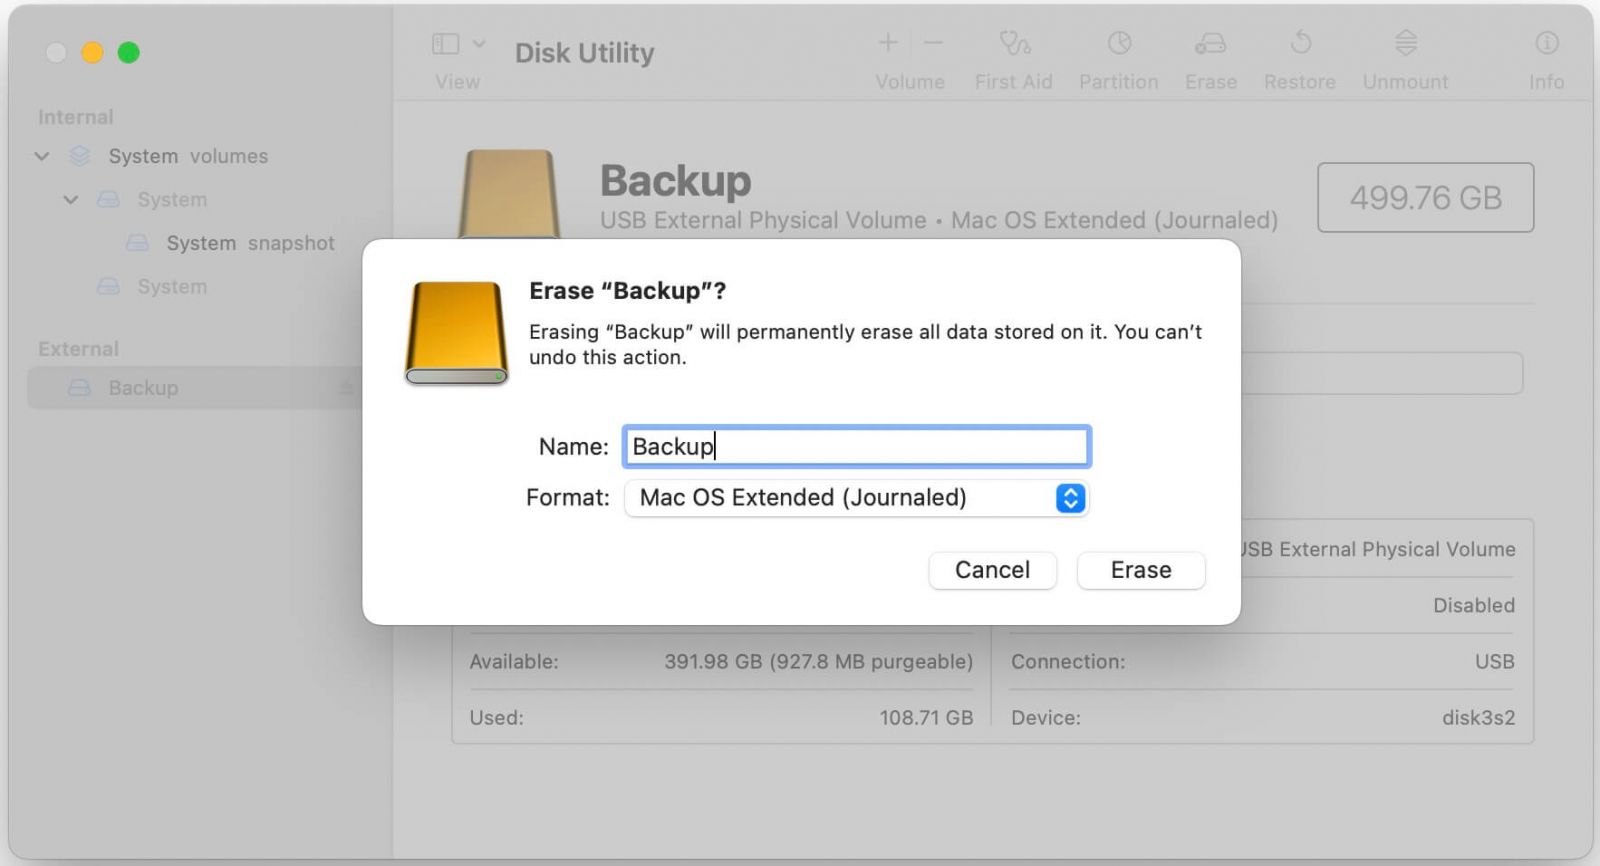
Step 2. Prepare a blank USB. You need to format the USB into Mac OS Extended (Journaling) format and it should be large enough to hold the macOS Sonoma installation files, at least 16GB, and back up all the data on the USB, as booting from the USB will format all the data on it.
Step 3. There is no absolutely safe computer operation, and the installation process may lead to the loss of data stored on the Mac hard disk, so please back up the important data and files on the Mac in advance before the operation, so as to avoid the loss of data due to operation errors.
How to create a bootable USB installer for MacOS Sonoma?
Now we can create a bootable USB installer for MacOS Sonoma:
1.Download the MacOS Sonoma image file: Download the MacOS Sonoma image file from an official source (e.g. Apple's official website or the App Store). Make sure you download this file from a trusted source.
2.Prepare the USB using Disk Utility: Open Utilities in the Applications folder and then open Disk Utility. Select your USB in the left sidebar and click the "Wipe" tab at the top. Select the "Mac OS Extended (Journaled)" format and name your USB, then click the "Erase" button.

3.Create a bootable USB: Open "Terminal" in "Utilities". In the terminal, type the following command and press the Enter key:

Sudo /Applications/Install\ macOS\ Sonoma.app/Contents/Resources/createinstallmedia --volume /Volumes/YourUSBDriveName
Please replace "YourUSBDriveName" with the name you gave the USB in step 3. Then, you will be prompted to enter the administrator password, please enter the password and press the Enter key.
TIP:
If the error "mount of outer dmg failed" appears, repair the permissions by executing the command in the terminal:sudo chmod 755 /Applications/Install\ macOS\ Sonoma.app/Contents/Resources/createinstallmedia
4.Wait for the USB creation to complete: The USB creation process may take some time, so please be patient. Once the process is complete, the terminal will display "Done".
5.Boot your Mac using the USB: Insert the USBinto the USB port of your Mac computer. Then restart your computer and press and hold the Option key while booting until the boot options screen appears. On the screen, select your USB as the boot device and press Enter.
6.Installing MacOS Sonoma: Your computer will boot using the USB and the MacOS Sonoma installation screen will be displayed. Follow the on-screen instructions to select your installation options and complete the installation process.
Final words

Creating a bootable USB installer for MacOS Sonoma is not difficult as you think. Just follow my detailed guide and steps, you can complete it easily.
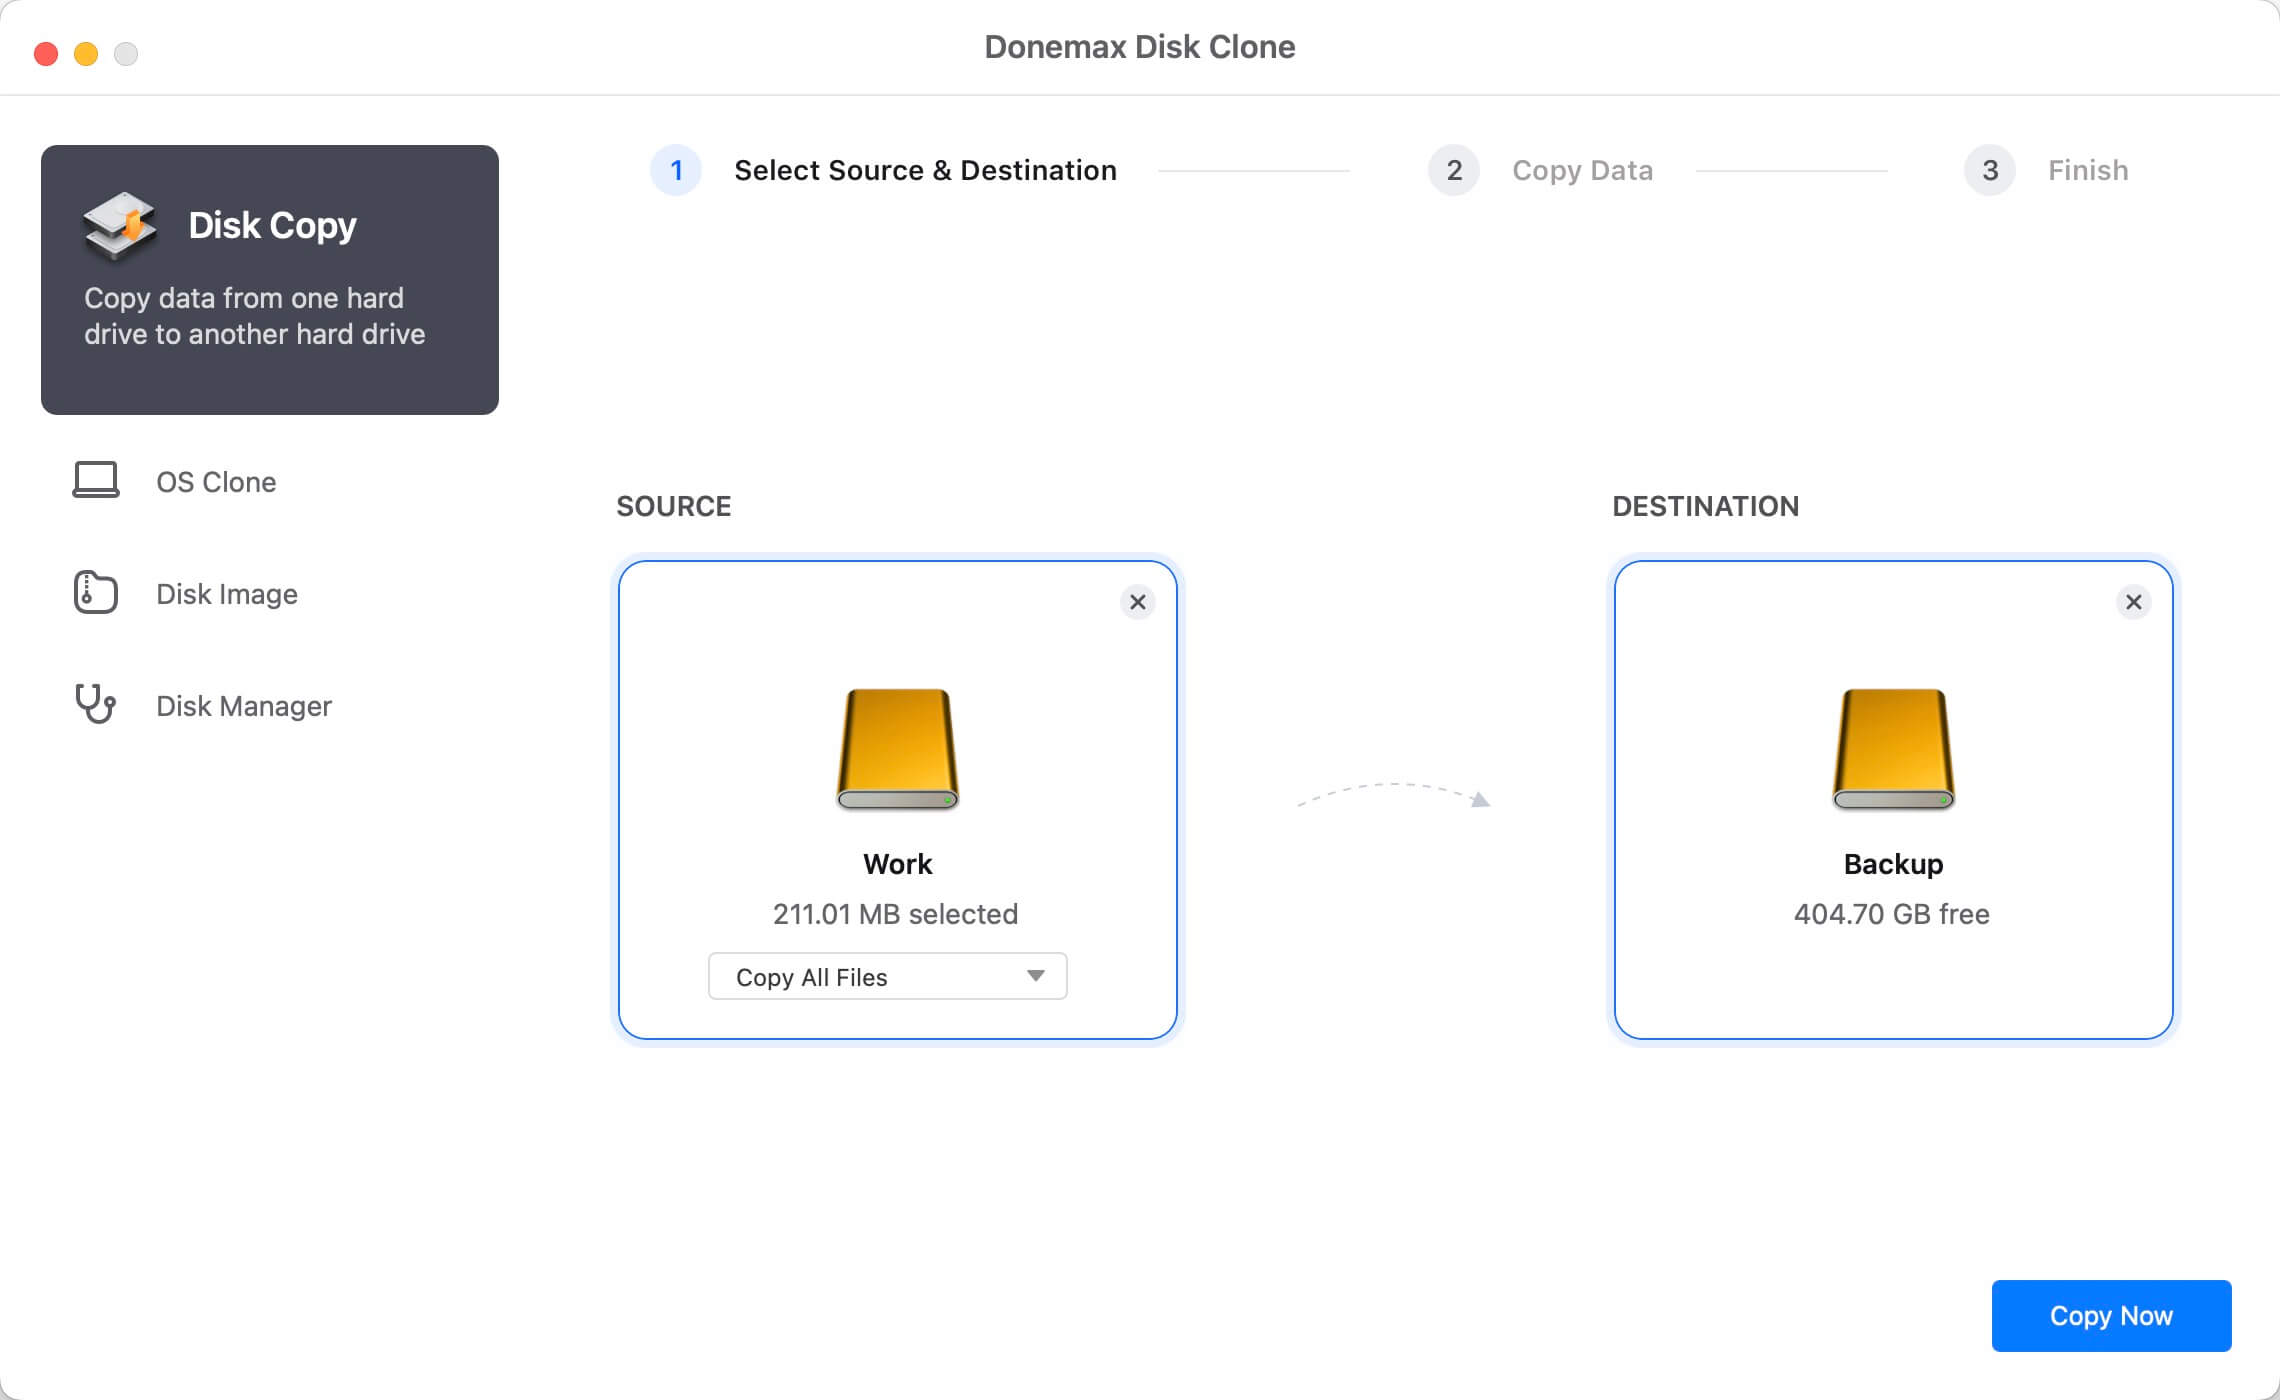
If you're simply just backing up your data, there's no need to go through all that trouble. Just clone your important data backup to another disc. And I recommend a disk clone expert, Donemax Disk Clone. just one-click, Just one-click, it will help you easily clone hard drives, create disk images, perform data backup, system migration, etc. Download and try it.
FAQs about Mac disk
The reason is the small storage space small, and the available storage space on the hard disk becomes smaller, which leads to lagging. It is recommended to delete part of the unimportant data or files to make the available space bigger, so as to make the system operate more smoothly. Another way is to replace the hard disk, clone the Mac hard disk to a new hard disk, so that the Mac can run better and faster.
One of the easiest ways to do this is to back up your Mac to icloud, Apple's own backup program, and icloud can be set up to automatically back up your Mac to make sure all your data is backed up. Another way is to use a USB for backup. With a disk cloning software like Donemax Disk Clone, you can clone all the data on your Mac's hard drive to a USB, and there's no risk of data theft.
Related Articles
- Aug 04, 2023How to Clone Hard Drive on MacBook Air?
- Mar 11, 2024How to Clone Mac Hard Drive to Samsung Portable SSD X5?
- Jul 14, 2023How to Transfer Data Between Mac and Windows PC?
- Feb 22, 2024How to Clone Mac SSD to A HDD?
- Jun 15, 2023How to Clone A Hard Drive on Mac?
- Jun 08, 2024Time Machine Backup Could Not Be Completed, Fix This Issue

Christina
Christina is the senior editor of Donemax software who has worked in the company for 4+ years. She mainly writes the guides and solutions about data erasure, data transferring, data recovery and disk cloning to help users get the most out of their Windows and Mac. She likes to travel, enjoy country music and play games in her spare time.

Gerhard Chou
In order to effectively solve the problems for our customers, every article and troubleshooting solution published on our website has been strictly tested and practiced. Our editors love researching and using computers and testing software, and are willing to help computer users with their problems