The best iTunes alternative - reliable and easy-to-use iOS data transfer & data management software.
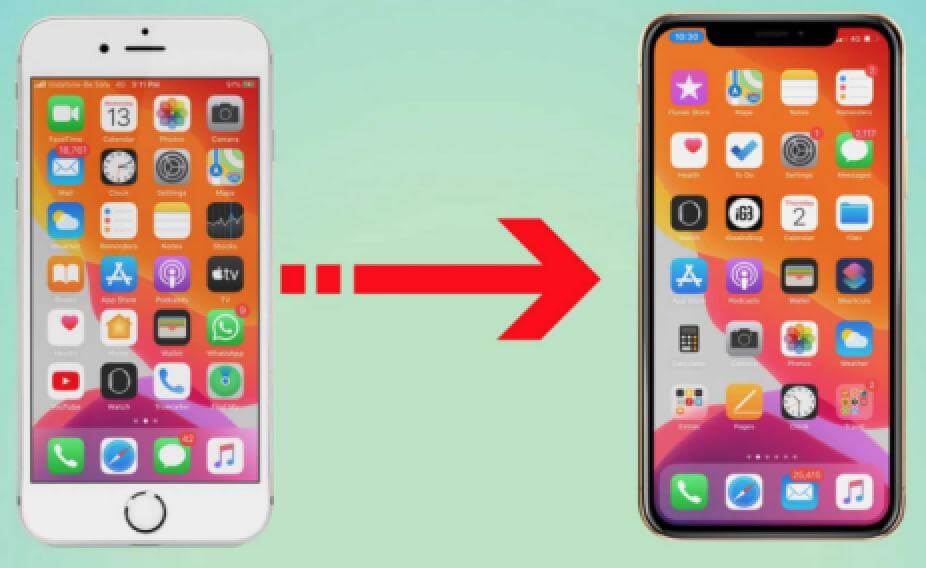
Ben: I have been using the iPhone, and I feel it is very convenient and smooth to use. Since the iPhone in my hand is relatively old, I recently replaced the new iPhone 13 pro max. But what confuses me is that there are a lot of essential data on the old phone, such as contacts, photos, files, etc. I don't know how to sync it to my iPhone 13 pro max? These things are crucial to me, and I don't want to lose them. How can I sync the data from the old iPhone to the new iPhone?
Many users in life will encounter such a situation. Our data is essential. How can we save it or sync it to my new device? Here are some standard methods:
Method 1: Quick Start

After upgrading the iPhone to iOS 11, the function of【Quick Start】is available when the new iPhone is activated. This method is useful for transferring old iPhone data with less content. If the data in the old phone occupies a lot of space, such as 100GB or more, it will take time to transfer wirelessly. At this time, you can use a wired connection to transfer data.
Specific steps:
1. First, bring the old and new mobile phones close to each other;
2. Put the SIM card in the old phone into the new iPhone and connect to the same wifi network;
3. Then prepare to activate the new iPhone, 【Quick Start】will appear when it is turned on, prompting the current Apple ID (the ID of the old iPhone) to set up the new iPhone, click Continue.
4. At this time, an animation will appear on the new iPhone, and the old phone's camera needs to be verified. After verification, the data on the old phone will be transferred to the new iPhone.
Method 2: Migrate Data with A Wired Connection
Wired connection migrates data, targeting users with more content on older iPhones.

Specific steps:
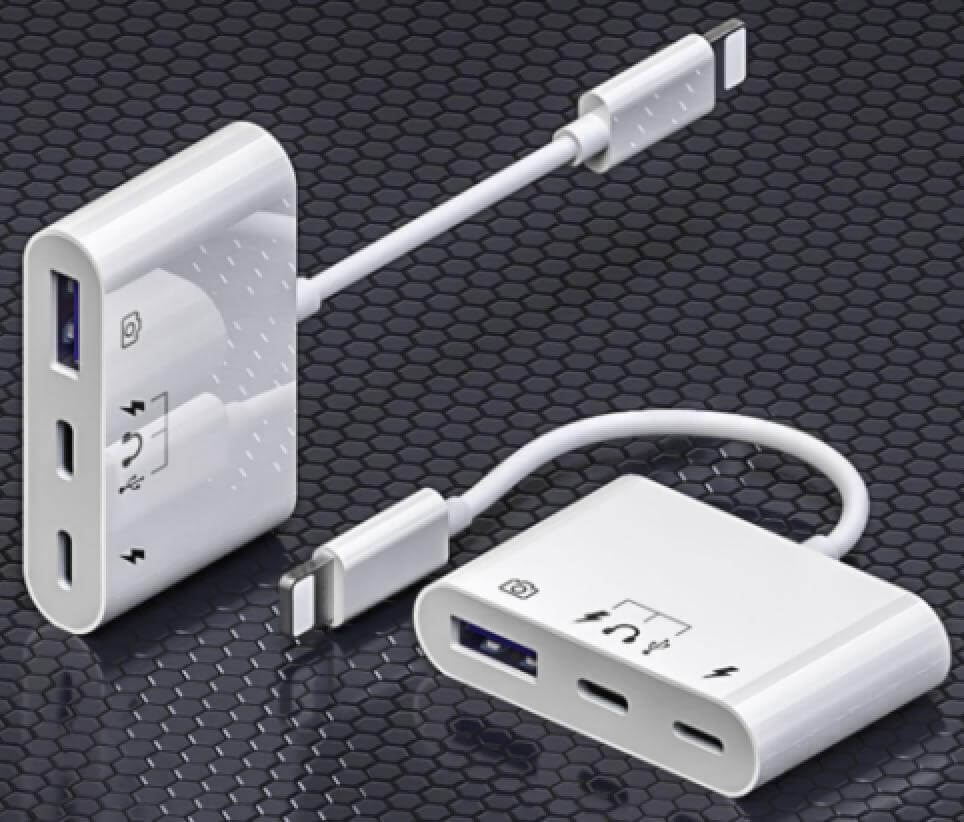
1. Find a data cable that can connect two iPhones and provide power
2. Separate the old and new iPhones and then plug them in.
3. Then【Quick Start】will appear, follow the steps to transfer.
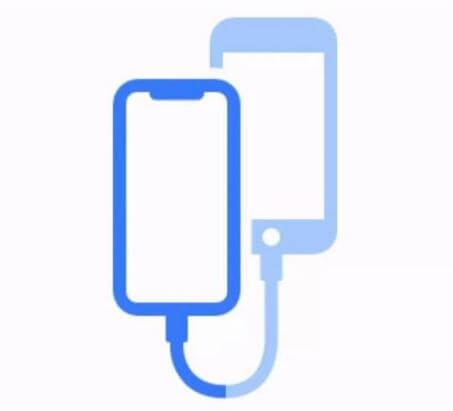
Note: You need to connect the USB-C Lightning cable to the power supply to supply stable power to the two mobile phones. During the data transfer process, you will see the following icons appear:

The above methods are for the new iPhone when you just activated the device. But many users may only need to migrate selected data to their new iPhone. You may try the following solutions.
Method 1: iCloud Backup and Restore

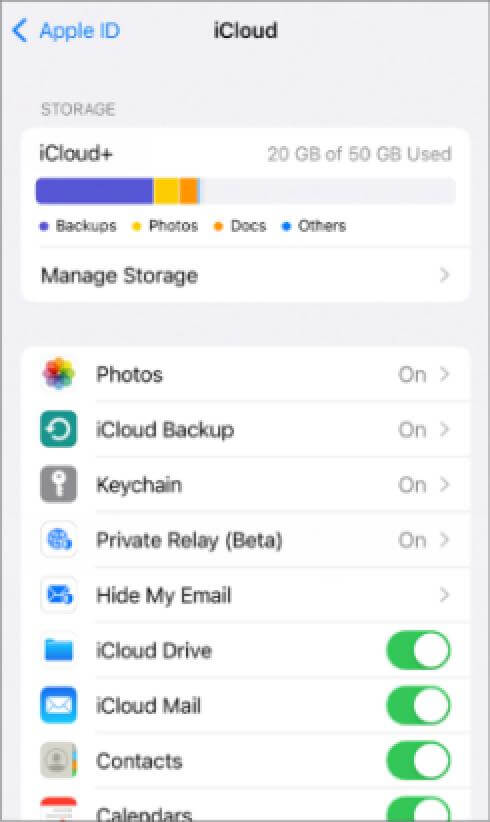
For this method, we need to download iCloud Drive in advance on the old iPhone, it has a free 5GB capacity, and more capacity needs to be purchased. When the new iPhone is turned on, in the [Apps & Data] step, it will prompt [Set as a new iPhone] or [Restore from iCloud Backup], choose the latter.
Specific steps:
1. Open the old iPhone, find [Settings], click [Passwords and Accounts], and then select [iCloud] to enable the data you want to back up;
2. Insert the SIM card into the new iPhone, activate the new iPhone, and select [Restore from iCloud Backup];
3. Log in to the Apple ID account that was backed up on the old iPhone on the new iPhone, and then you can migrate the data.
Method 2: Use iPhone Data Transfer Assistant - DMtrans to Sync Your Data
Why is this software recommended? First of all, the software is full-featured to help you manage iPhone data with full functionality. For example, you can transfer data from a PC/Mac or another iOS device to your new iPhone. Also, you can move your old iPhone data to your new iPhone. The software can also delete some files from your old iPhone to free up space on the device.
The software is fully compatible with iPhone 13 or iOS devices with iOS 14 or older. You can use this software to transfer or manage photos, videos, audios, voicemails, podcasts, books, messages, contacts, and more.
You can manage iPhone data with this software on PC/Mac with different options. The primary function of this software is to transfer iPhone data to various devices. To help you understand and use the software easily, we will show you how to transfer iPhone data.
Specific steps:
1. Connect your iPhone to your PC/Mac. Run the software and select a category, such as Photos, to continue.

2. Select a photo or other file in the list and click Export. Then you can choose to transfer to your PC/Mac or another iOS device.

3. The software will transfer the selected files to the selected device. After the transfer is complete, you can directly check the data.

The software will only transfer the data to another device without deleting the files on the original device. So you can transfer files safely. If anything goes wrong during the process, you won't lose data on your iPhone.