PAGE CONTENT:
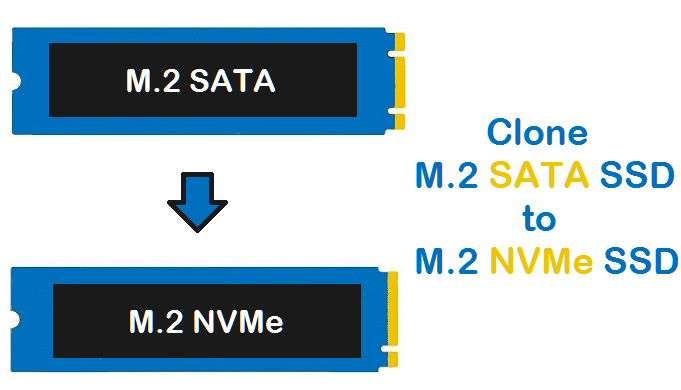
Clone SATA SSD to NVMe SSD: Make Your PC Run Faster
Are you starting a journey to make your computer faster and more responsive? The difference between a regular bike and a powerful sports car is what switching from a SATA SSD to an NVMe SSD is like! If you've been happy with your SATA SSD and want to switch to a faster one, you're in for a treat.

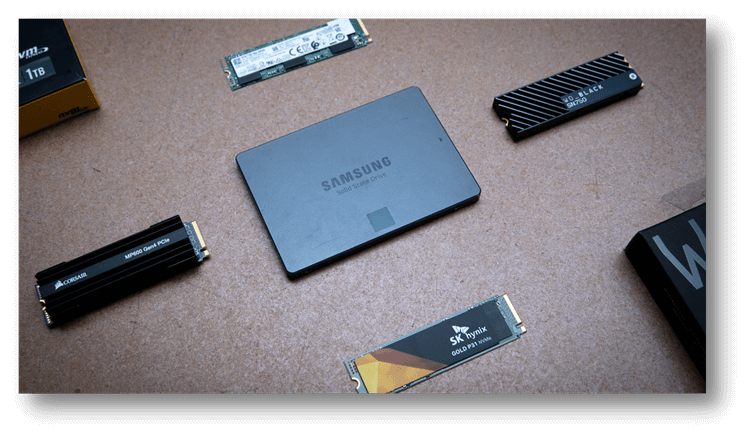
SATA SSD vs NVMe SSD
Compare SATA SSD to NVMe SSD and check the differences. Learn why should upgrade SATA SSD to NVMe SSD.
From the reliable SATA SSD to the lightning-fast NVMe SSD, this guide will walk you through the exciting process of cloning your data. When you do this, your computer will run faster without restarting everything. If you're a tech fan, buckle up because we're about to hit the update expressway!

Tools and Materials:
- Source SATA SSD: You wish to clone the data stored on the solid-state drive.
- Destination NVMe SSD: The destination disc to which the data will be transferred.
- NVMe to SATA Adapter (if needed): An adapter can be utilized if your NVMe SSD cannot fit into a SATA slot.
- Cloning Software: Apps like Donemax Disk Clone, Clonezilla, Acronis True Image, and EaseUS Todo Backup are dependable cloning solutions that convert SATA drives to NVMe ones.
- USB to SATA/USB to NVMe Adapter (if needed): Do you have any internal slots available? No problem! You may connect the SSDs to your computer outside.
Steps to Clone SATA SSD to NVMe SSD
1.Get Your Tools Ready:
Ensure your system is compatible with your NVMe SSD by checking its specifications. Verify if there are any open SATA or PCIe slots, and if so, get an NVMe to SATA or PCIe adaptor. Before you buy cloning software, be sure it works with NVMe and SATA SSDs.
2.Backup Crucial Data:
Do a complete backup to ensure the security of your data. Consider investing in trustworthy backup software or making a manual copy of critical files to a safe place, such as the cloud, an external hard drive, or another secure location. Ensure your backup is intact to ensure a seamless restoration process is needed.
3.Connect NVMe SSD:
Take special caution when inserting any adapters that your NVMe SSD may require. Join the source SATA SSD and the destination NVMe SSD using USB to SATA/NVMe adapters for external Cloning. Keep your connection steady and avoid any unexpected drops while you work.
4.Install Cloning Software:
In this article, we will show you how to clone SATA SSD to NVMe SSD with a reliable disk cloning program - Donemax Disk Clone. Just download and install this software on your computer.
5.Launch Cloning Software:
Open Donemax Disk Clone on your computer, then choose Disk Clone mode. Select the SATA SSD as the source disk, select the NVMe SSD as the destination disk. Click Next.

6.Clone SATA SSD to NVMe SSD
Then preview the clone layout. Tick “Check the option if the destination is SSD.” Then click on Clone button.

7.Verify Success:
After the Cloning is complete, ensure all your data on the NVMe SSD is correct. Ensure everything has been moved correctly by checking files, apps, and system settings. To ensure the NVMe SSD is properly recognized, use the disk management tools in your operating system.

8.Disconnect Source SSD:
Make sure the source SATA SSD is safely disconnected from your system. Also, unplug the NVMe to SATA converter if you're using one. Properly eject both SSDs before physically removing them from the external connections. Data conflicts are reduced by doing this step.
9.Set NVMe SSD as Boot Drive (Optional):
While booting up, go into your machine's BIOS or UEFI if the operating system is part of the cloned data. Go to the boot order settings to make the NVMe SSD the main boot disk. After making the necessary adjustments, save and exit. Now check that your system boots from the NVMe SSD.
10.Enjoy Enhanced Performance:
Start up your computer and enjoy the lightning-fast performance that the NVMe SSD has to offer. Testing different applications, load periods, and system operations is recommended to appreciate the enhanced storage solution fully.
Conclusion:
Moving from a SATA SSD to an NVMe SSD is a good idea for people who want stronger storage speed. Cloning your data makes the move go smoothly and lets you keep your files, programs, and settings on the new drive. If you follow the steps in this guide, moving a SATA SSD to an NVMe SSD will be easy and quick. Always be careful, make copies of your info, and enjoy the benefits of modern storage technology.
Related Articles
- Nov 05, 2024How to Clone Hard Drive to WD Blue SSD?
- Apr 21, 2024How to Replace A Hard Drive in HP Laptops
- Apr 25, 2024Best Samsung Clone Software to Help You Clone HDD/SSD or Storage Device
- Jun 29, 2024How to Transfer Data Between Laptop and Desktop PC?
- Apr 17, 2024Seagate DiscWizard Review: Pros, Cons, How to Use It
- Jan 19, 2024Best 6 Crucial SSD Disk Cloning Software

Christina
Christina is the senior editor of Donemax software who has worked in the company for 4+ years. She mainly writes the guides and solutions about data erasure, data transferring, data recovery and disk cloning to help users get the most out of their Windows and Mac. She likes to travel, enjoy country music and play games in her spare time.

Gerhard Chou
In order to effectively solve the problems for our customers, every article and troubleshooting solution published on our website has been strictly tested and practiced. Our editors love researching and using computers and testing software, and are willing to help computer users with their problems