Donemax Disk Clone for Mac User Guide
Donemax Disk Clone for Mac is a powerful and easy-to-use Mac disk clone tool. You can easily transfer your data from one drive to another on Mac, create an exact copy of the source drive data or create a bootable clone of Mac.
Clone Your Hard Drive ▶
Donemax Disk Clone for Mac provides three modes to clone Mac hard disk to external hard drive or backup all the hard drive data by creating a DMG or ZIP format disk image.
Video Overview
- 0:00 Intro
- 0:11 Why Do You Need a Mac Hard Drive Clone?
- 0:41 Hard Drive Cloning Software for Mac
- 1:54 Steps to clone HDD to SSD
- 2:02 Step 1. Switch to "OS Clone" to clone Mac hard drive
- 2:08 Step 2. Select the external HDD as the destination
- 2:14 Step 3. Click Clone Now when you’re ready
- 2:26 Step 4. Start the cloning progress
Mode 1. Disk Copy
Disk Copy function can clone the drive and place all the files or specified files from source drive to the destination drive. Then you can access the files on the destination drive directly in Finder.
Step 1. Choose source and destination drive.
Choose the source drive that you want to copy. It will copy all the files by default. Choose the destination drive to save the copied data.
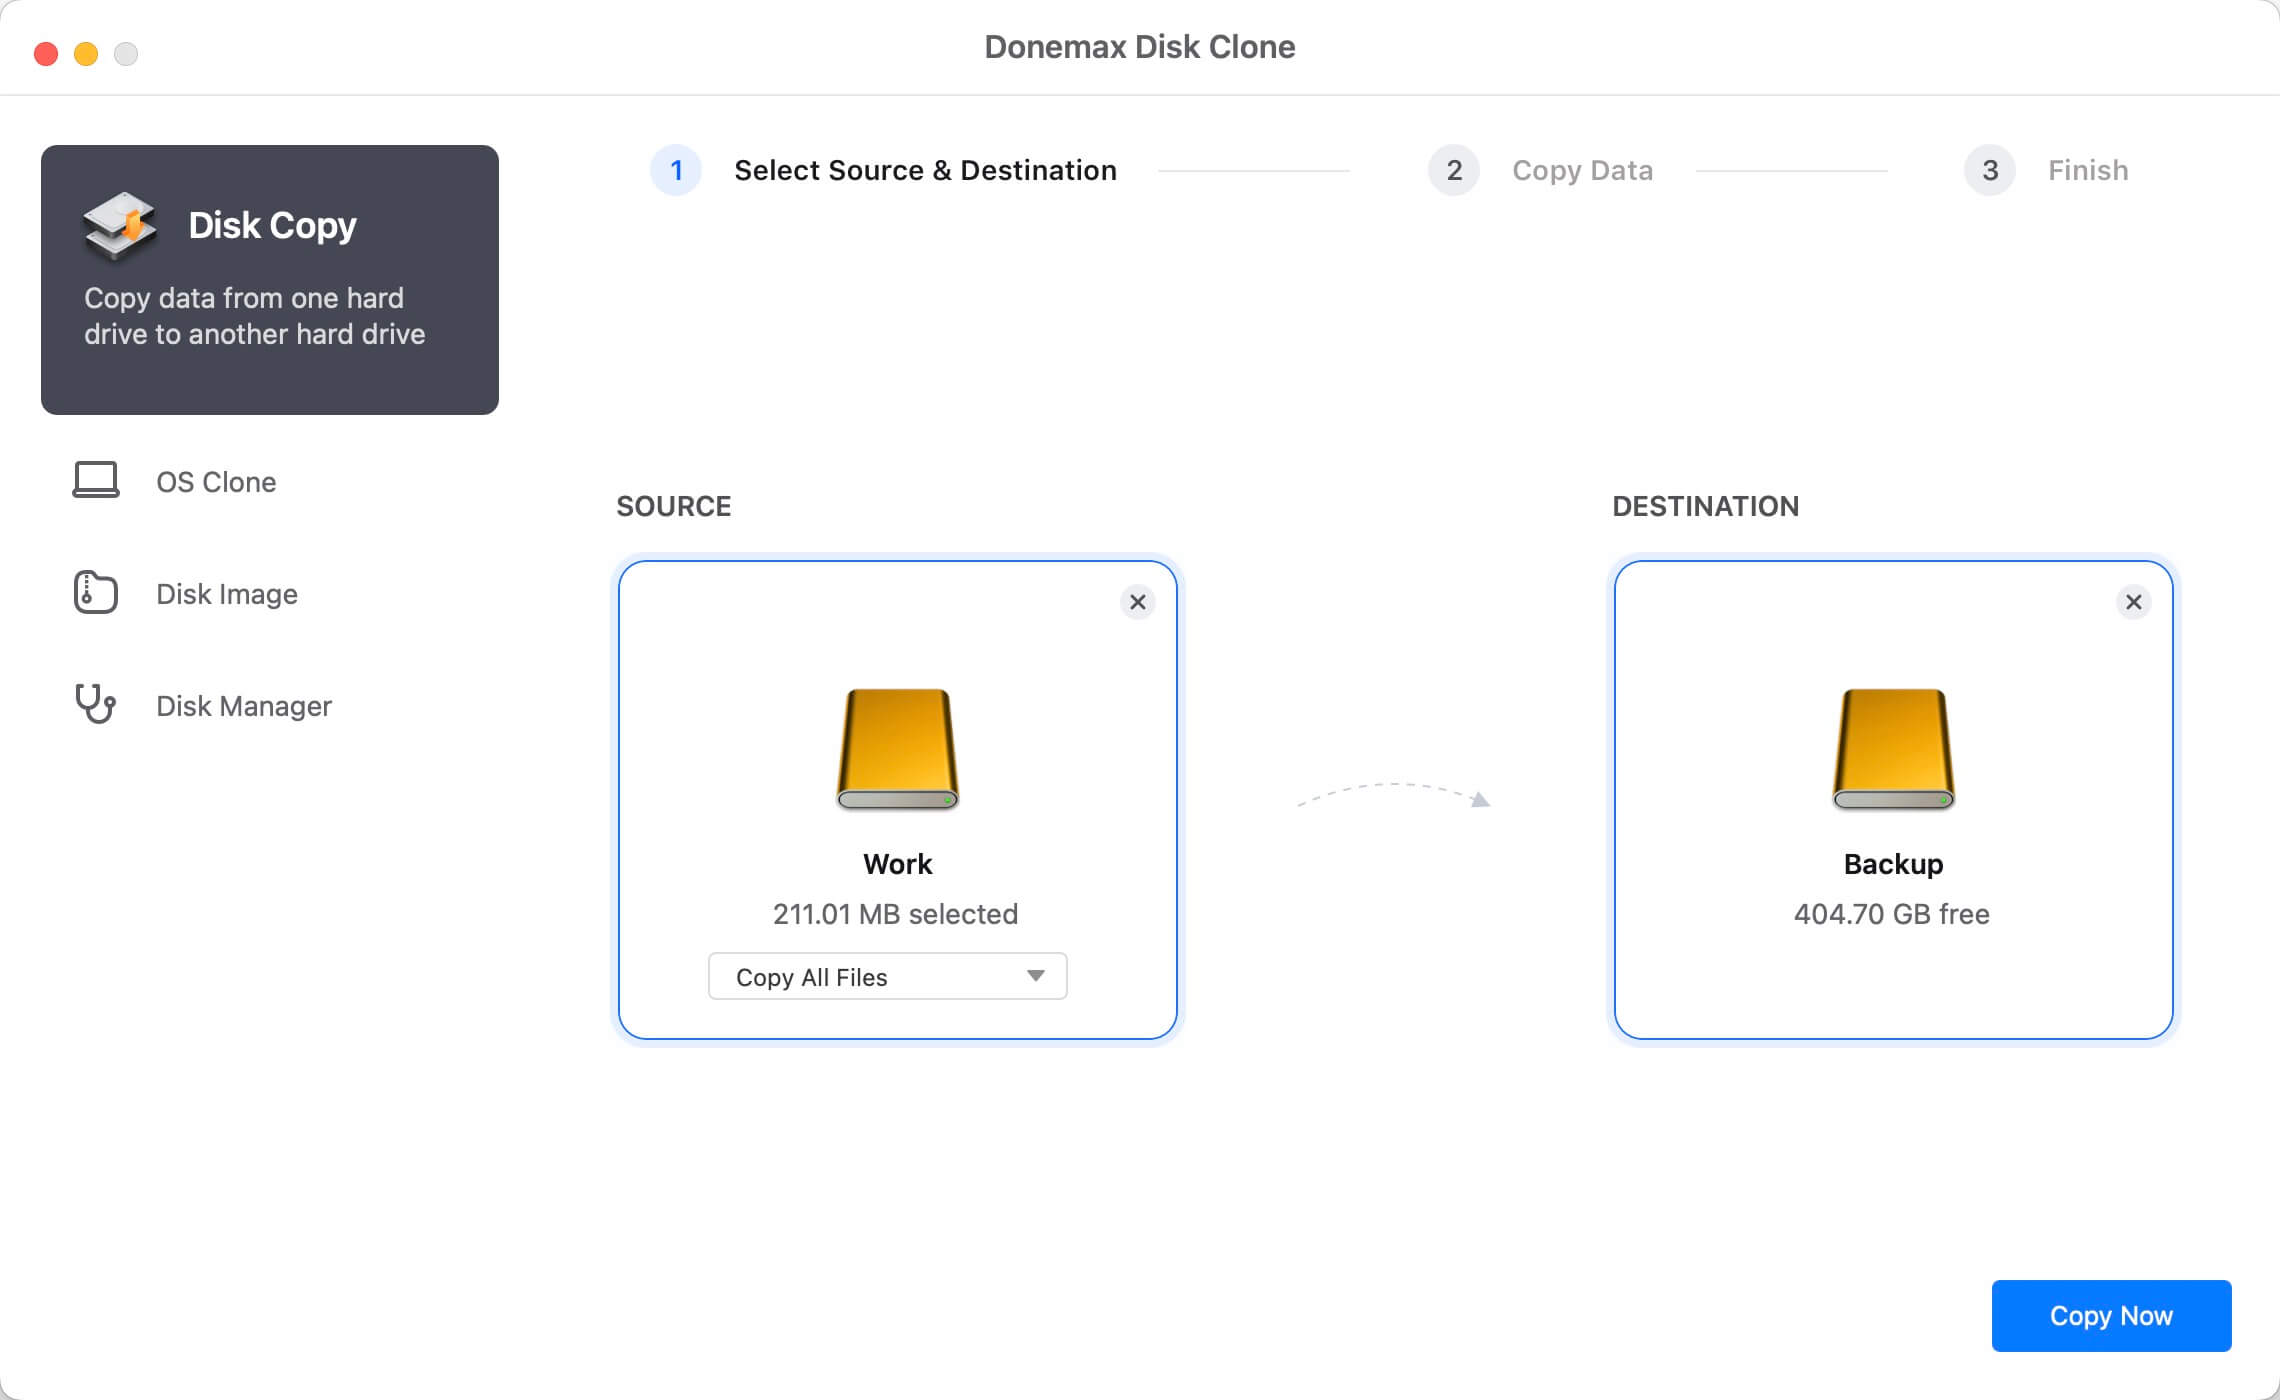
Note: You can also only choose individual files/folders to copy.
Step 2. Start the disk copy process.
Click the Copy Now button to start the process. It will copy all the selected data from the source drive to the Destination drive.

Step 3. Finish the disk copy.
After the disk copy process is finished, you can then go to the destination drive to check the copied files directly.

Mode 2. OS Clone
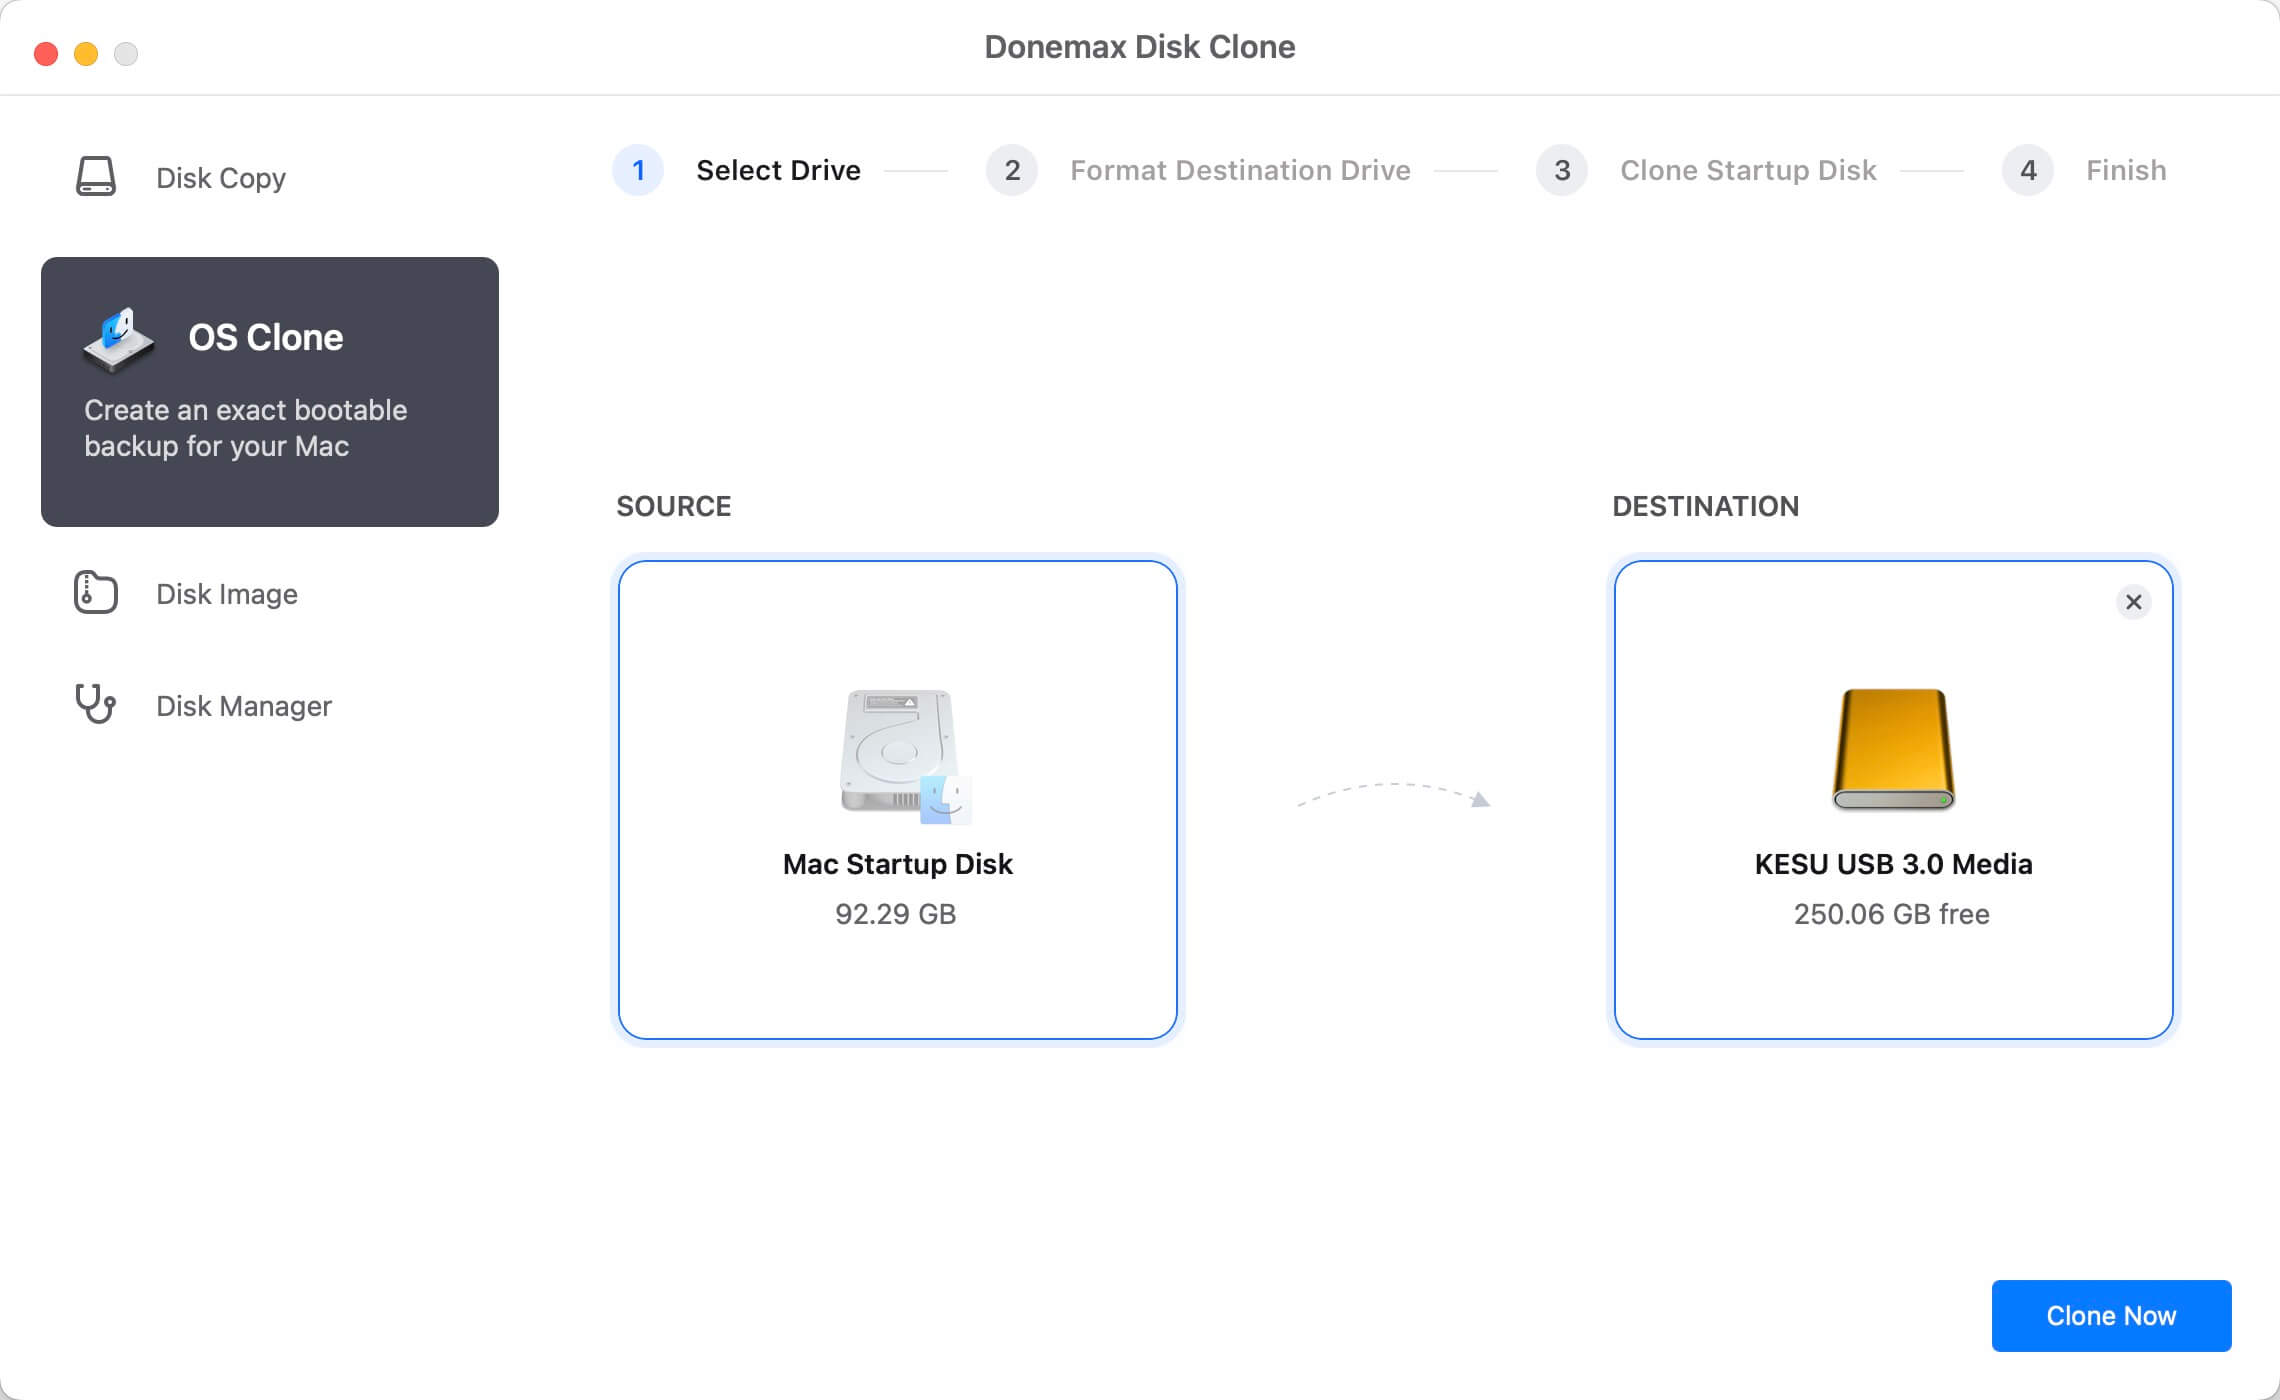
When you want to make a bootable clone backup for Mac, just choose mode - OS Clone. This mode will securely clone Mac startup disk to an external hard drive and make it be bootable.
Step 1. Select the external hard drive as the destination drive.
Connect an external hard drive to your Mac. Then select the external hard drive as the destination drive.
Step 2. Clone Mac startup disk to the external hard drive.
Just click on Clone Now button to securely clone Mac startup disk to the external hard drive.

Once the process gets finished, you can use the external hard drive as the startup disk or restore macOS.

Mode 3. Disk Image
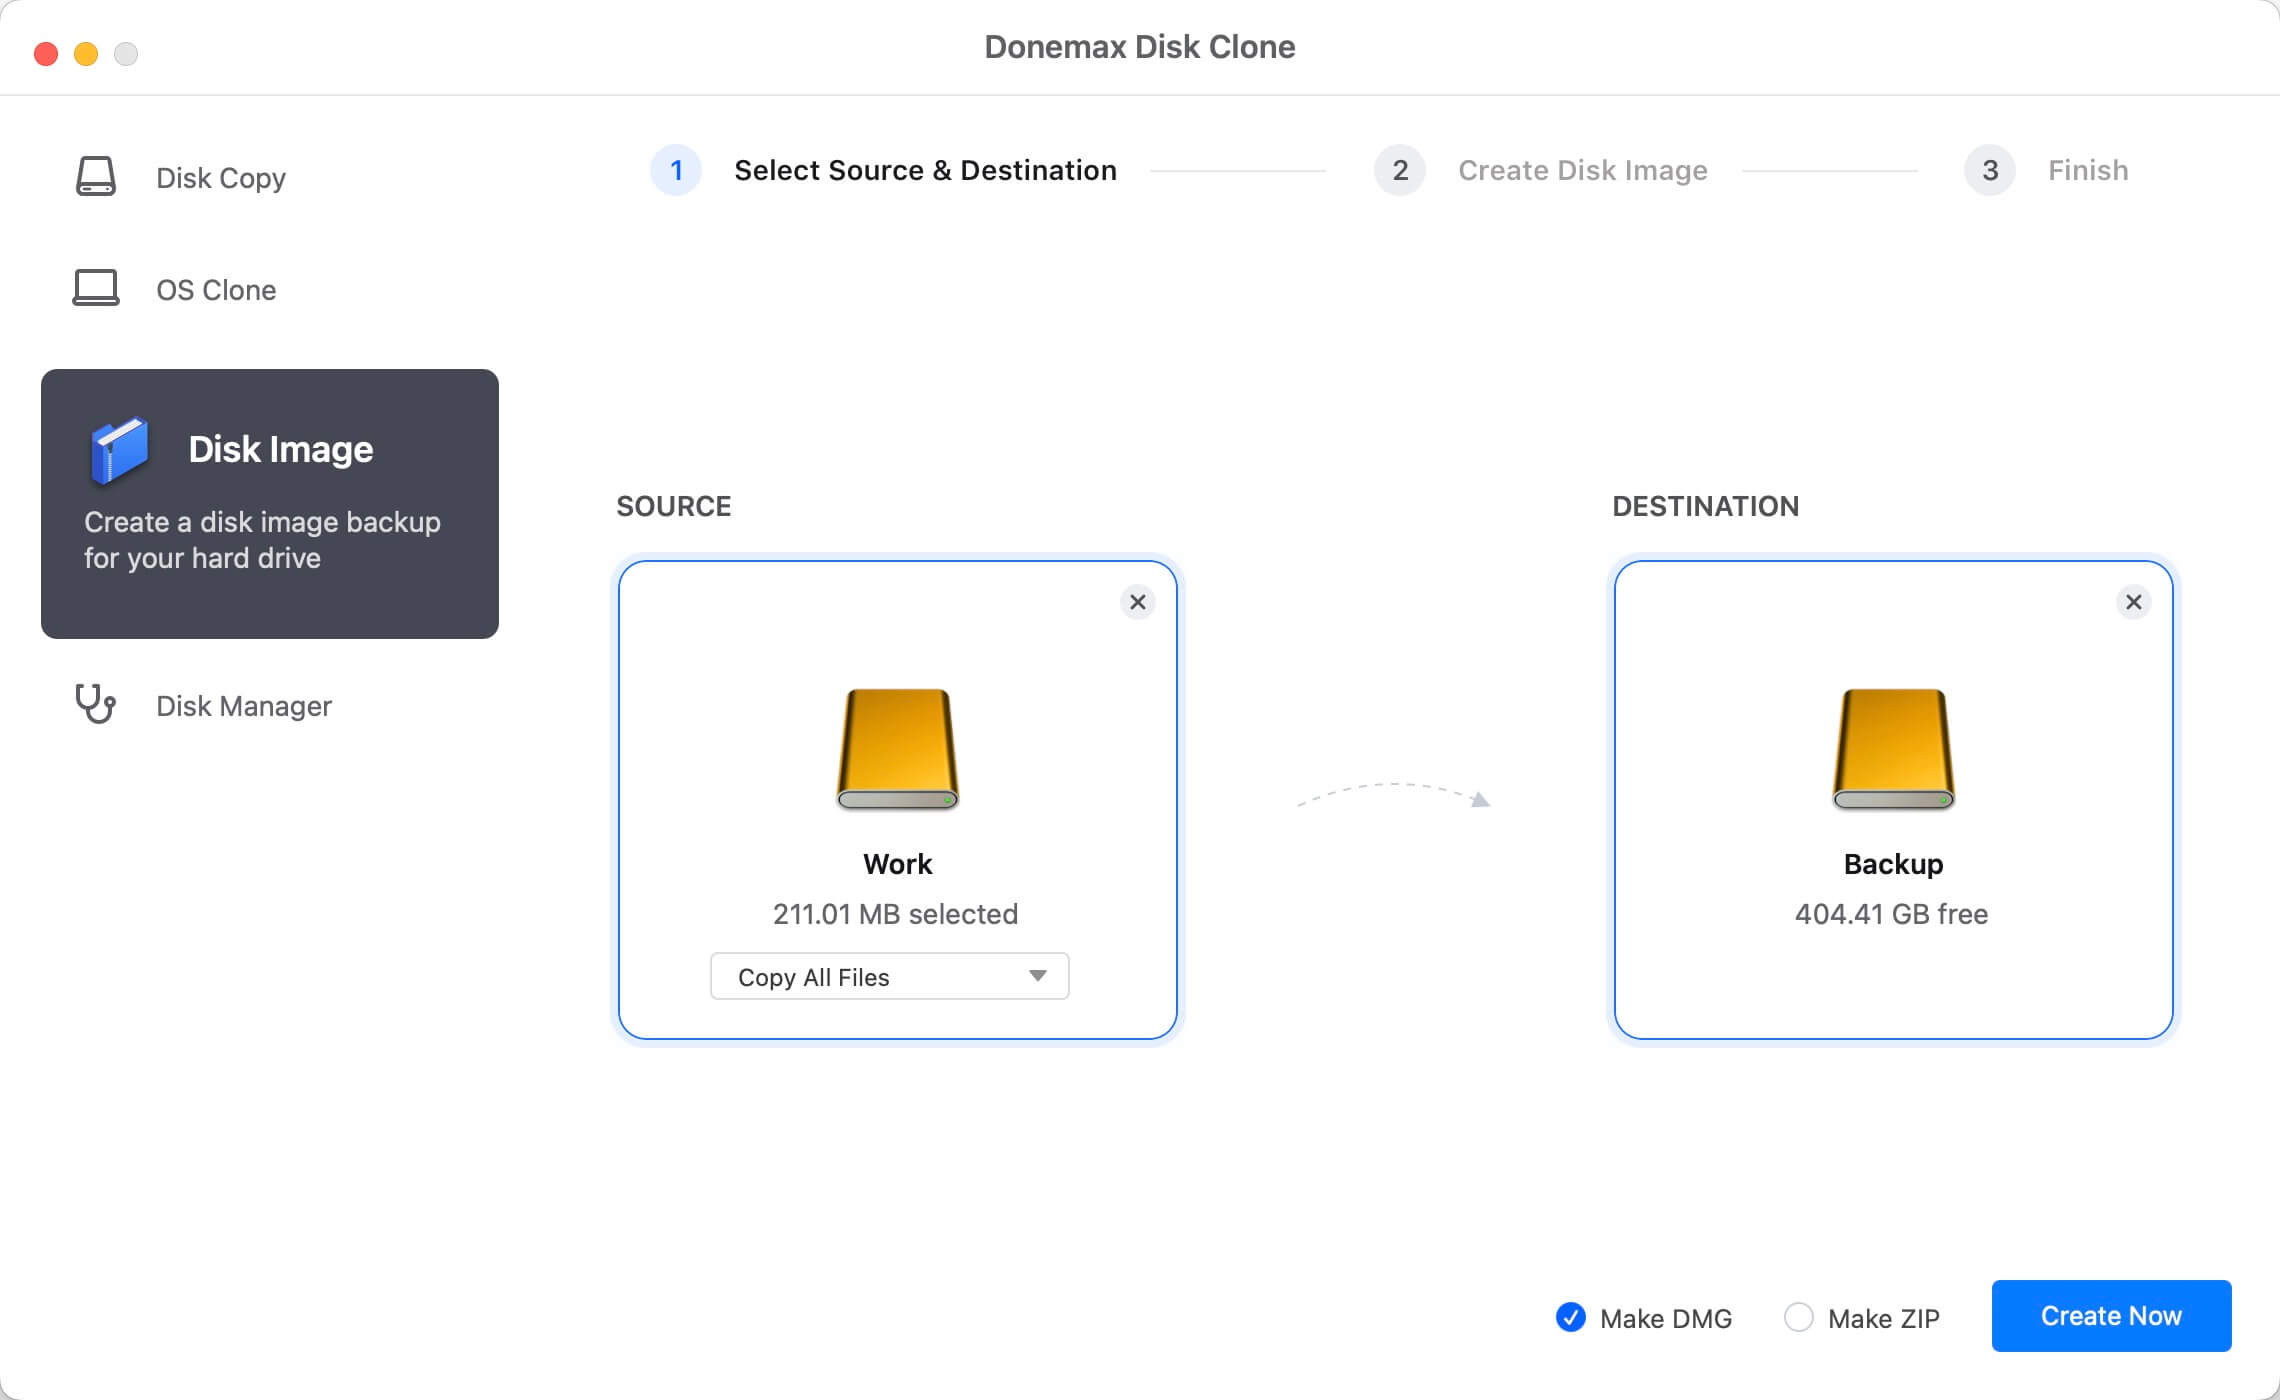
Step 1. Choose the source and destination drive.
Choose the source drive and destination drive to create the disk image. You can create image of all the data or only specified files from the source drive.
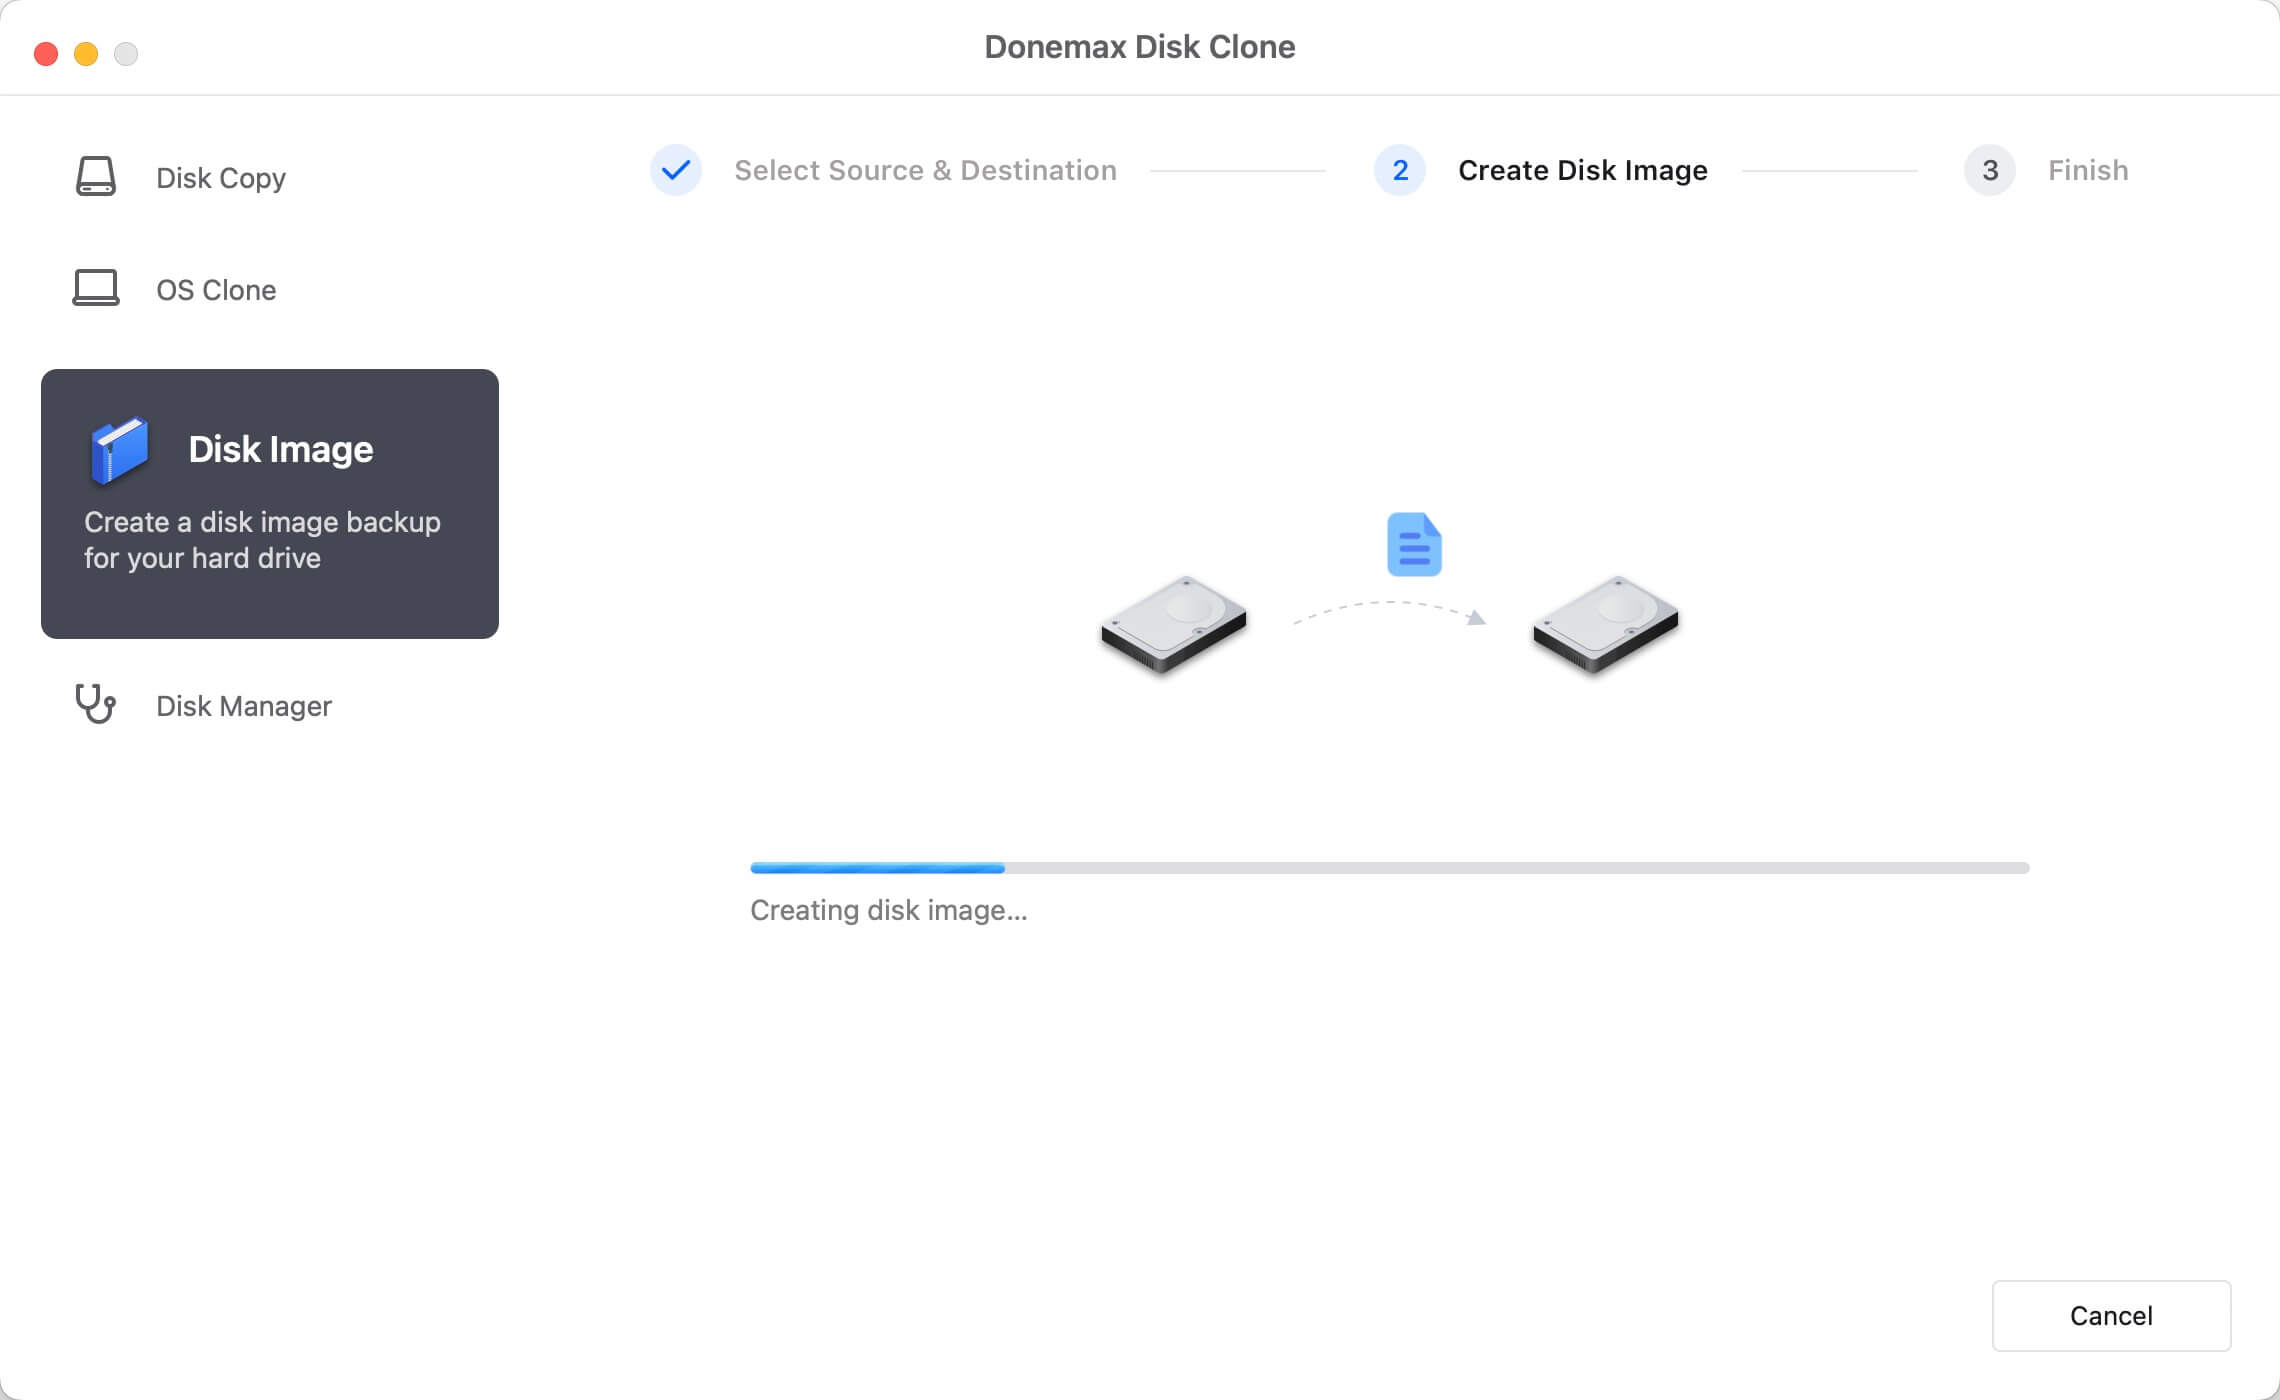
Step 2. Start to create the disk image.
Click the Create Image button to continue. It will create image of the source drive and save to the destination drive.
Step 3. Finish the disk image process.
Once the disk image is created successfully, you can check the created image on the destination drive directly.

Create Bootable macOS Installer ▶
A bootable macOS installer can install macOS when no internet access on Mac. It's also useful to downgrade or install an old version of macOS, install macOS on multiple Macs without downloading on each machine. It's free to create a bootable USB installer for macOS with the software for system installation or troubleshoot.
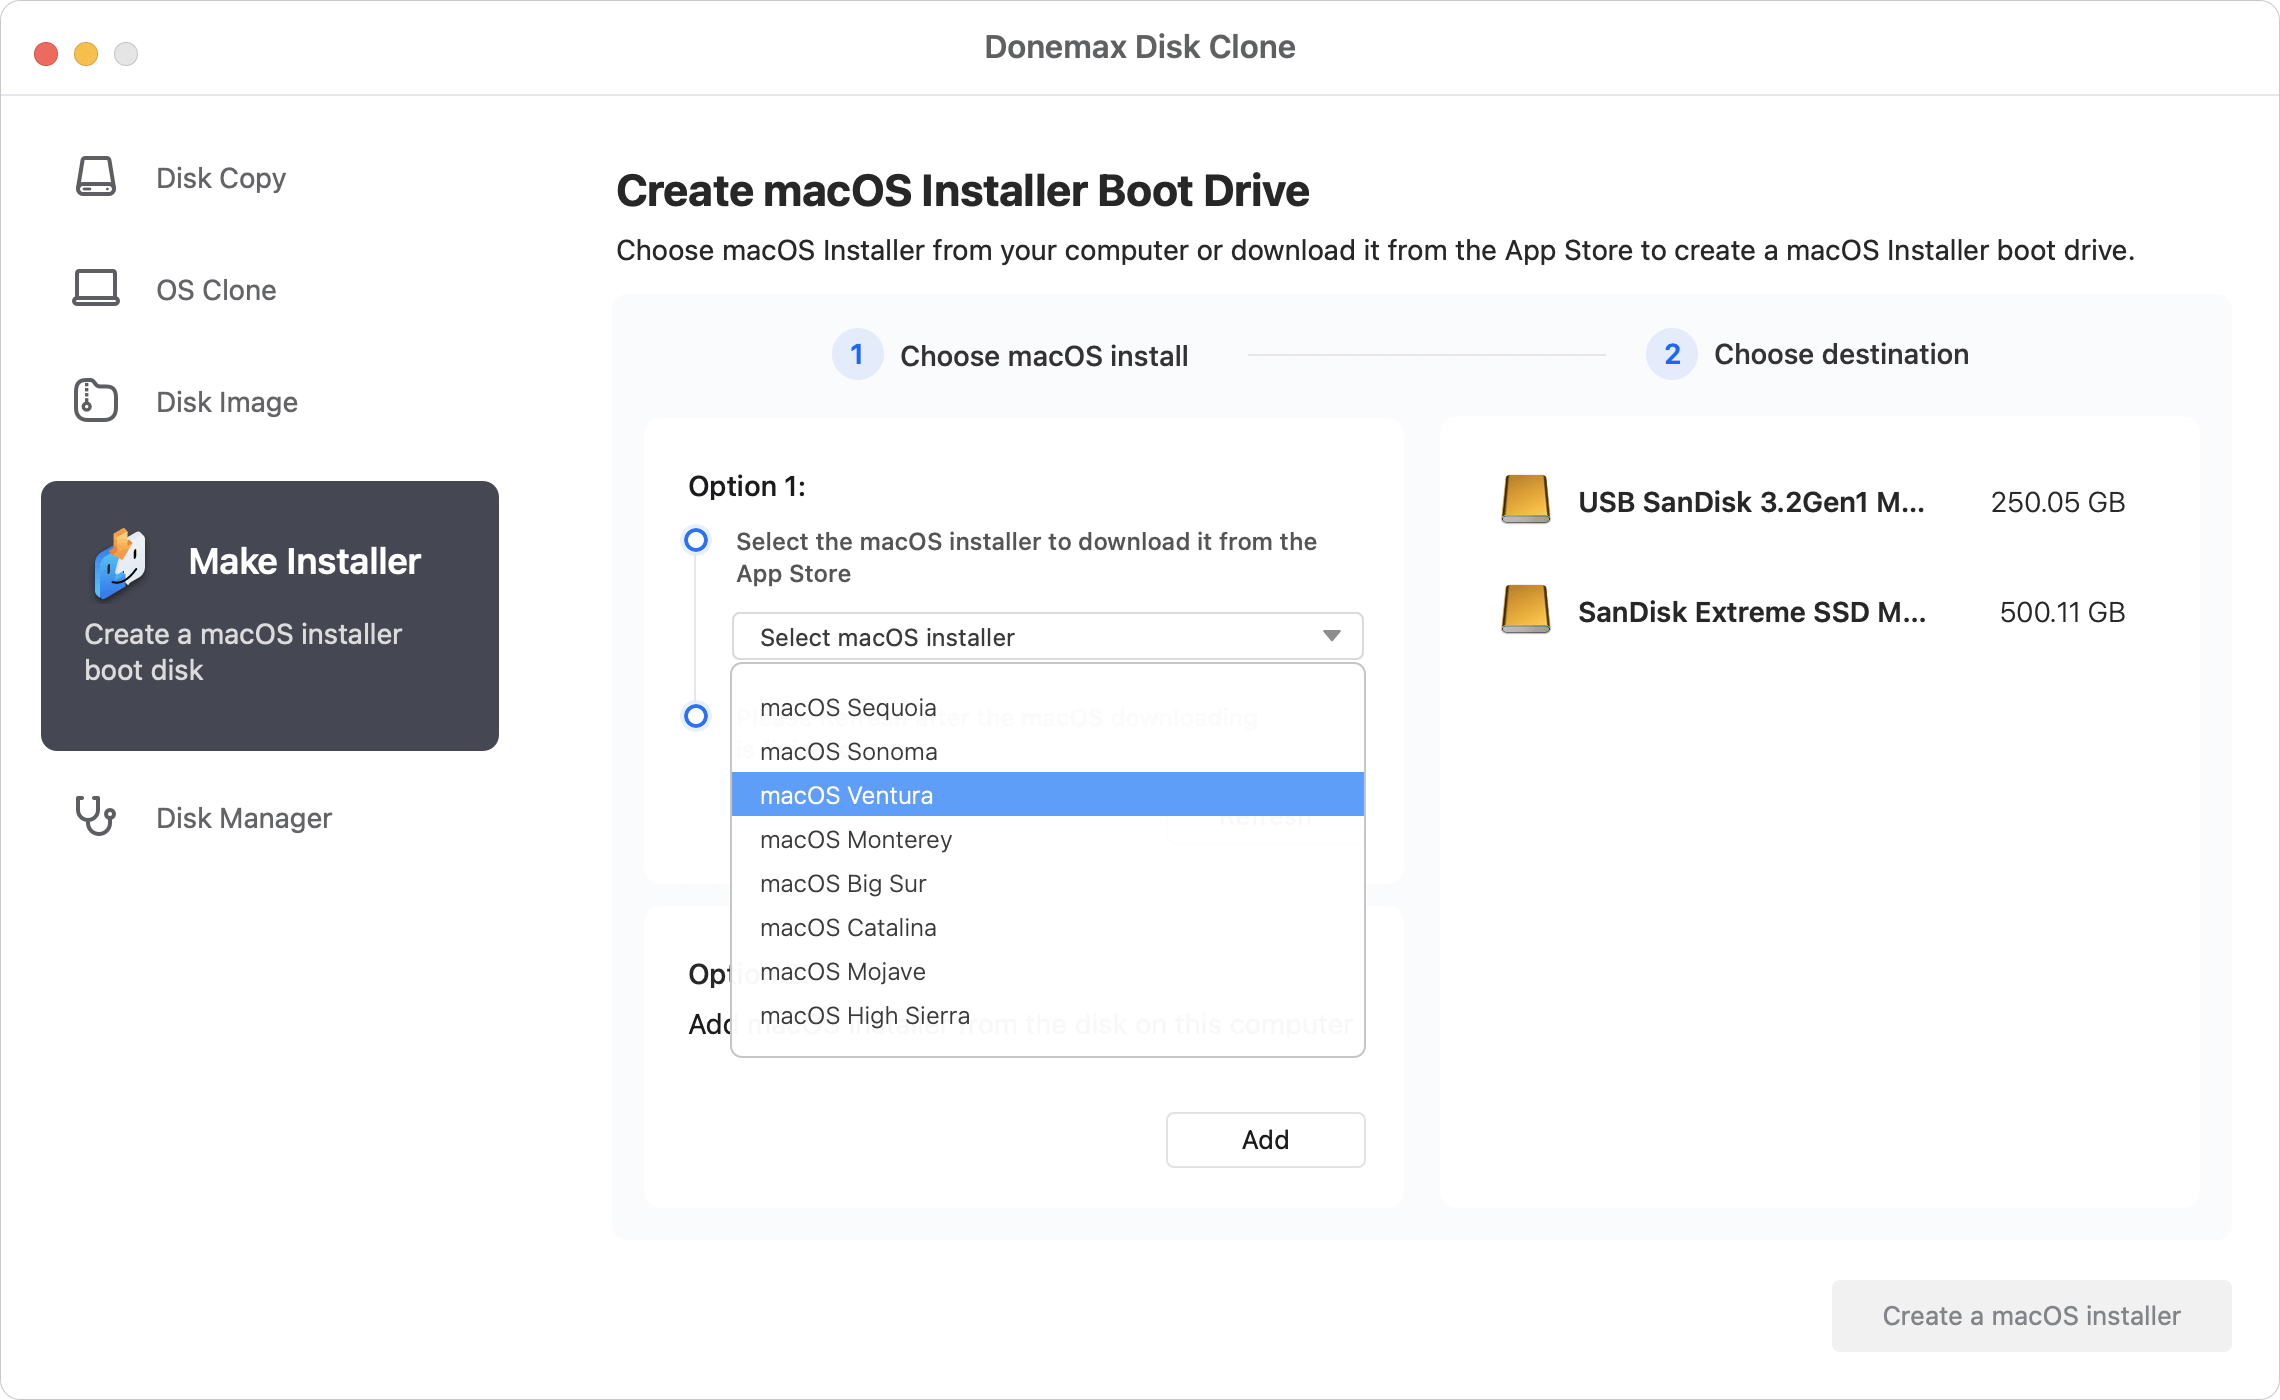
Step 1. Select macOS version for installer
Select Make Installer option. Then choose the version of macOS which you will create the installer.
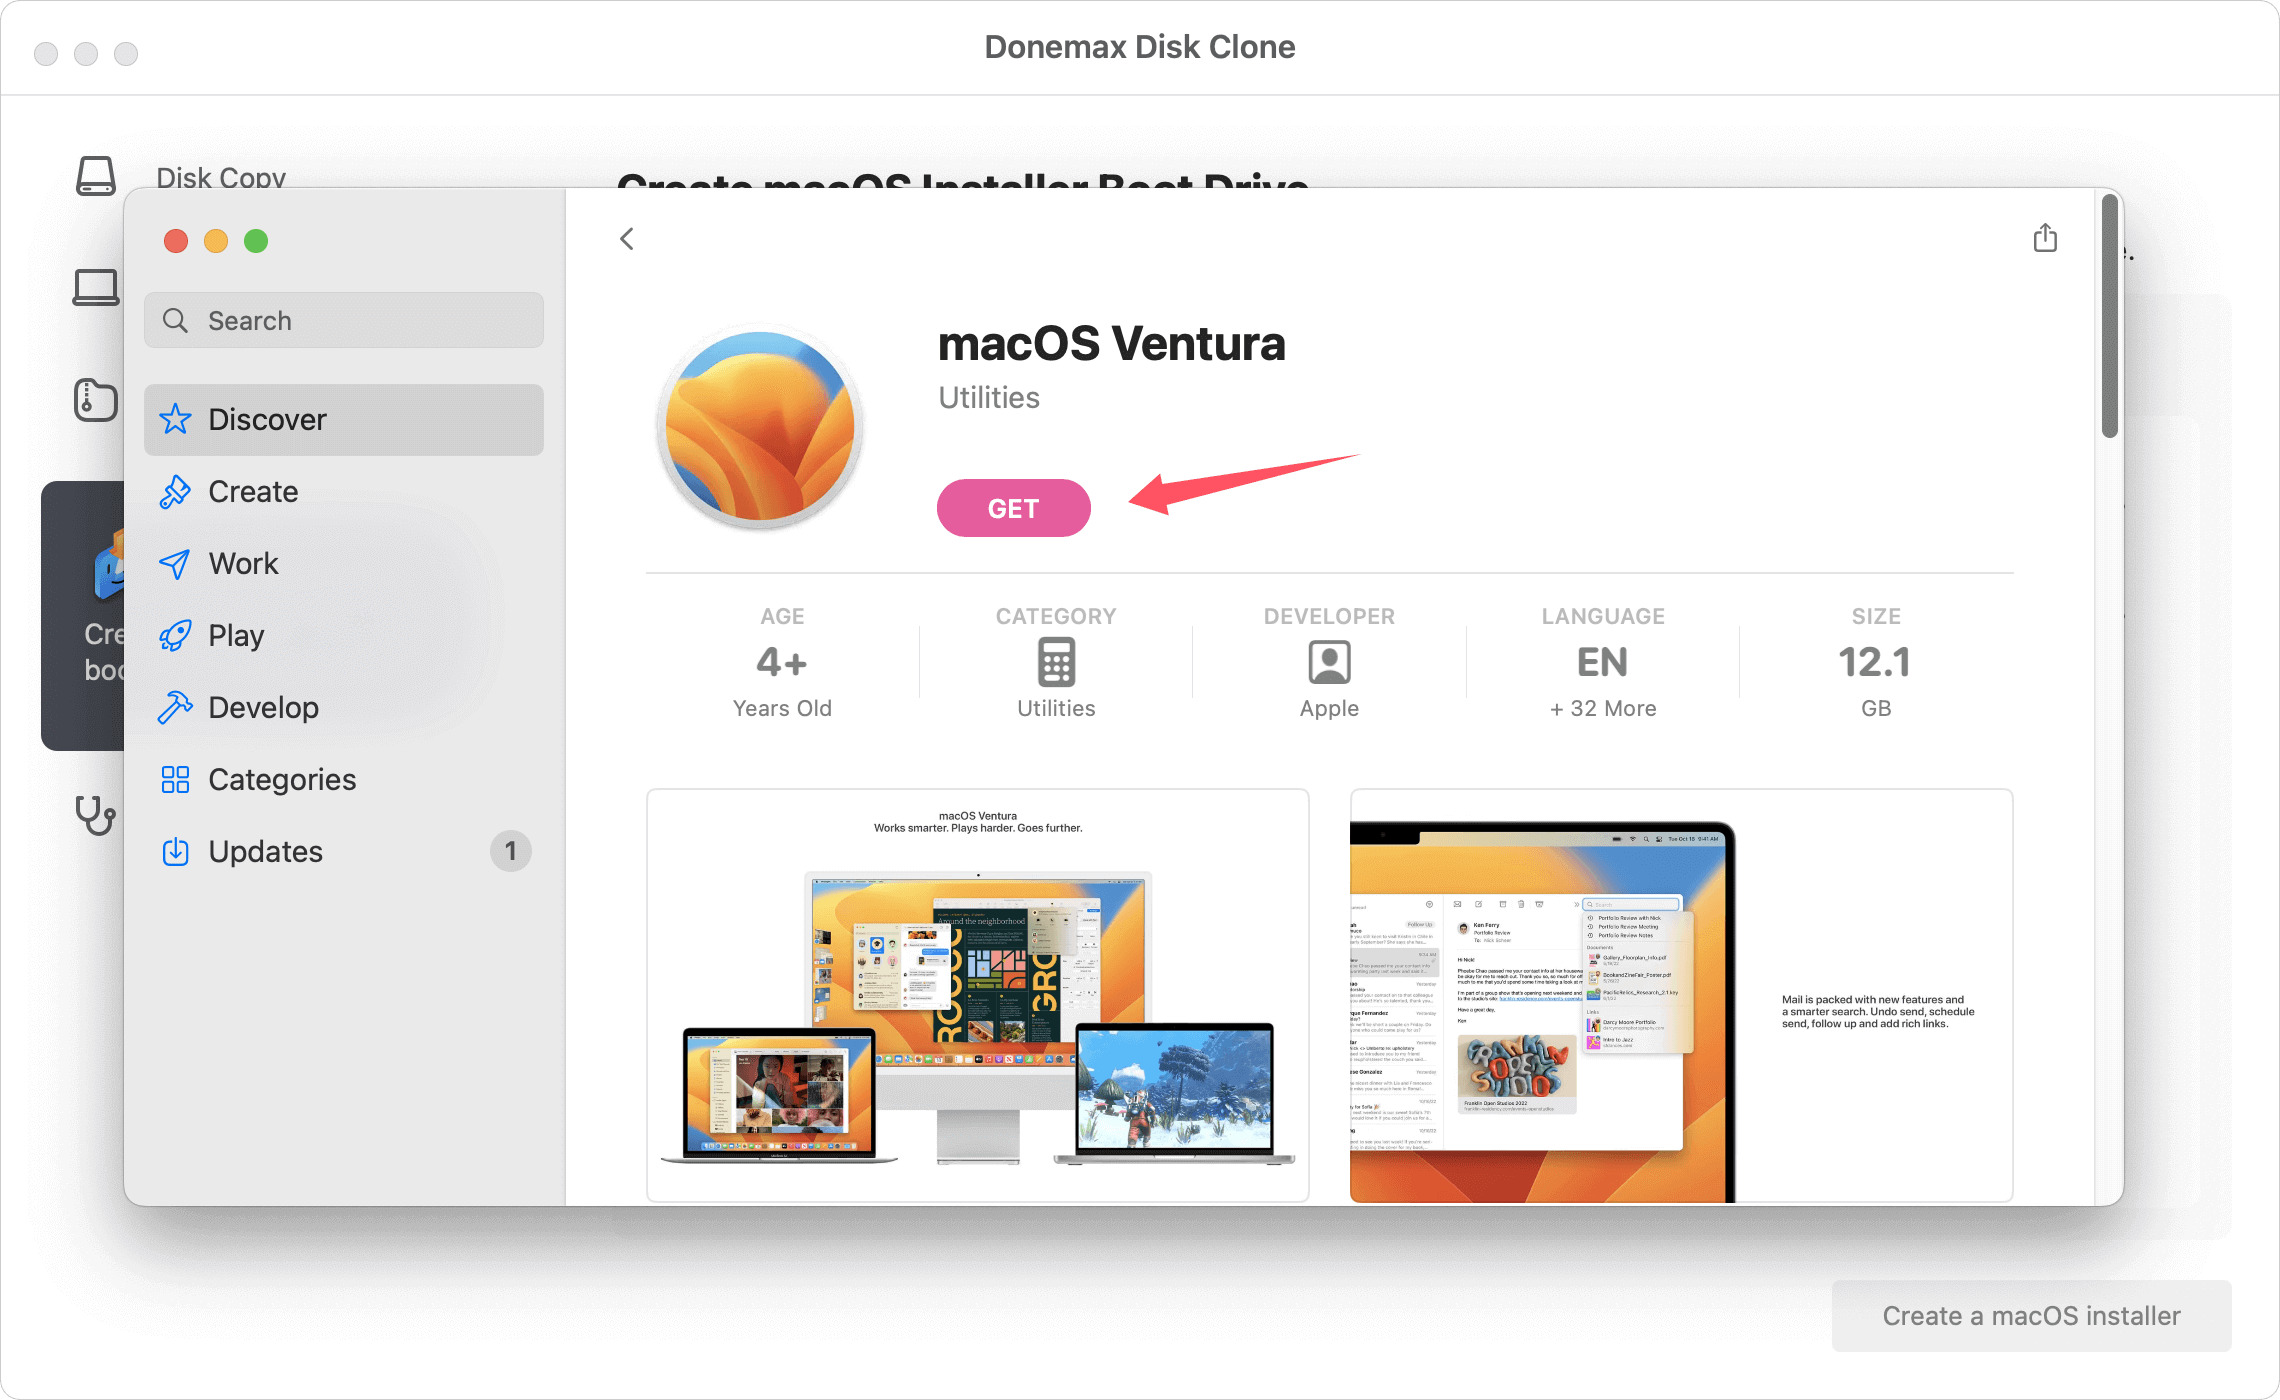
It will go to App Store and there you can click "Get" to download the operating system installation file.
Once the download is done, click the Refresh button and the software will show the downloaded installation app.
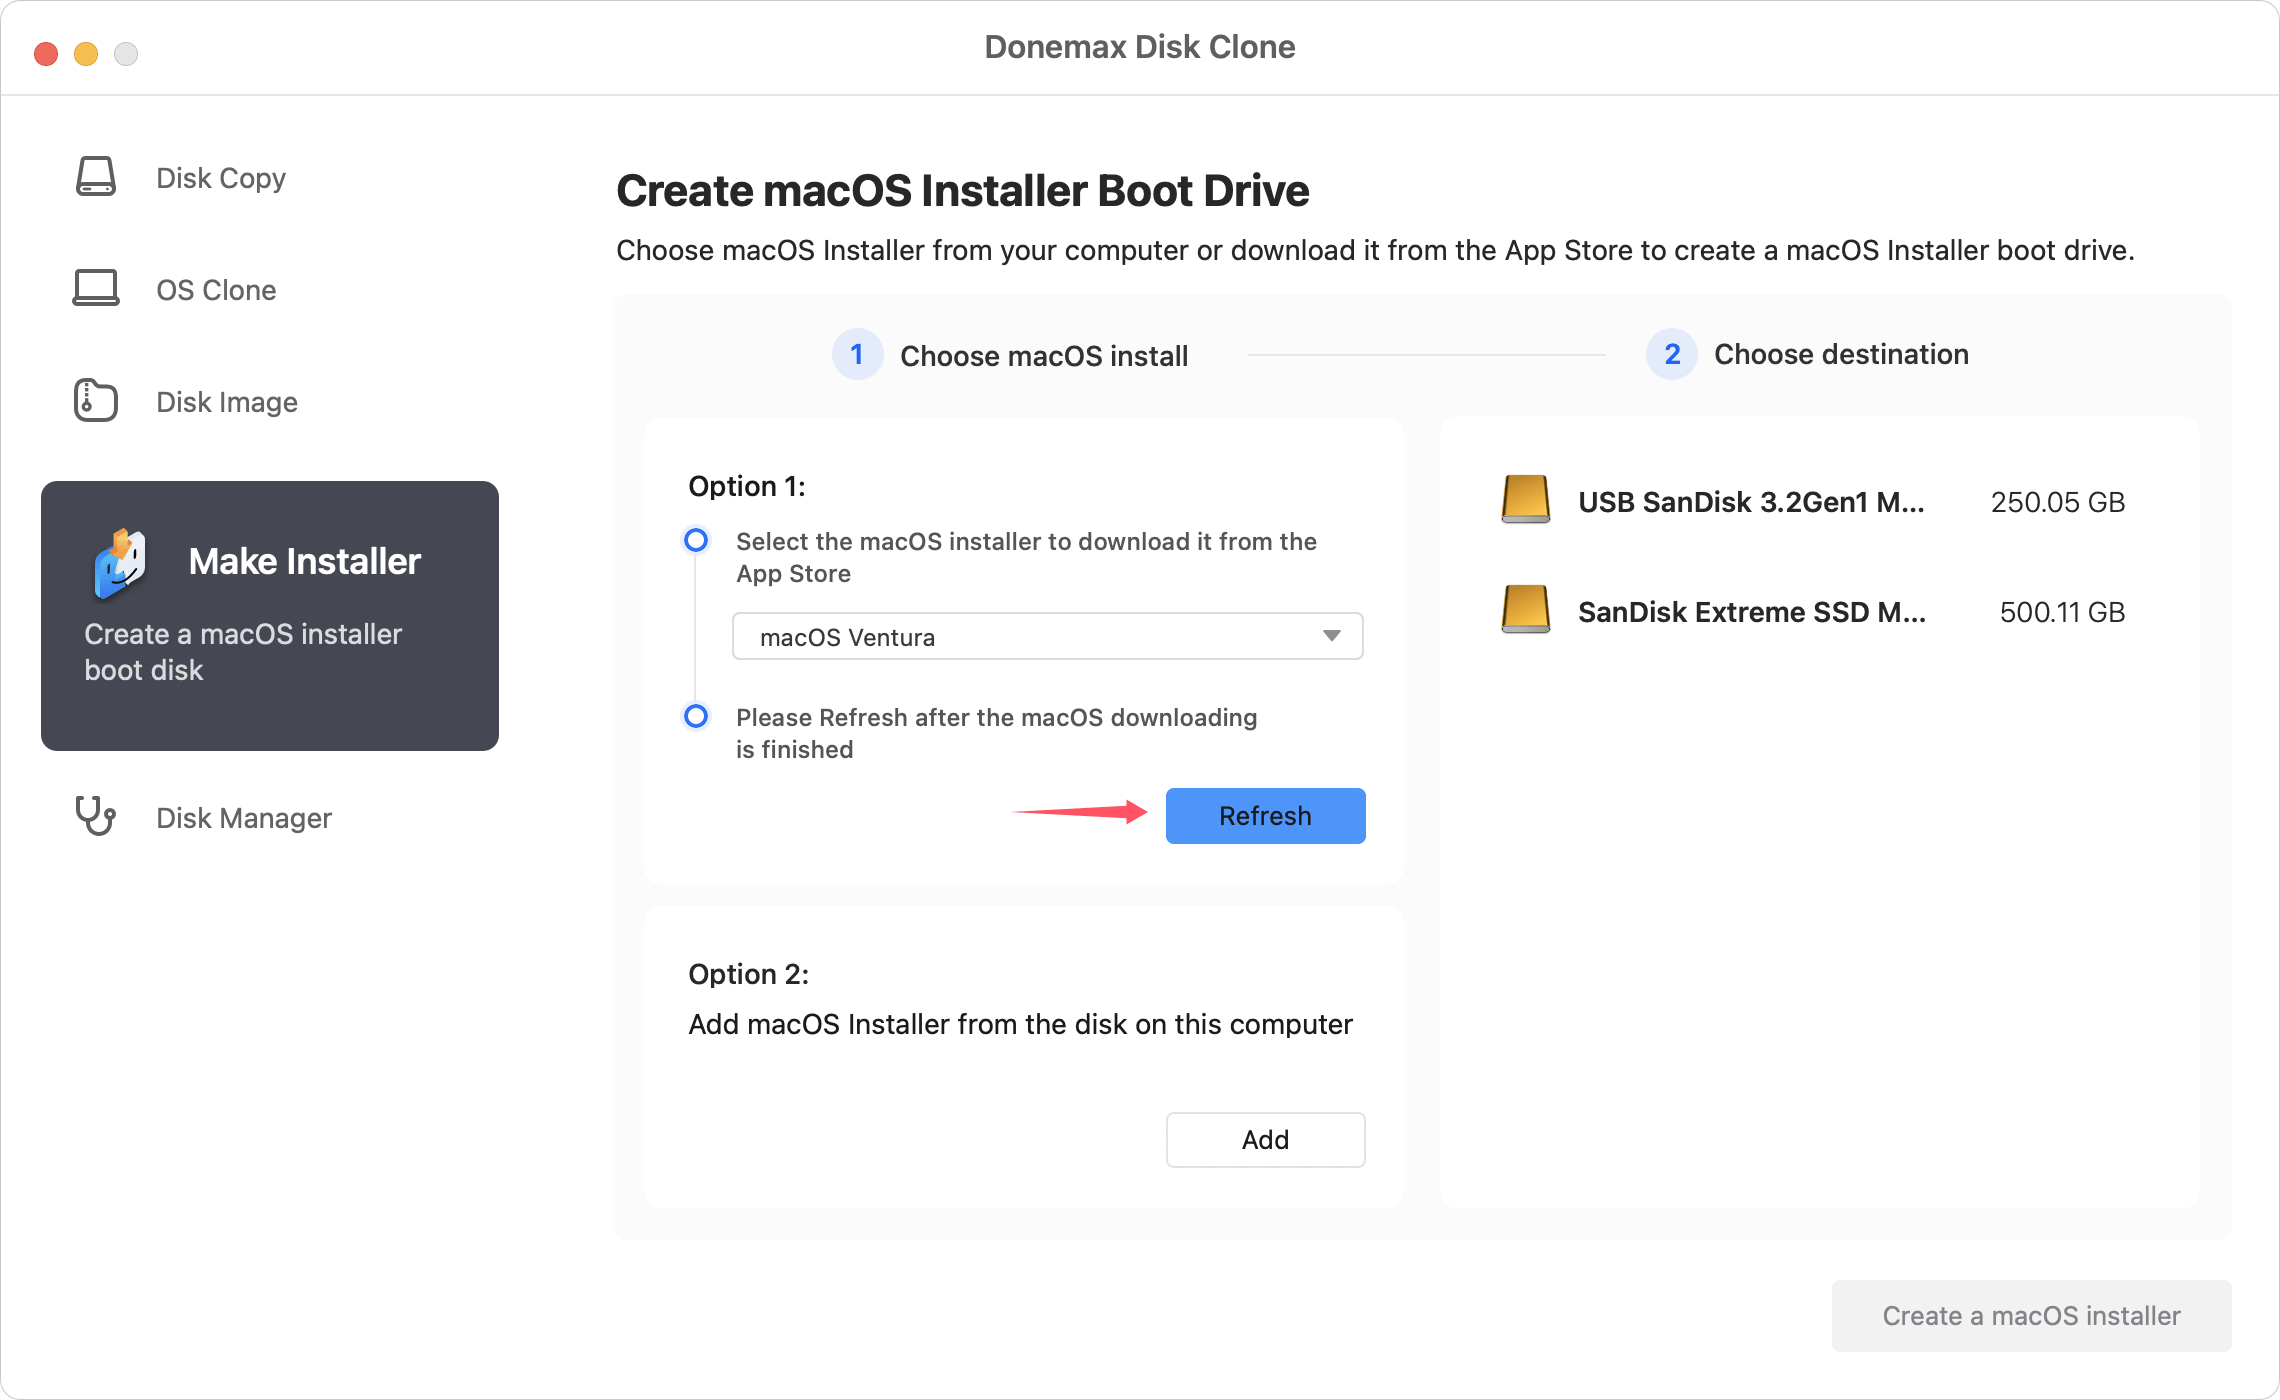
📒 Note:
If you have downloaded the installation file before, you can click Add button under "Option 2" to select the installation file directly without downloading again.

Step 2. Choose the USB drive
Select an external drive or USB flash drive. Ensure to select an empty drive as the process will format the drive.
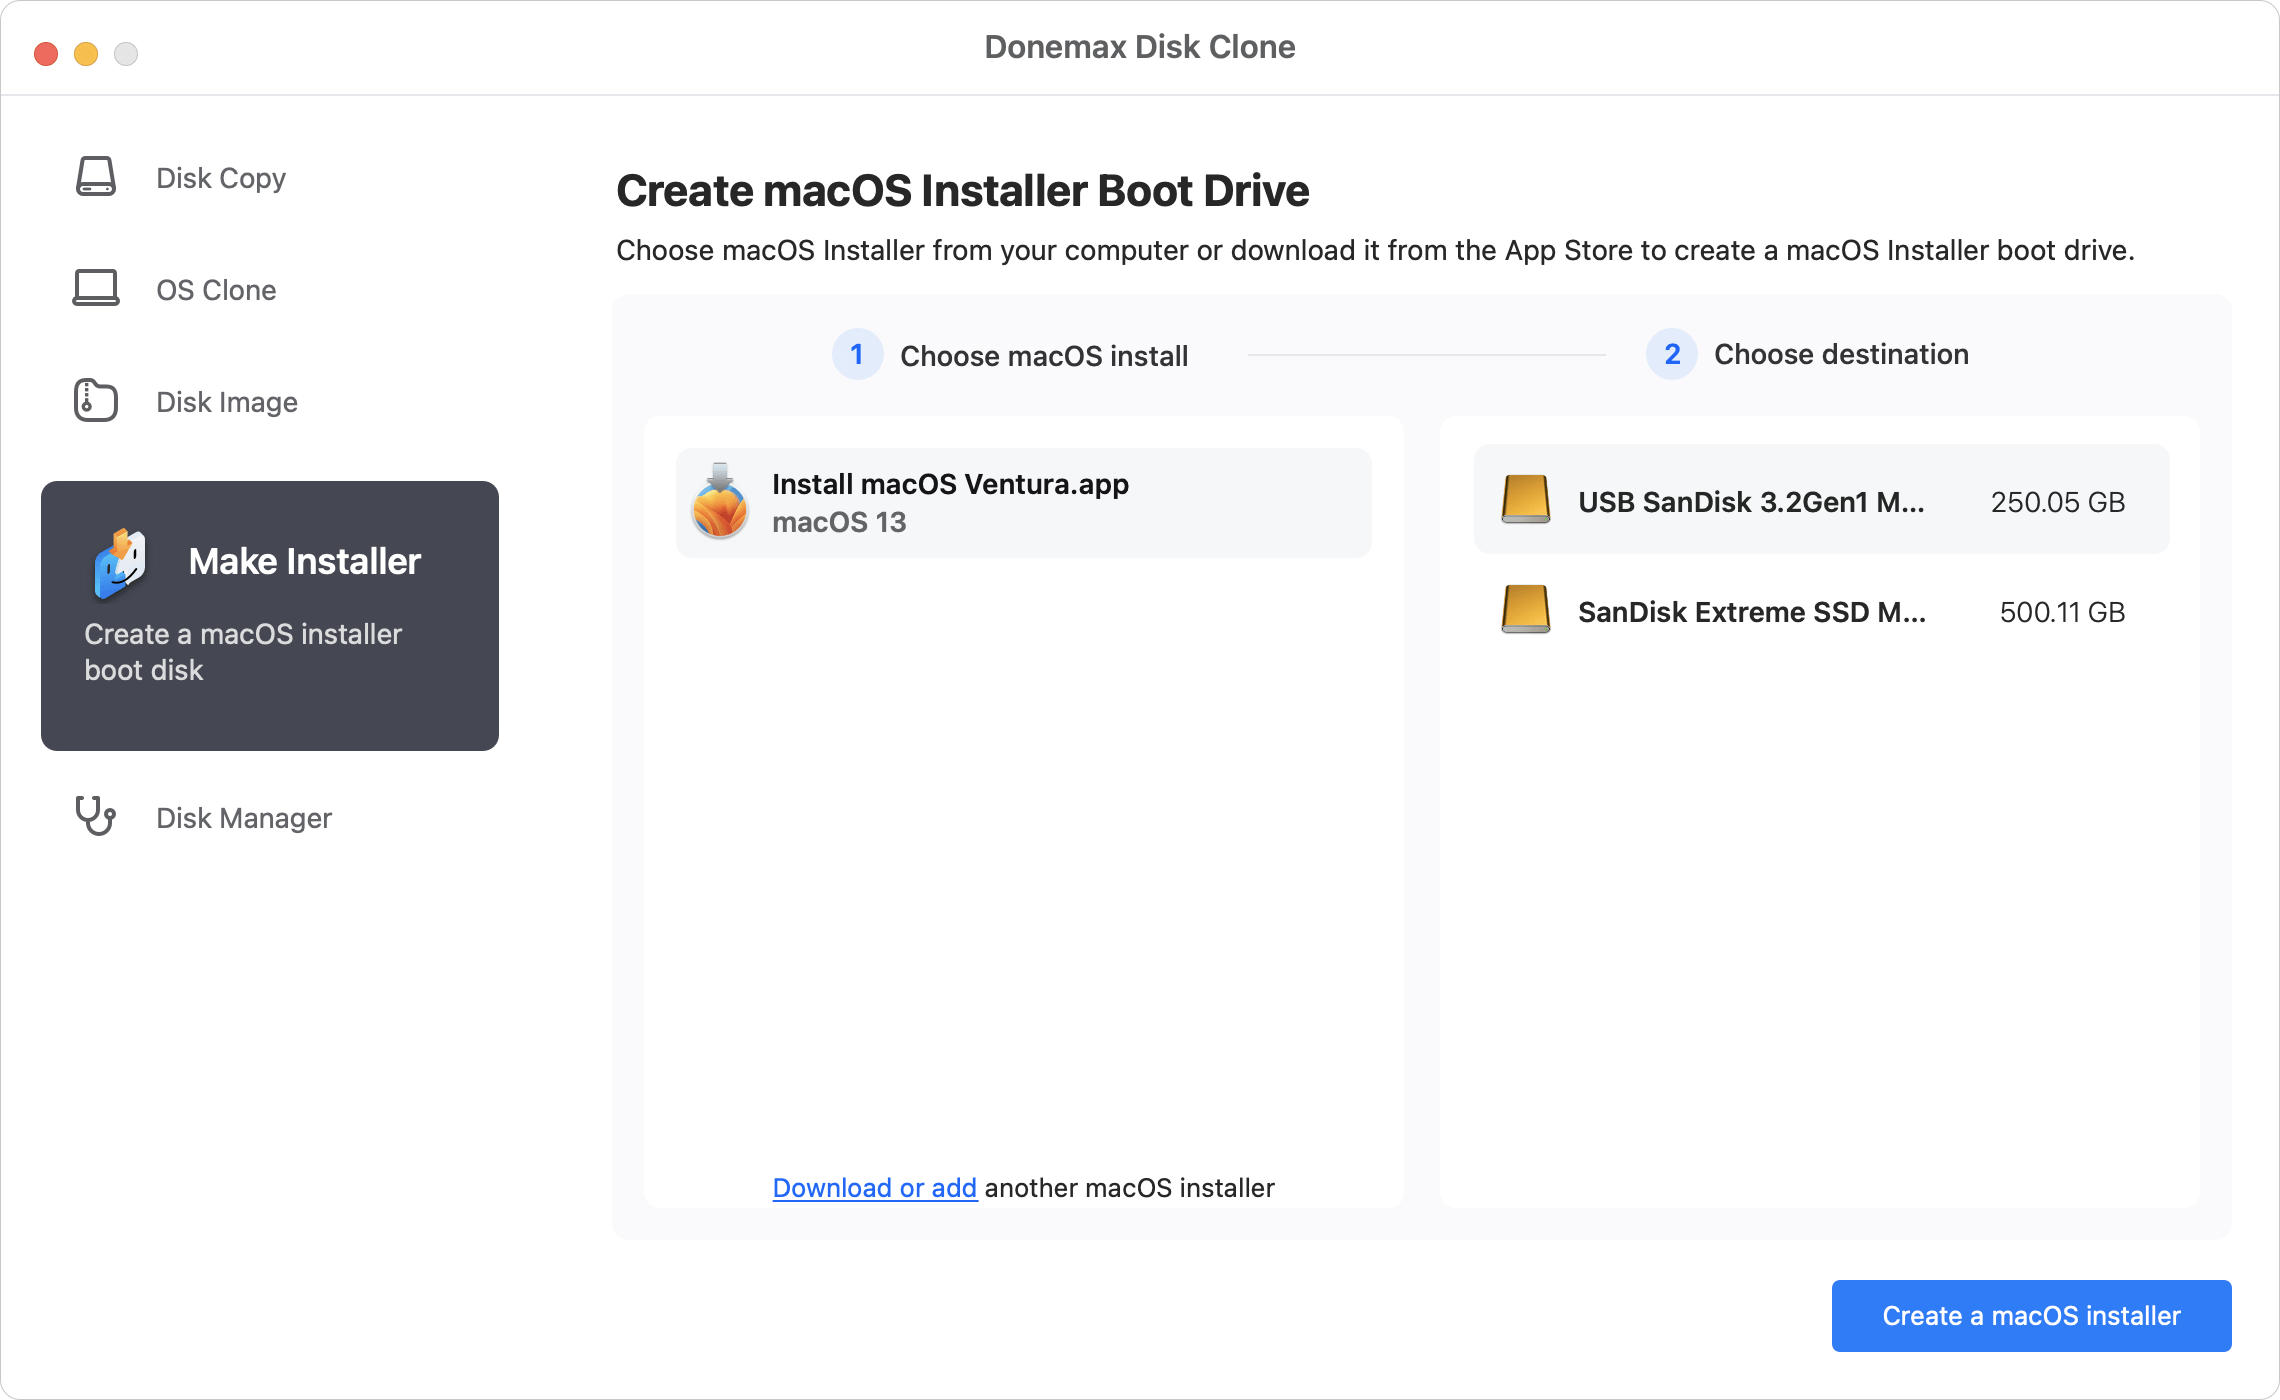
Step 3. Create the bootable macOS installer
Click Create a macOS installer button to start make the drive as a bootable macOS installer.
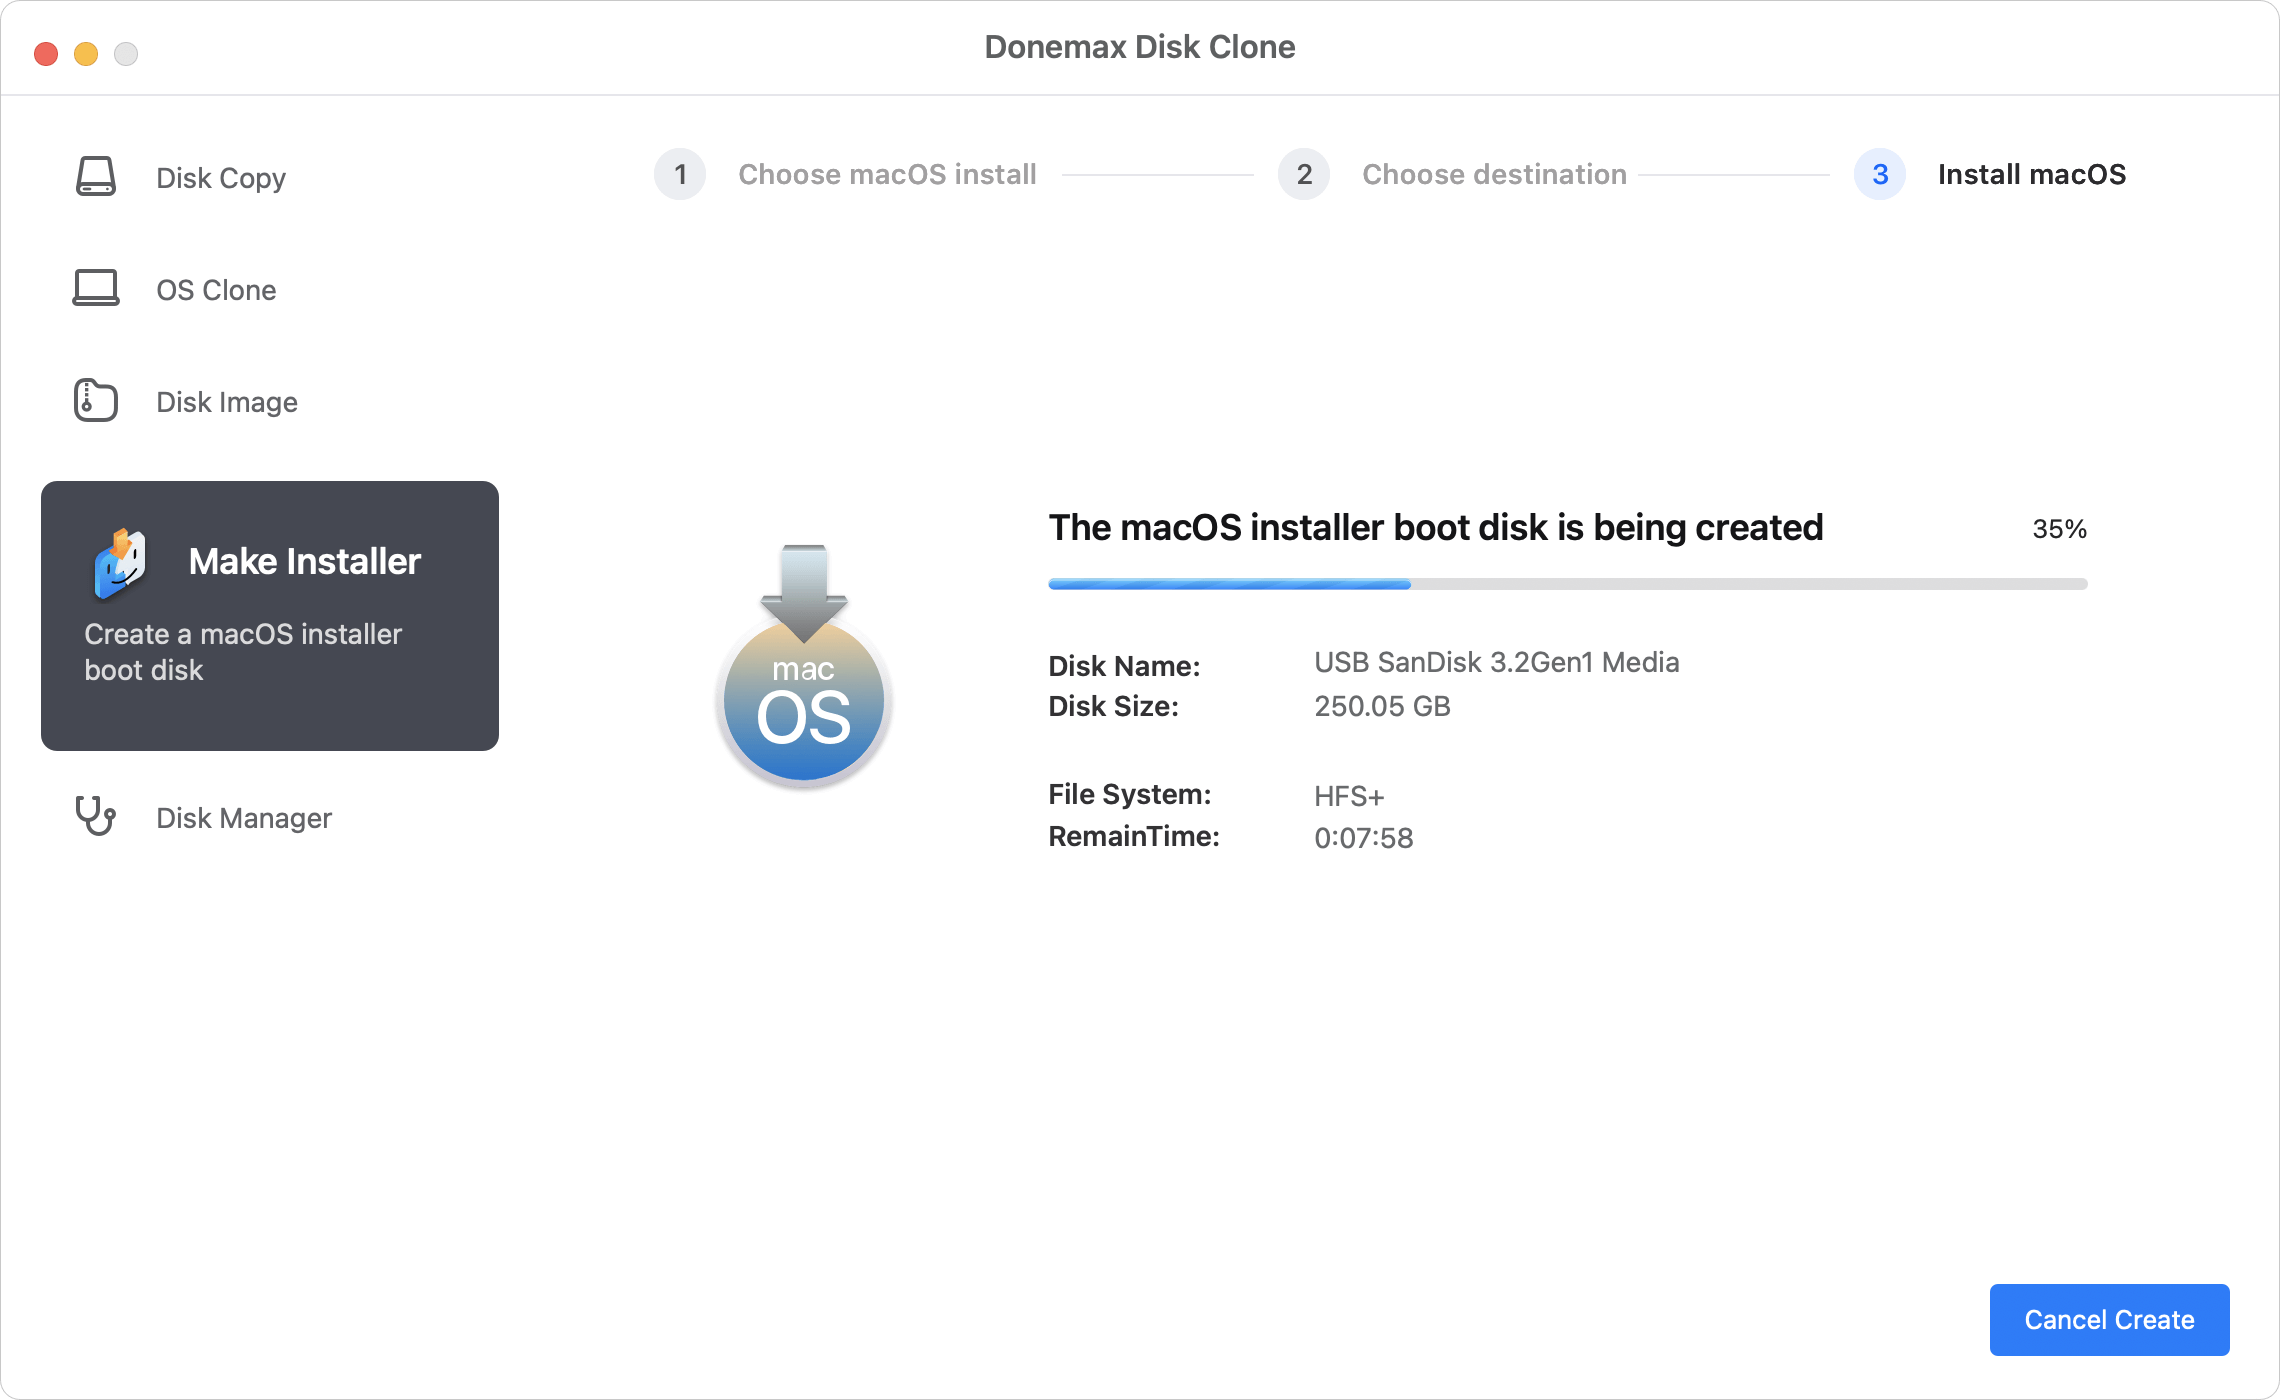
Once the process is done, the macOS installer boot drive is created successfully. You can use it to boot a Mac and start to install the system.

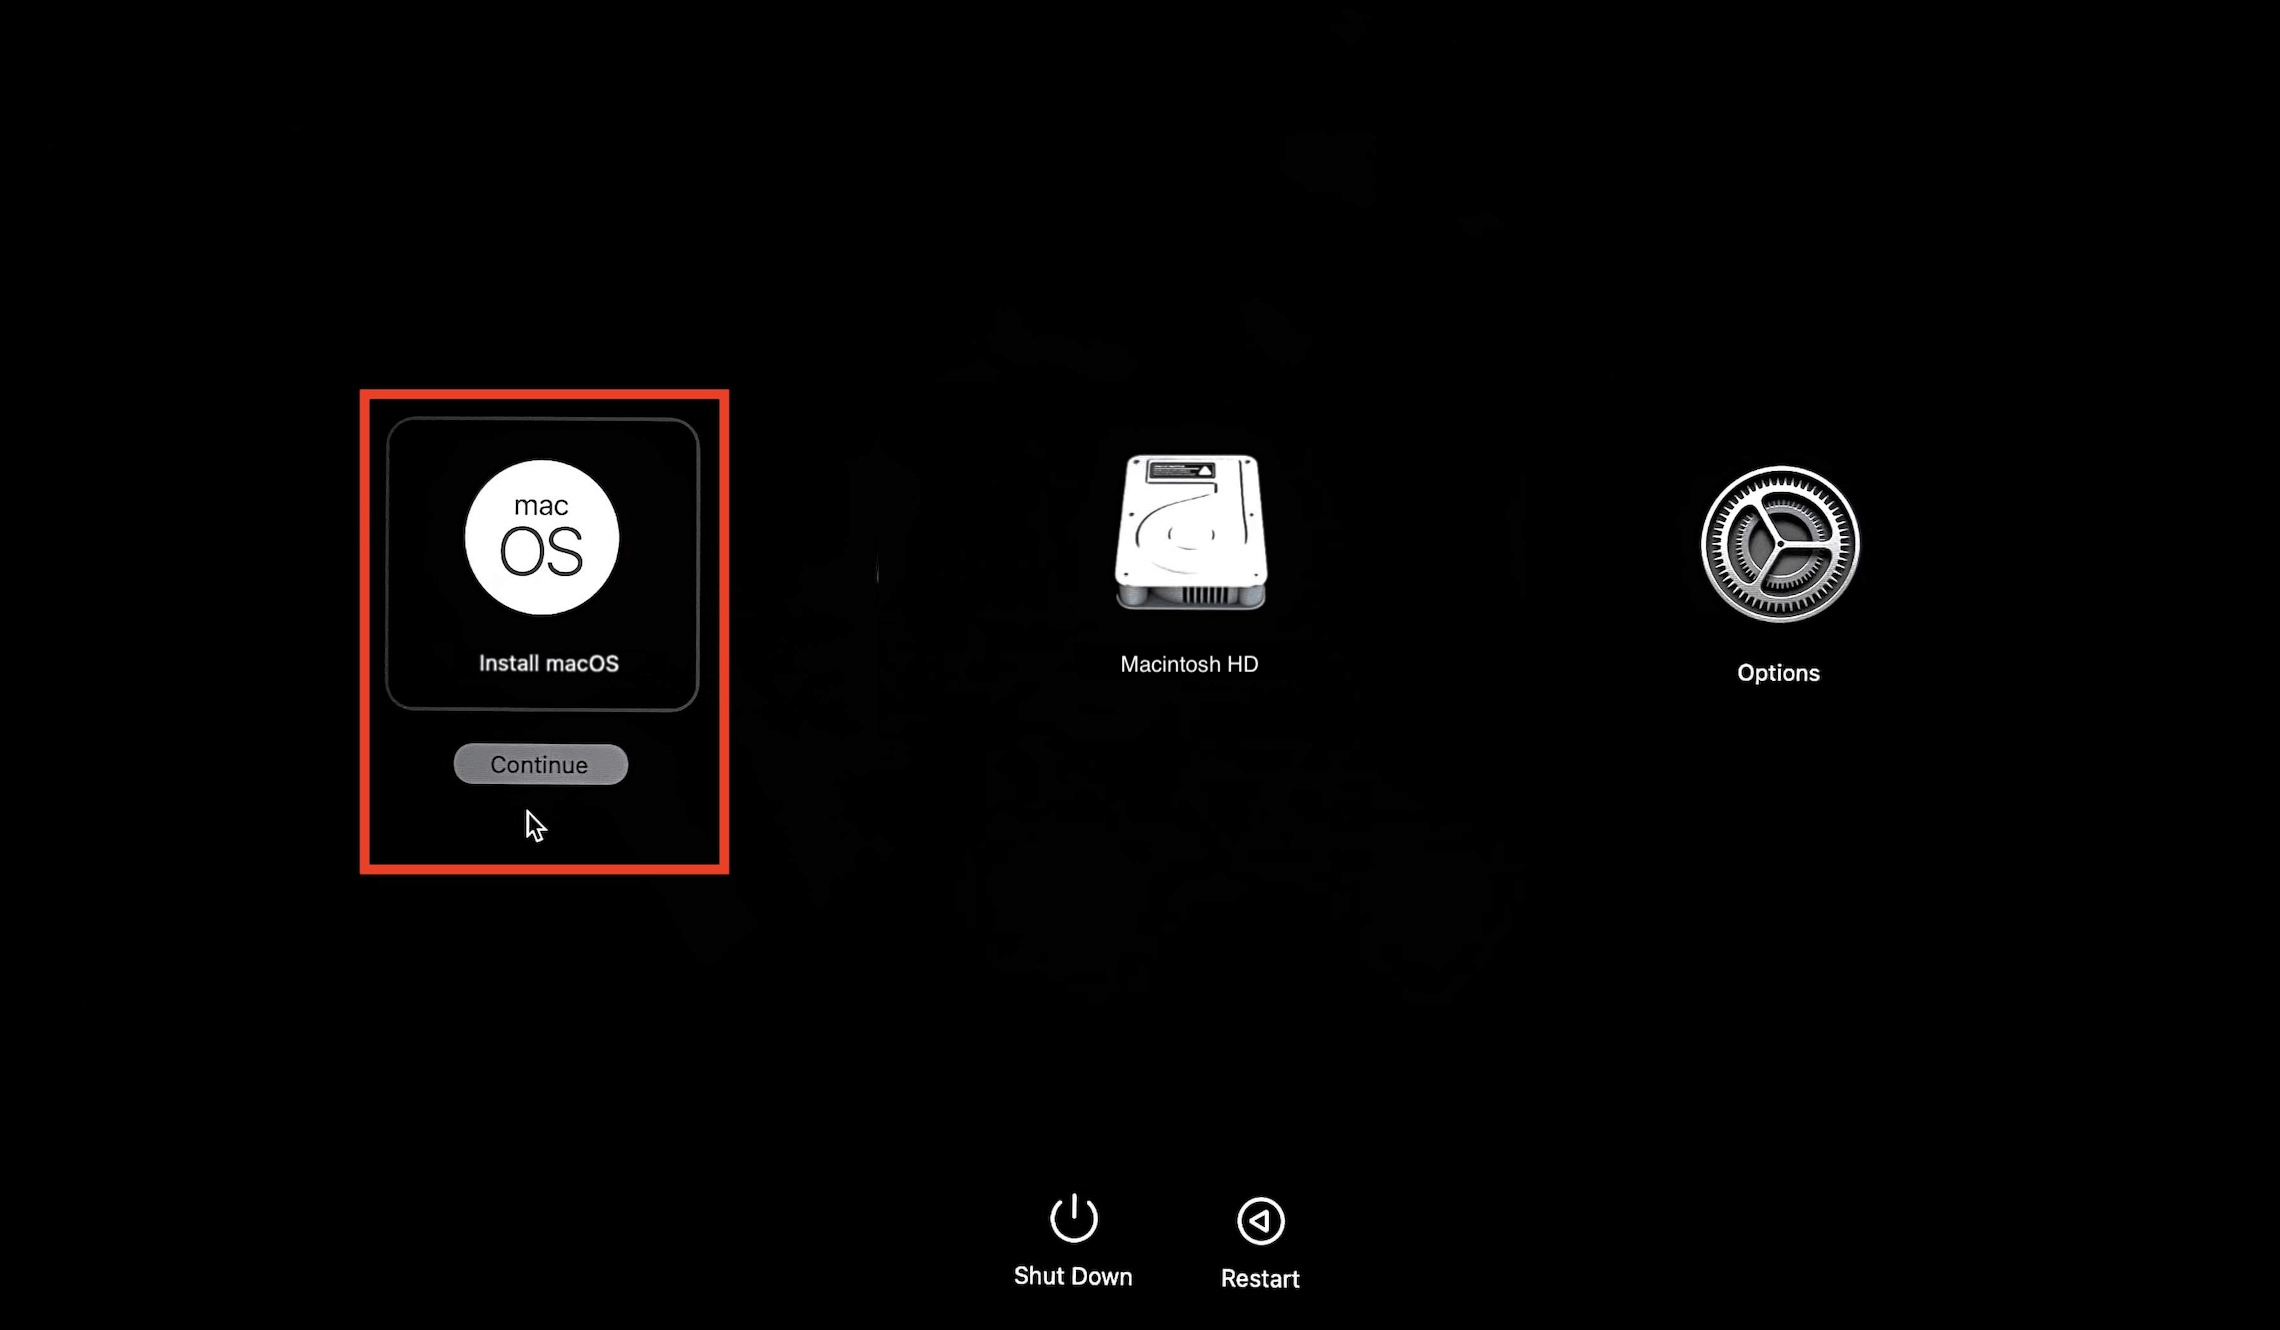
Step 4. Boot from the installer
Connect the bootable installer USB to a Mac, press the power button (or "option" key) while starting the Mac until you see the startup disk screen. Select the option "Install macOS" and click Continue to start installation.
With this software, you can easily migrate your data to another drive if you need to update the disk or just for backup. Should you have any further questions about the software and/or the user guide, please feel free to contact us.
What's new in version 2.6?
- 1. Create bootable macOS installer.
- 2. Fix a few bugs.
Frequently Asked Questions (FAQs)
Cloning creates a bootable, exact copy of your drive, ideal for quick recovery or drive upgrades.
Time Machine provides incremental backups with version history, suitable for restoring specific files or system states.
- Connect the cloned drive to your Mac.
- Restart your Mac and hold the Power button (or Option key) during startup.
- Select the cloned drive from the list of startup disks.
- Your Mac will boot from the cloned drive.

Need some help?
Please feel free to contact our support team if you can't find your answer.